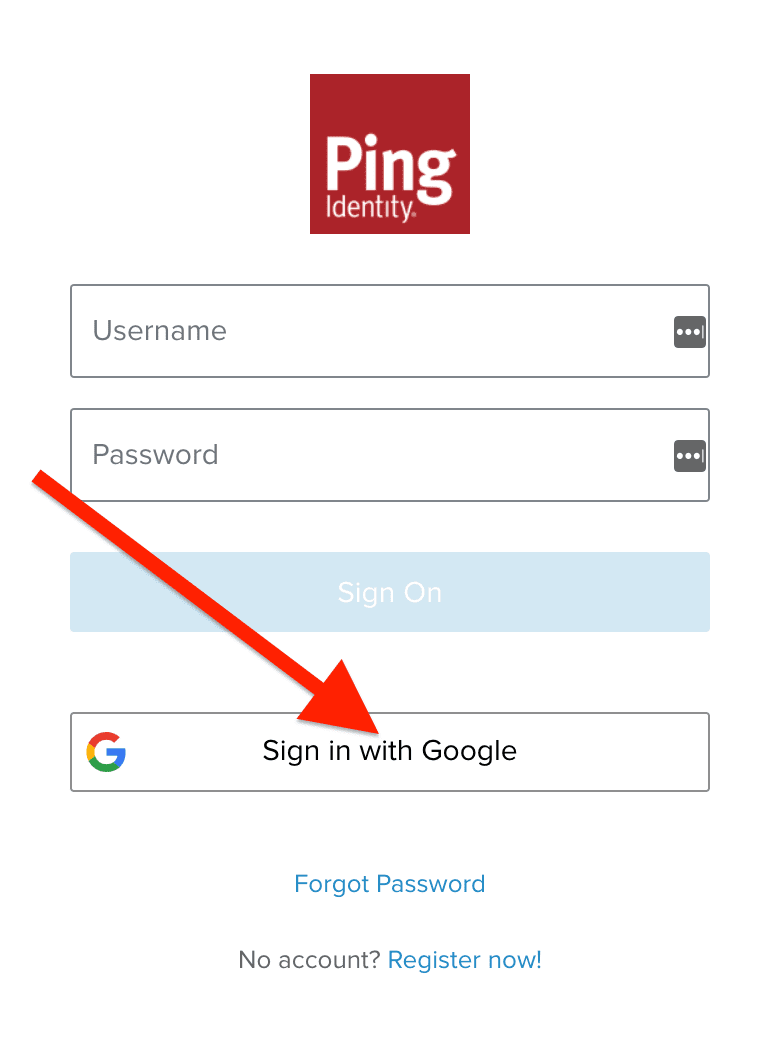
Are you looking to implement social registration and sign-on for your website, app or other digital property? Social login is not only convenient for your end user or customer, but it’s also more secure than many other sign-on methods. (Passwords, we’re looking at you!)
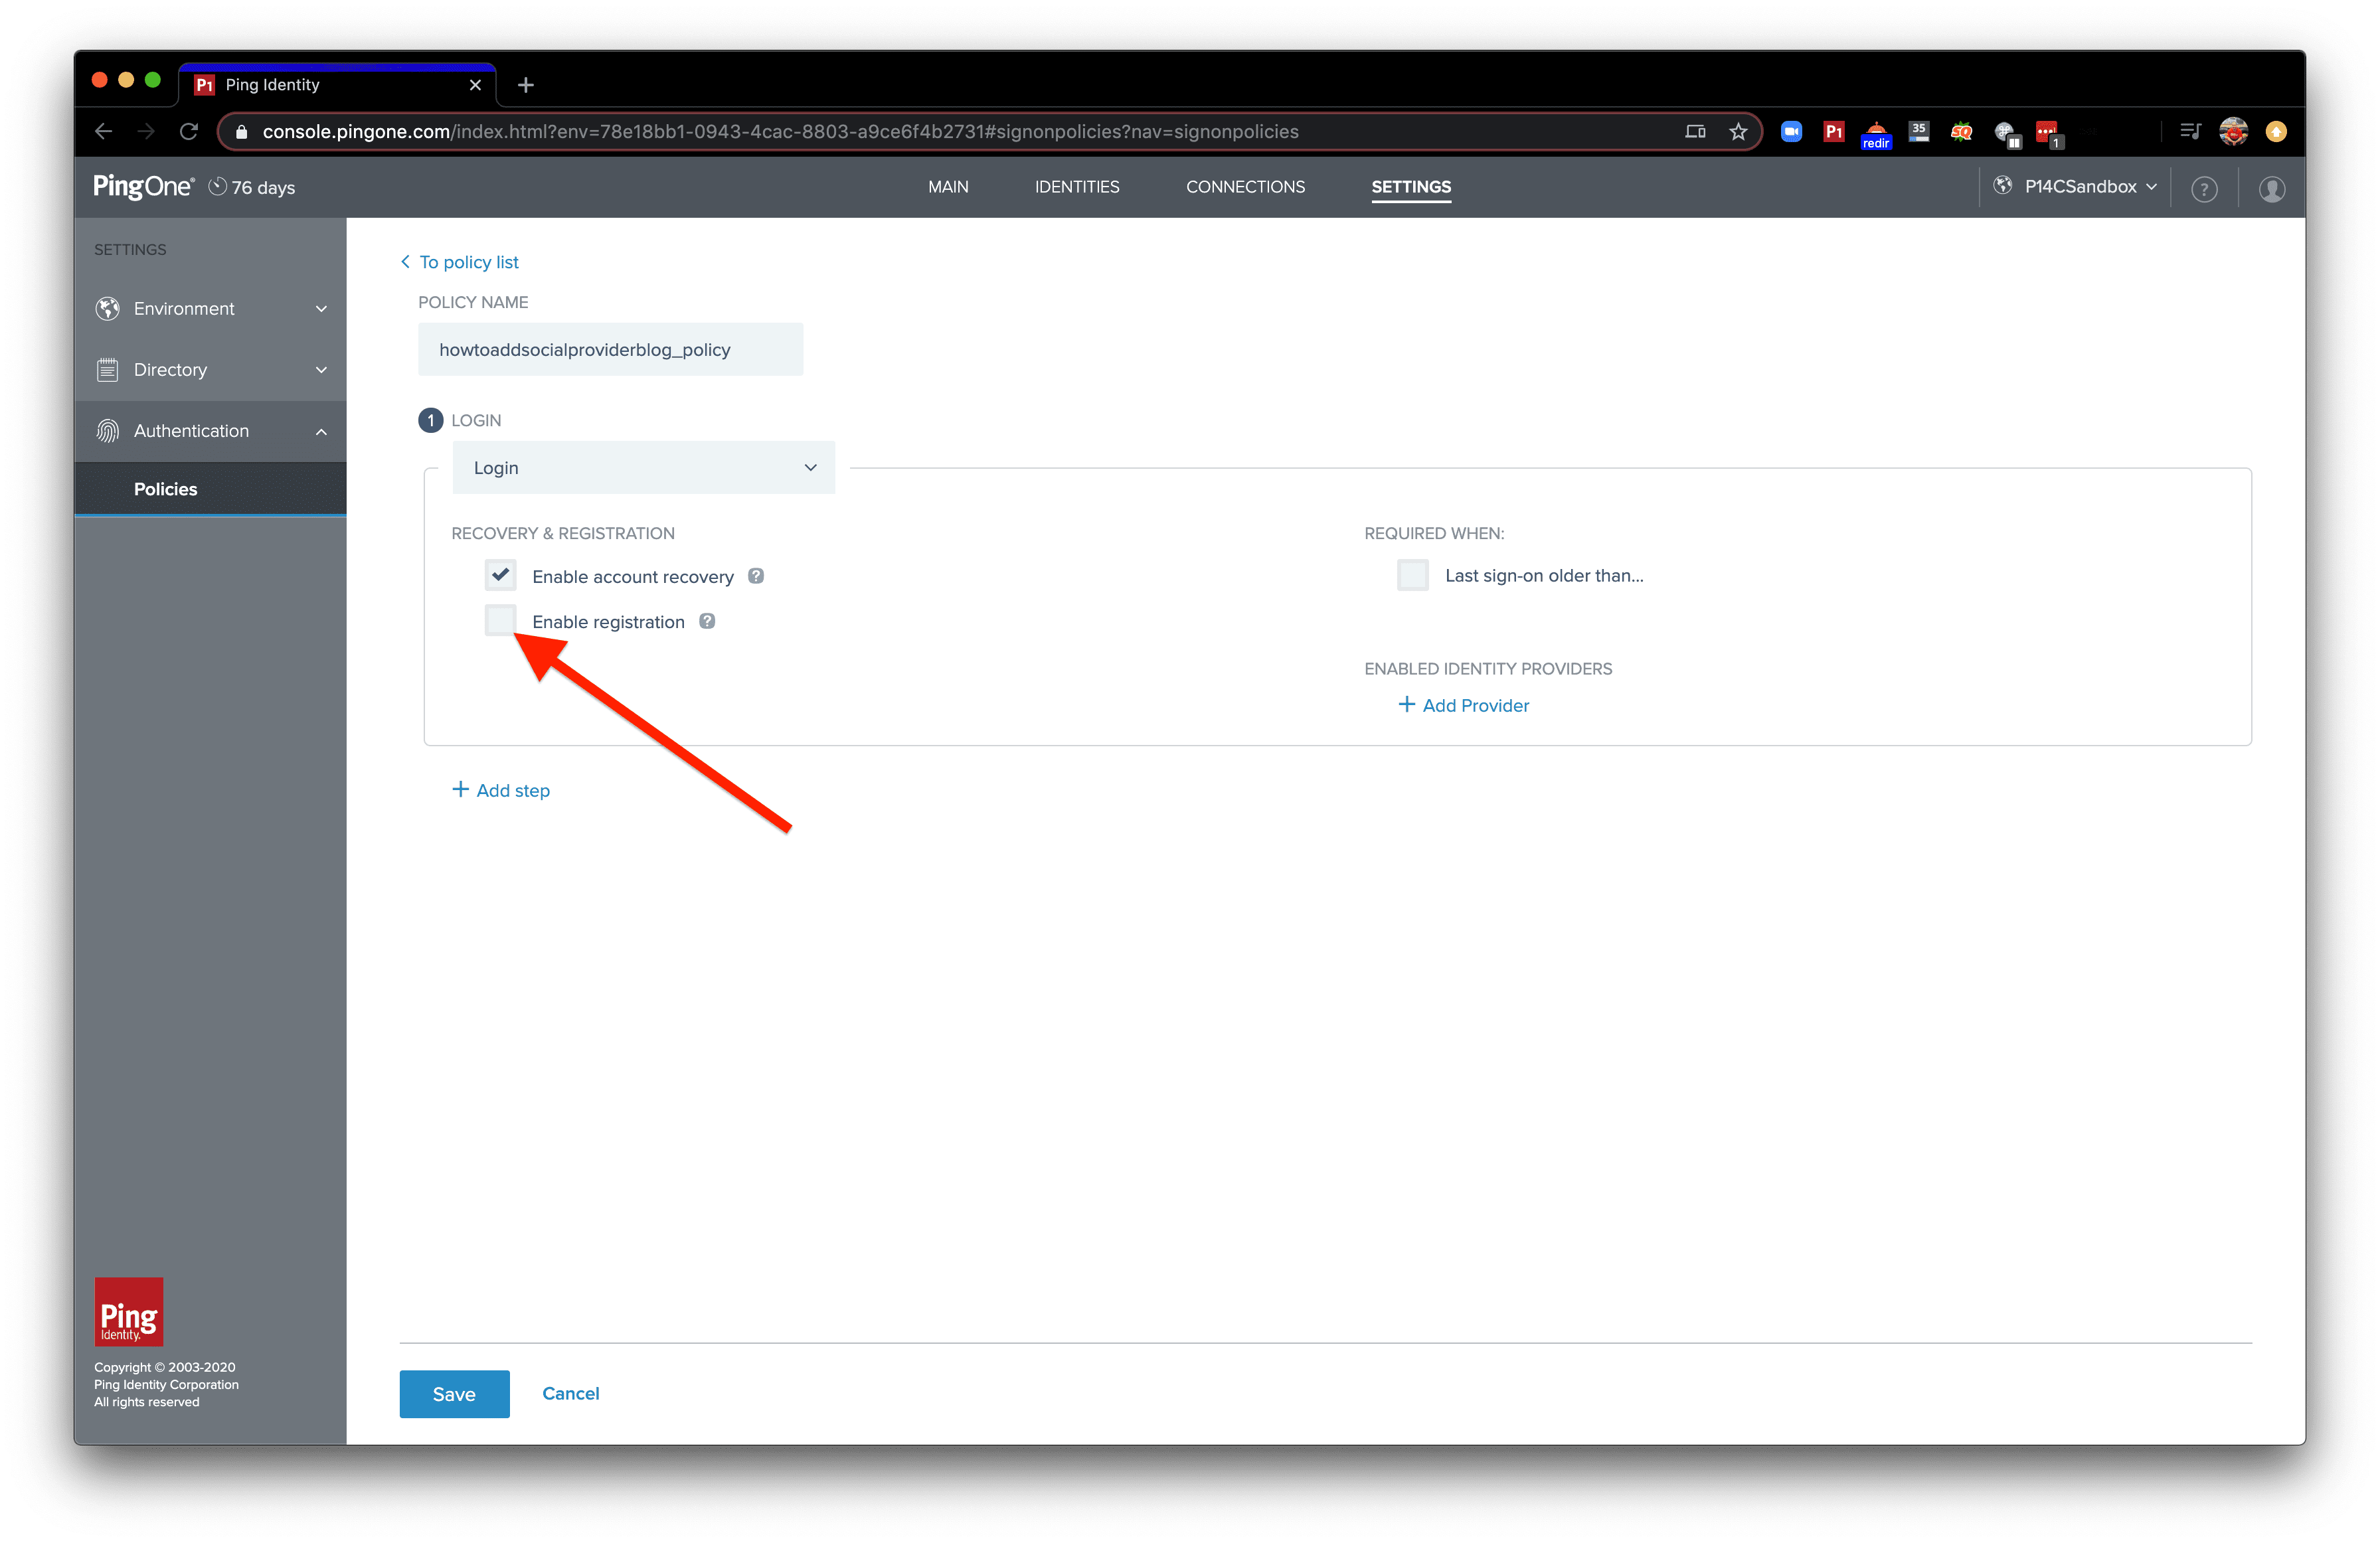
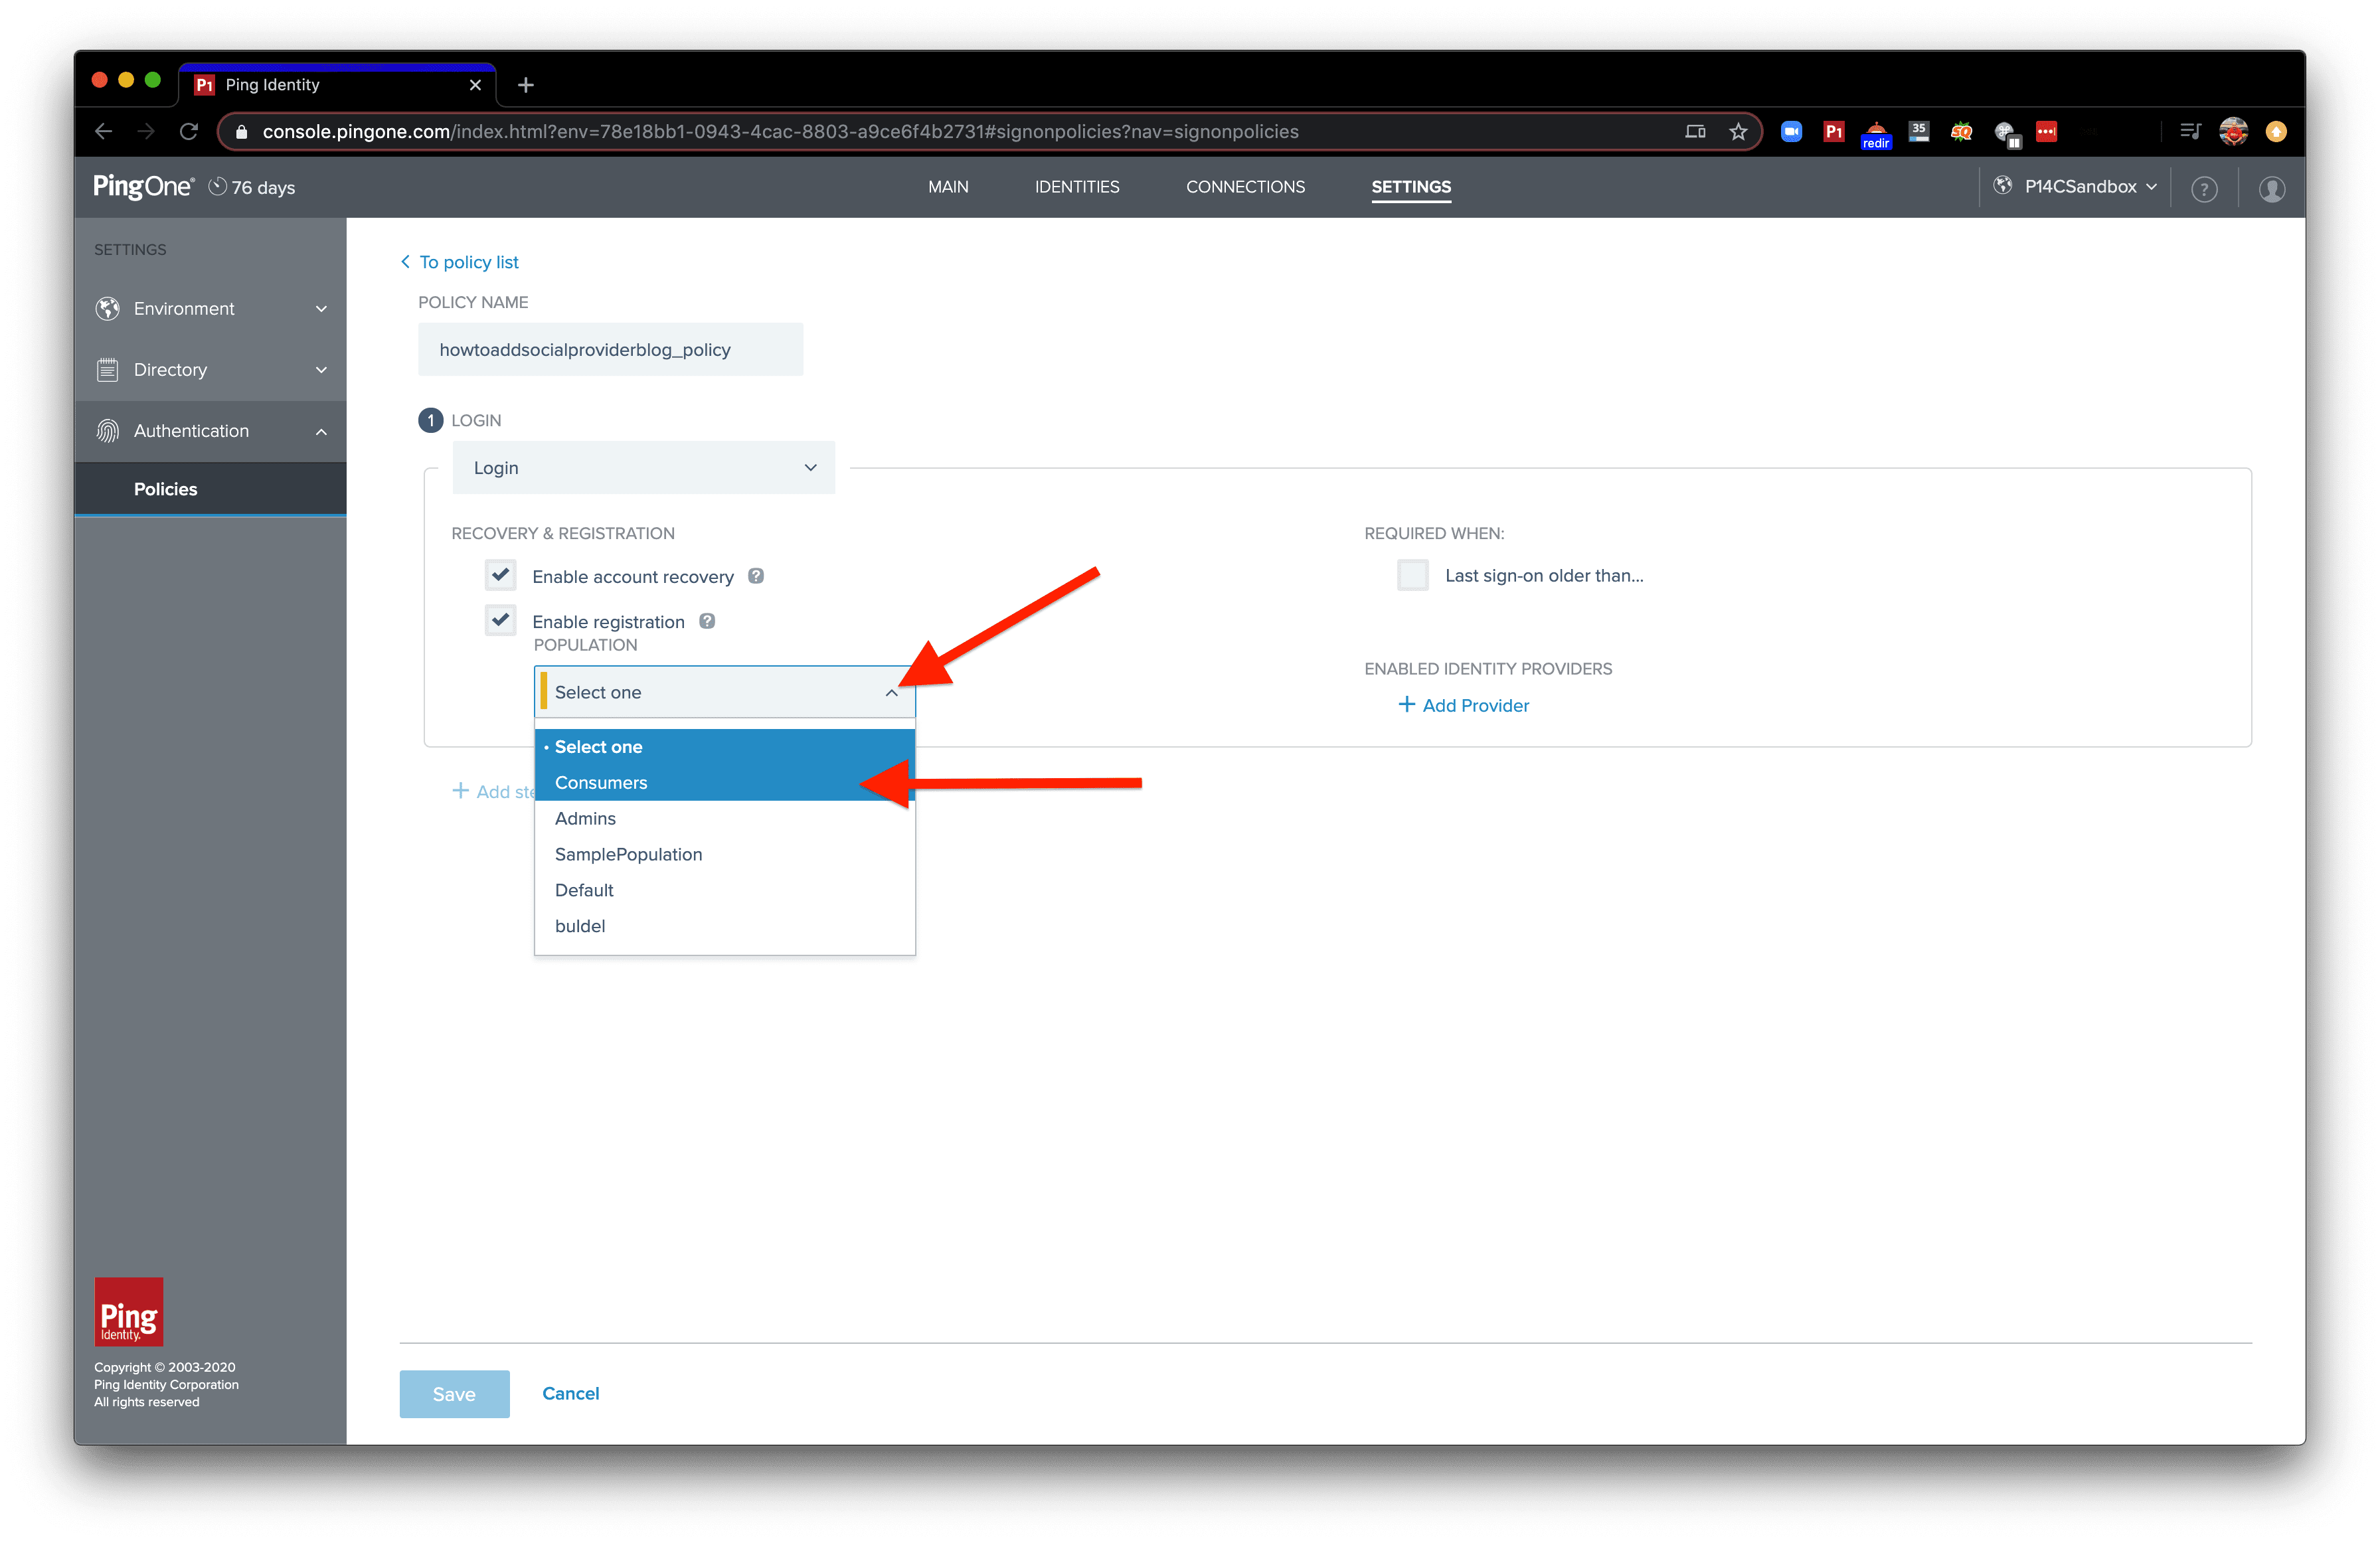
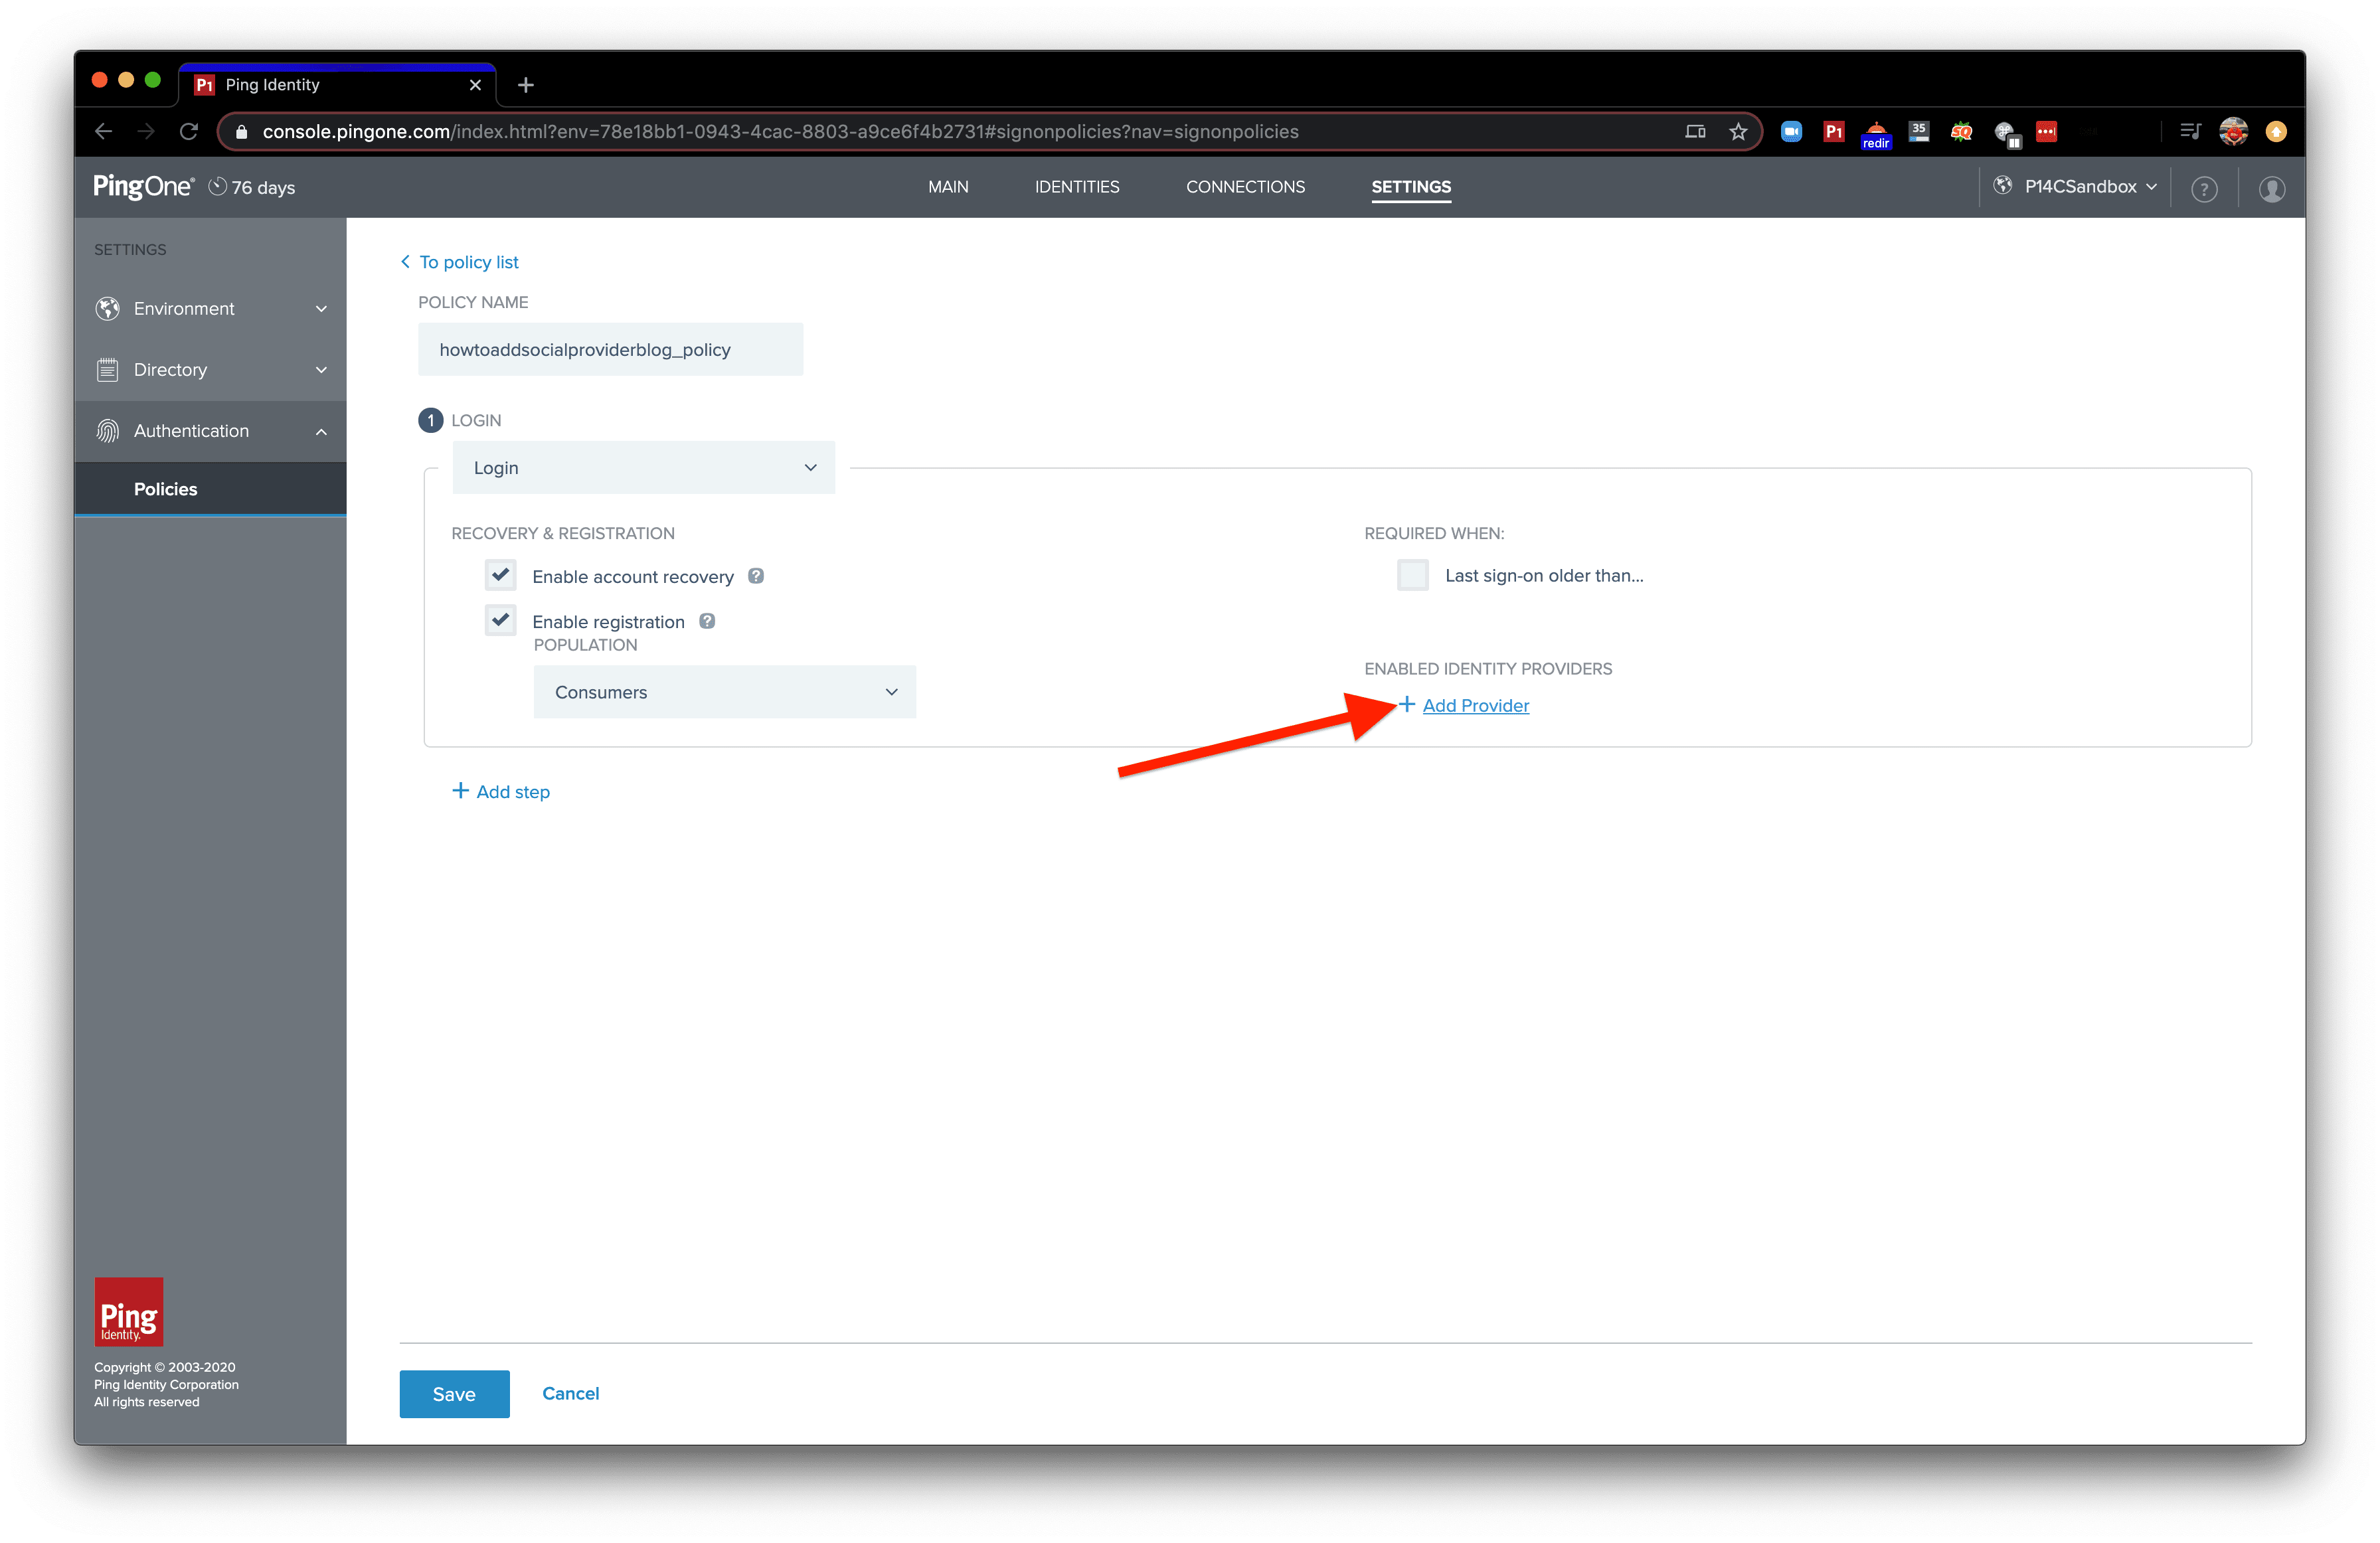
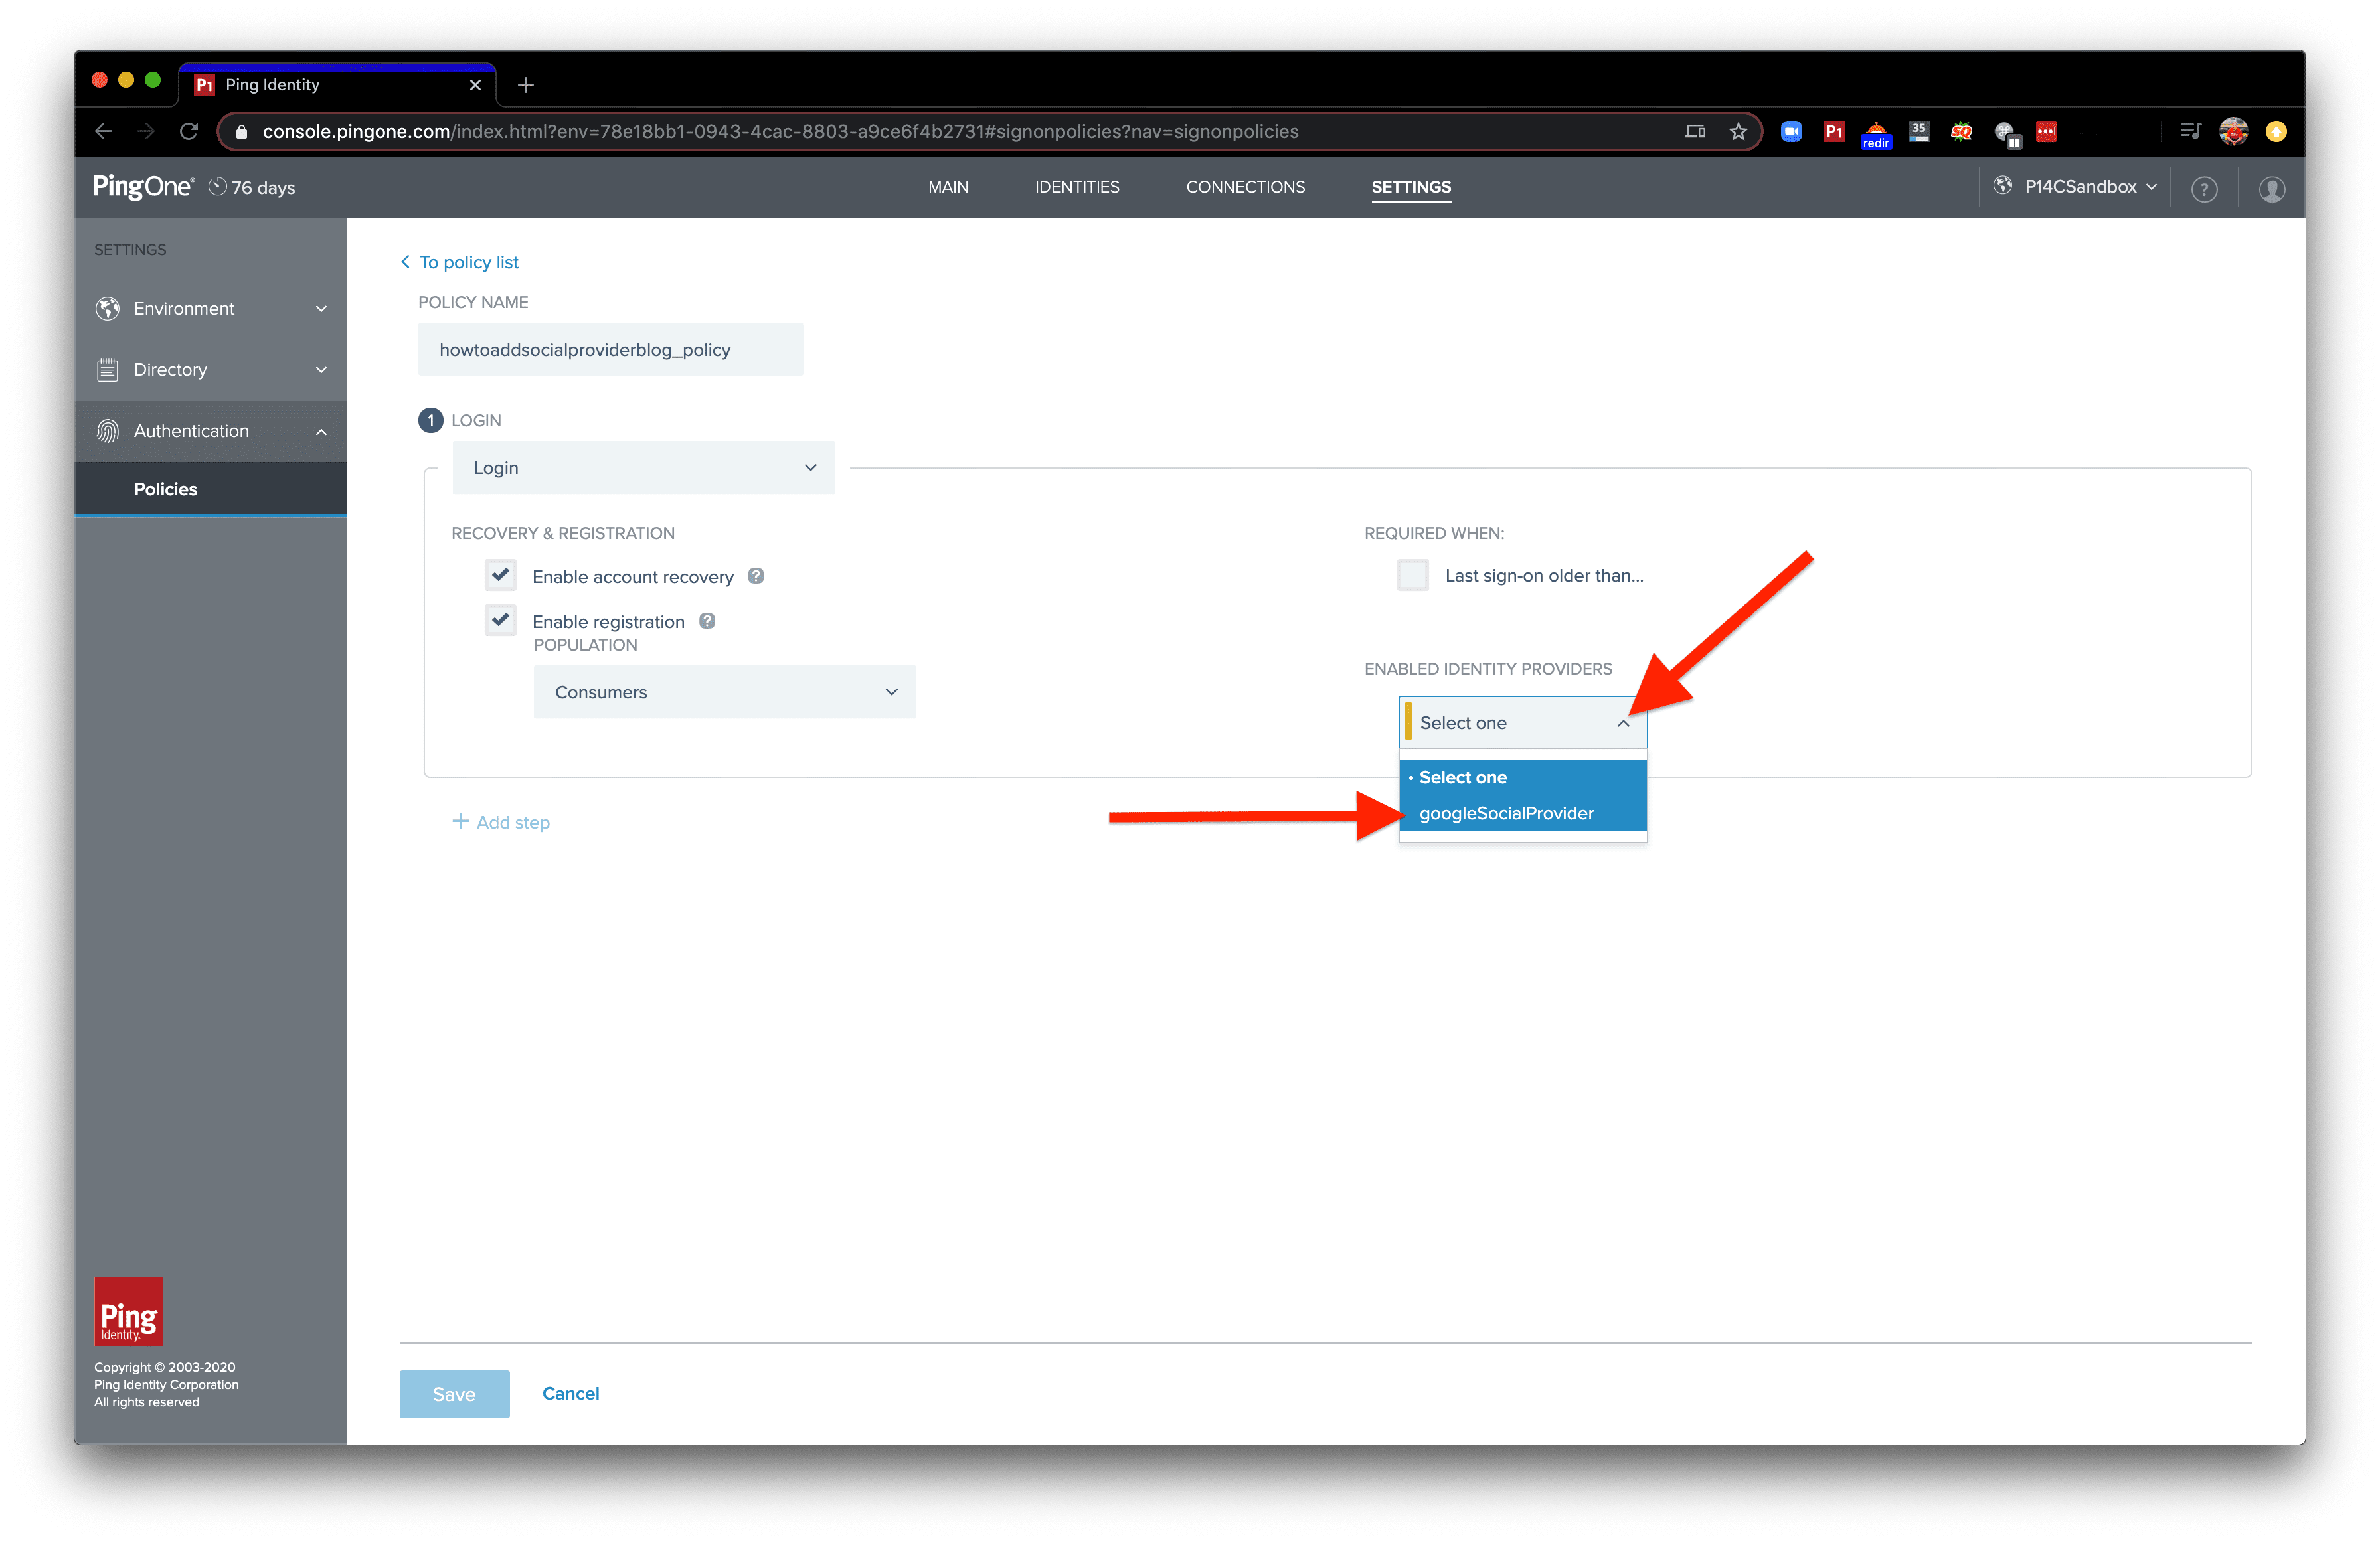
If you’re a PingOne for Customers user, you can easily integrate social login into your app. In this blog, I’ll walk through step by step how to set it up and how to see it in action. And if you don’t already have a PingOne for Customers account, you can sign up for a free trial to see firsthand what the experience is like.
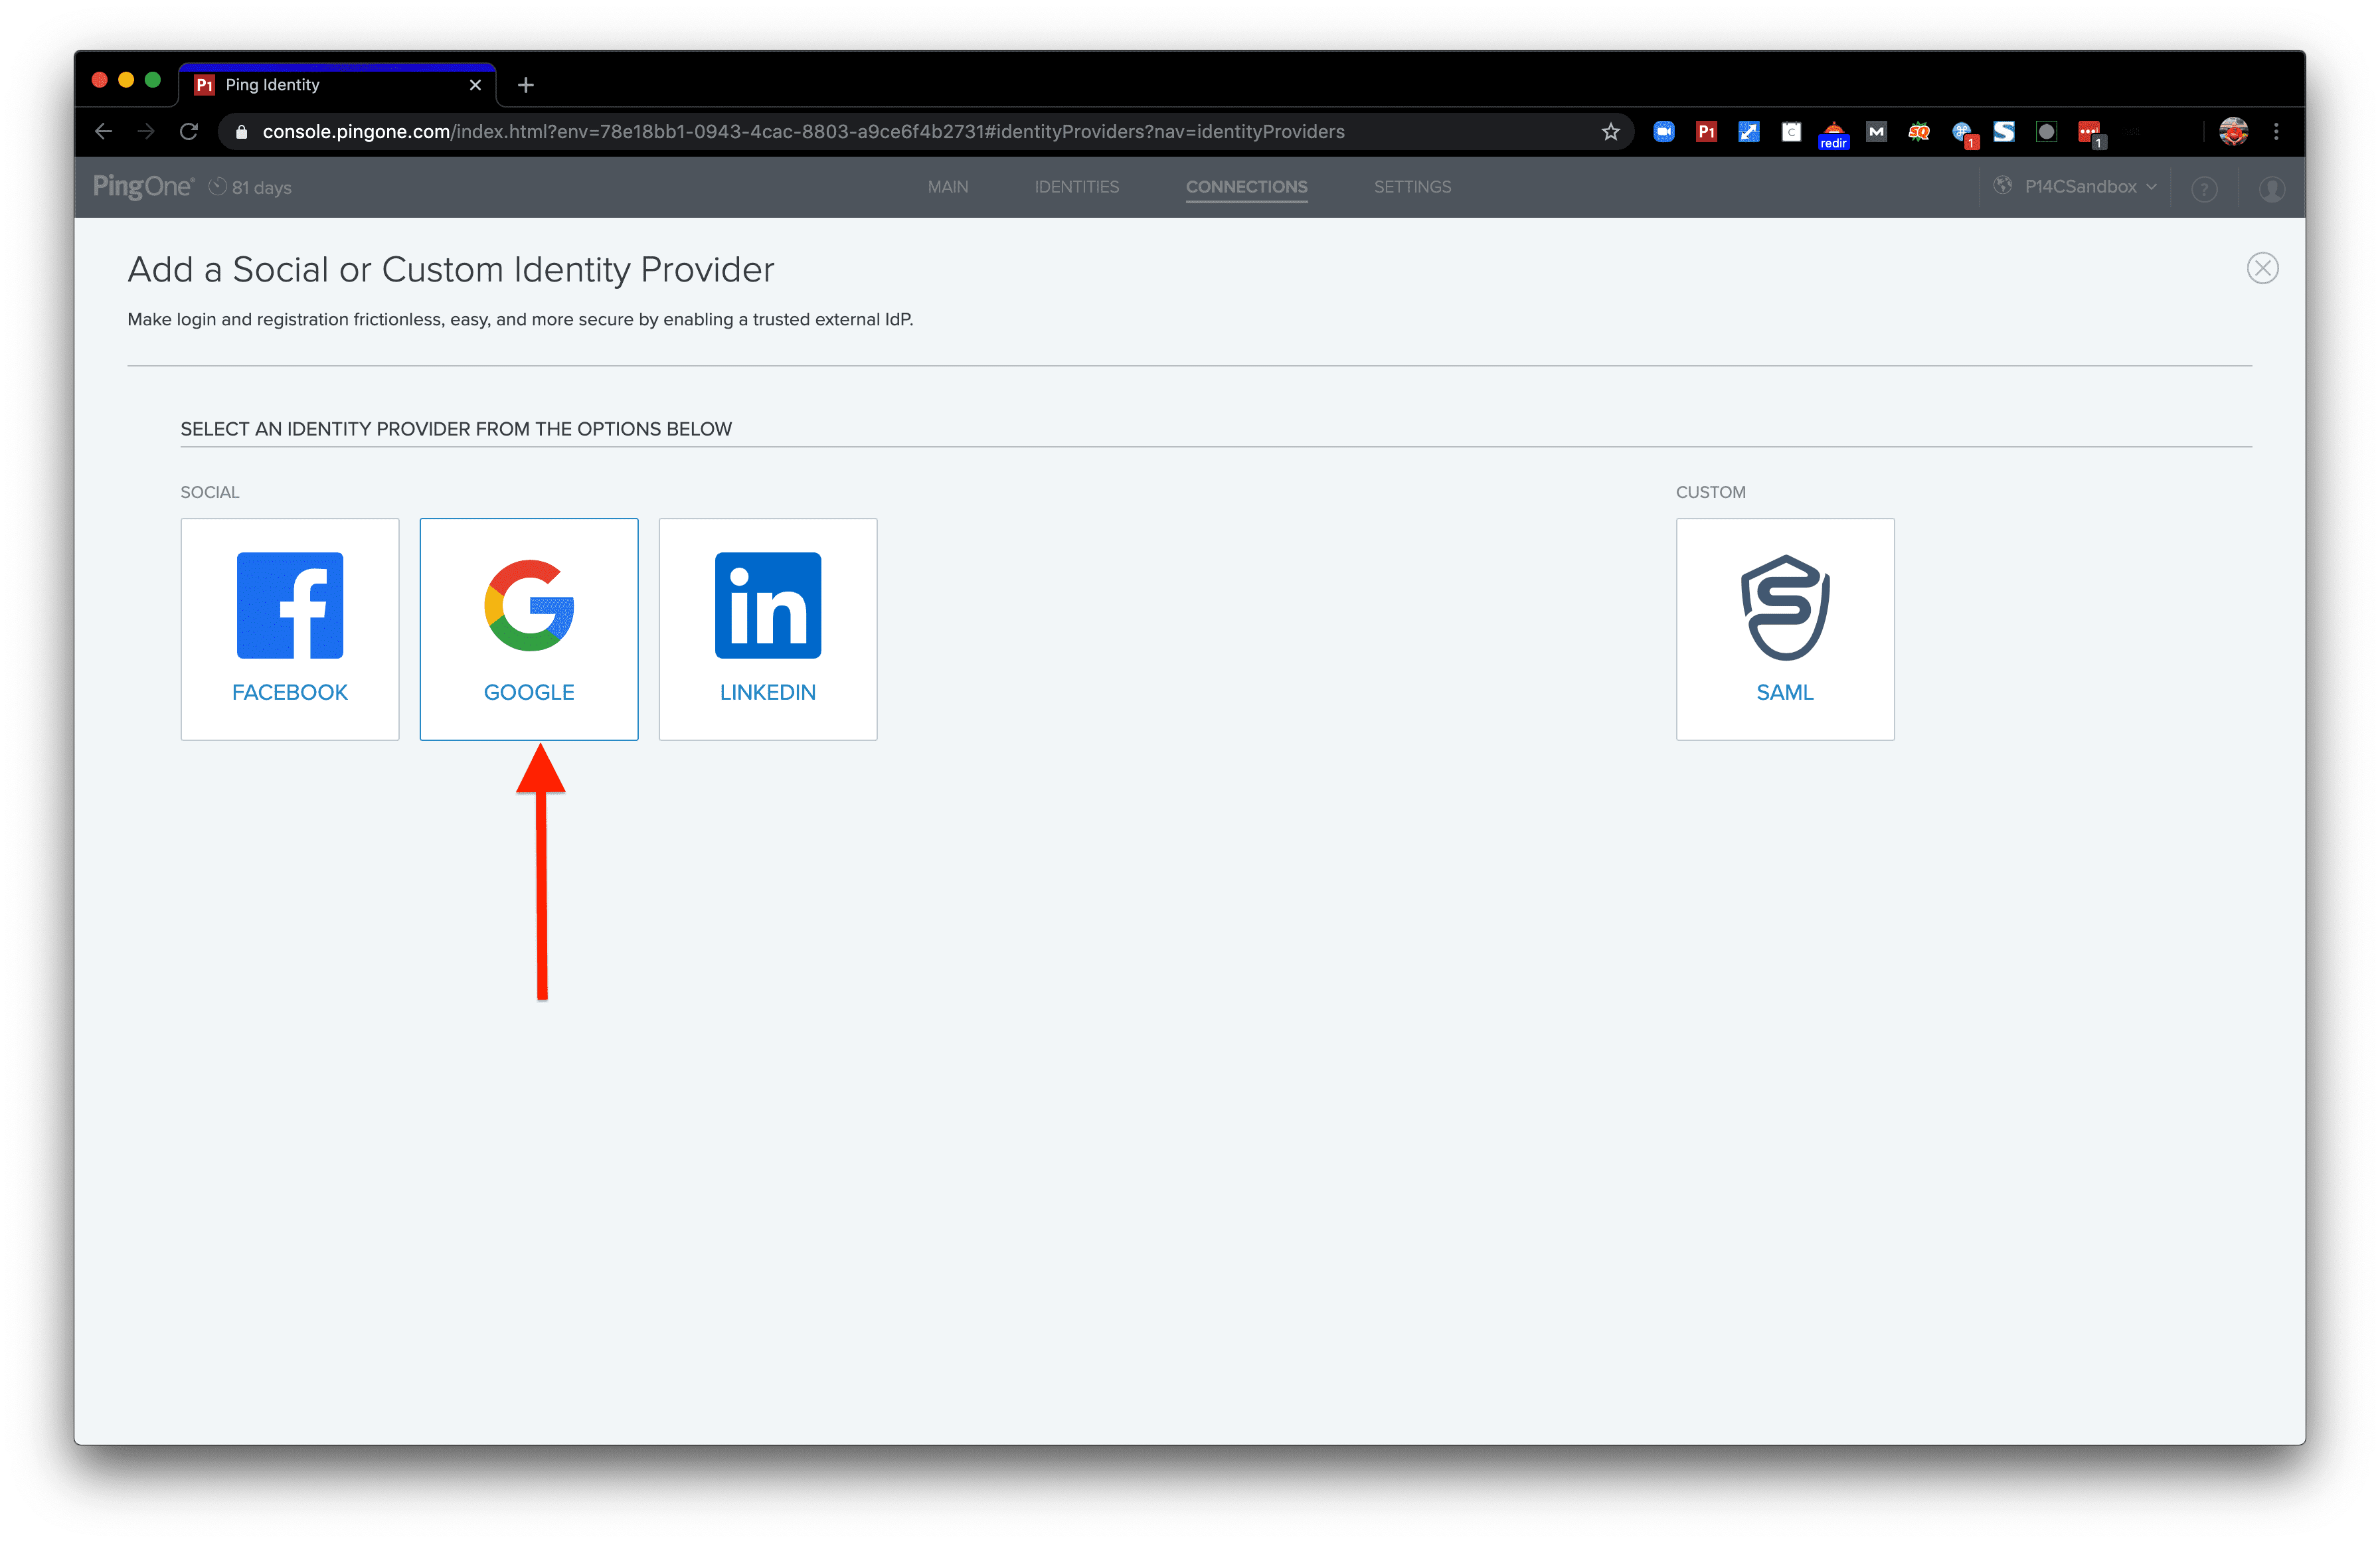
To begin, grab your PingOne for Customers account and a social provider to link. I used Google Sign-In in this blog, but you can also use supported built-in providers Facebook or LinkedIn. Or, you can easily build your own connection to an identity provider using our SAML or OIDC connectors.
Here are the steps I’ll cover, and feel free to jump ahead if you already have a particular step completed:
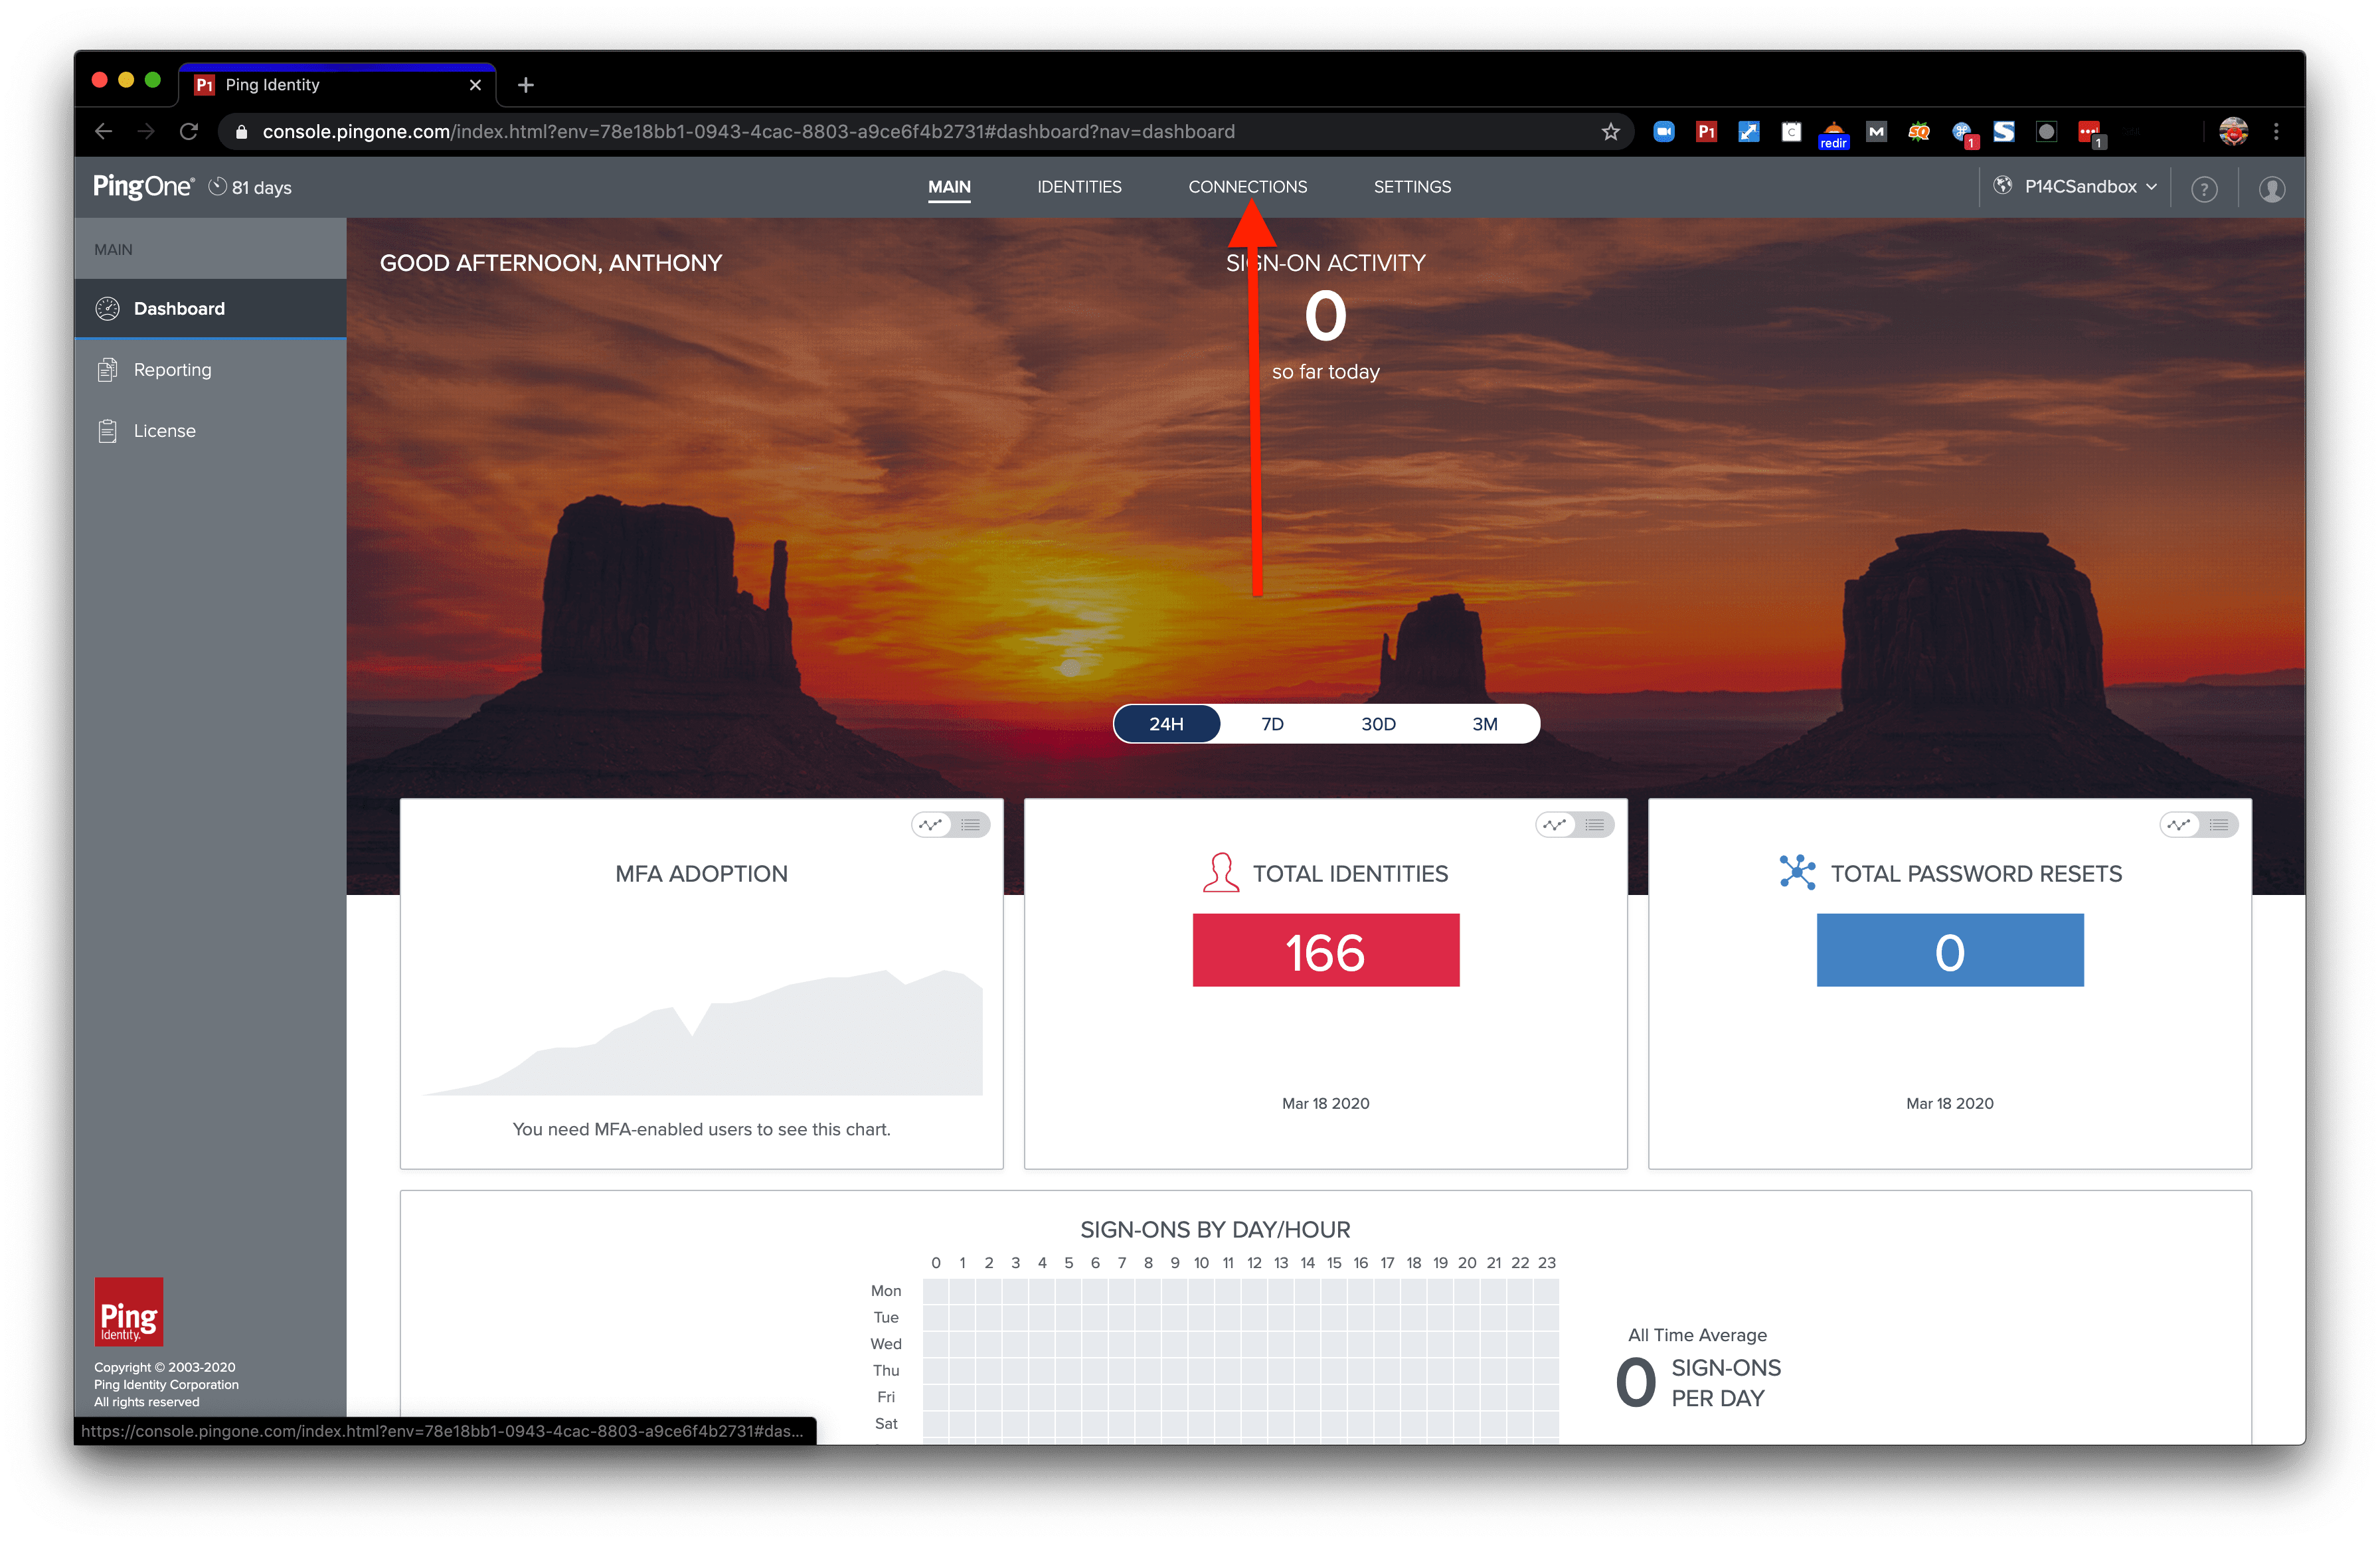
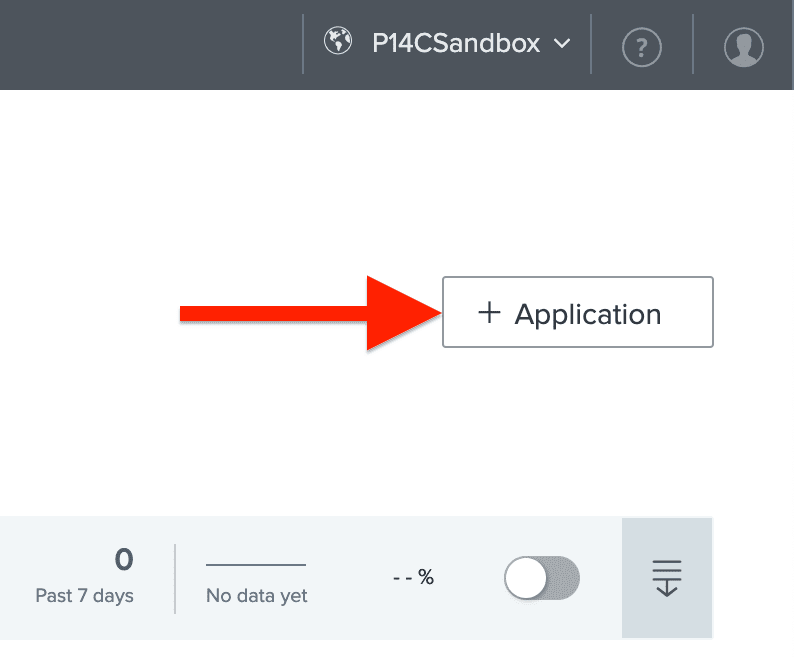
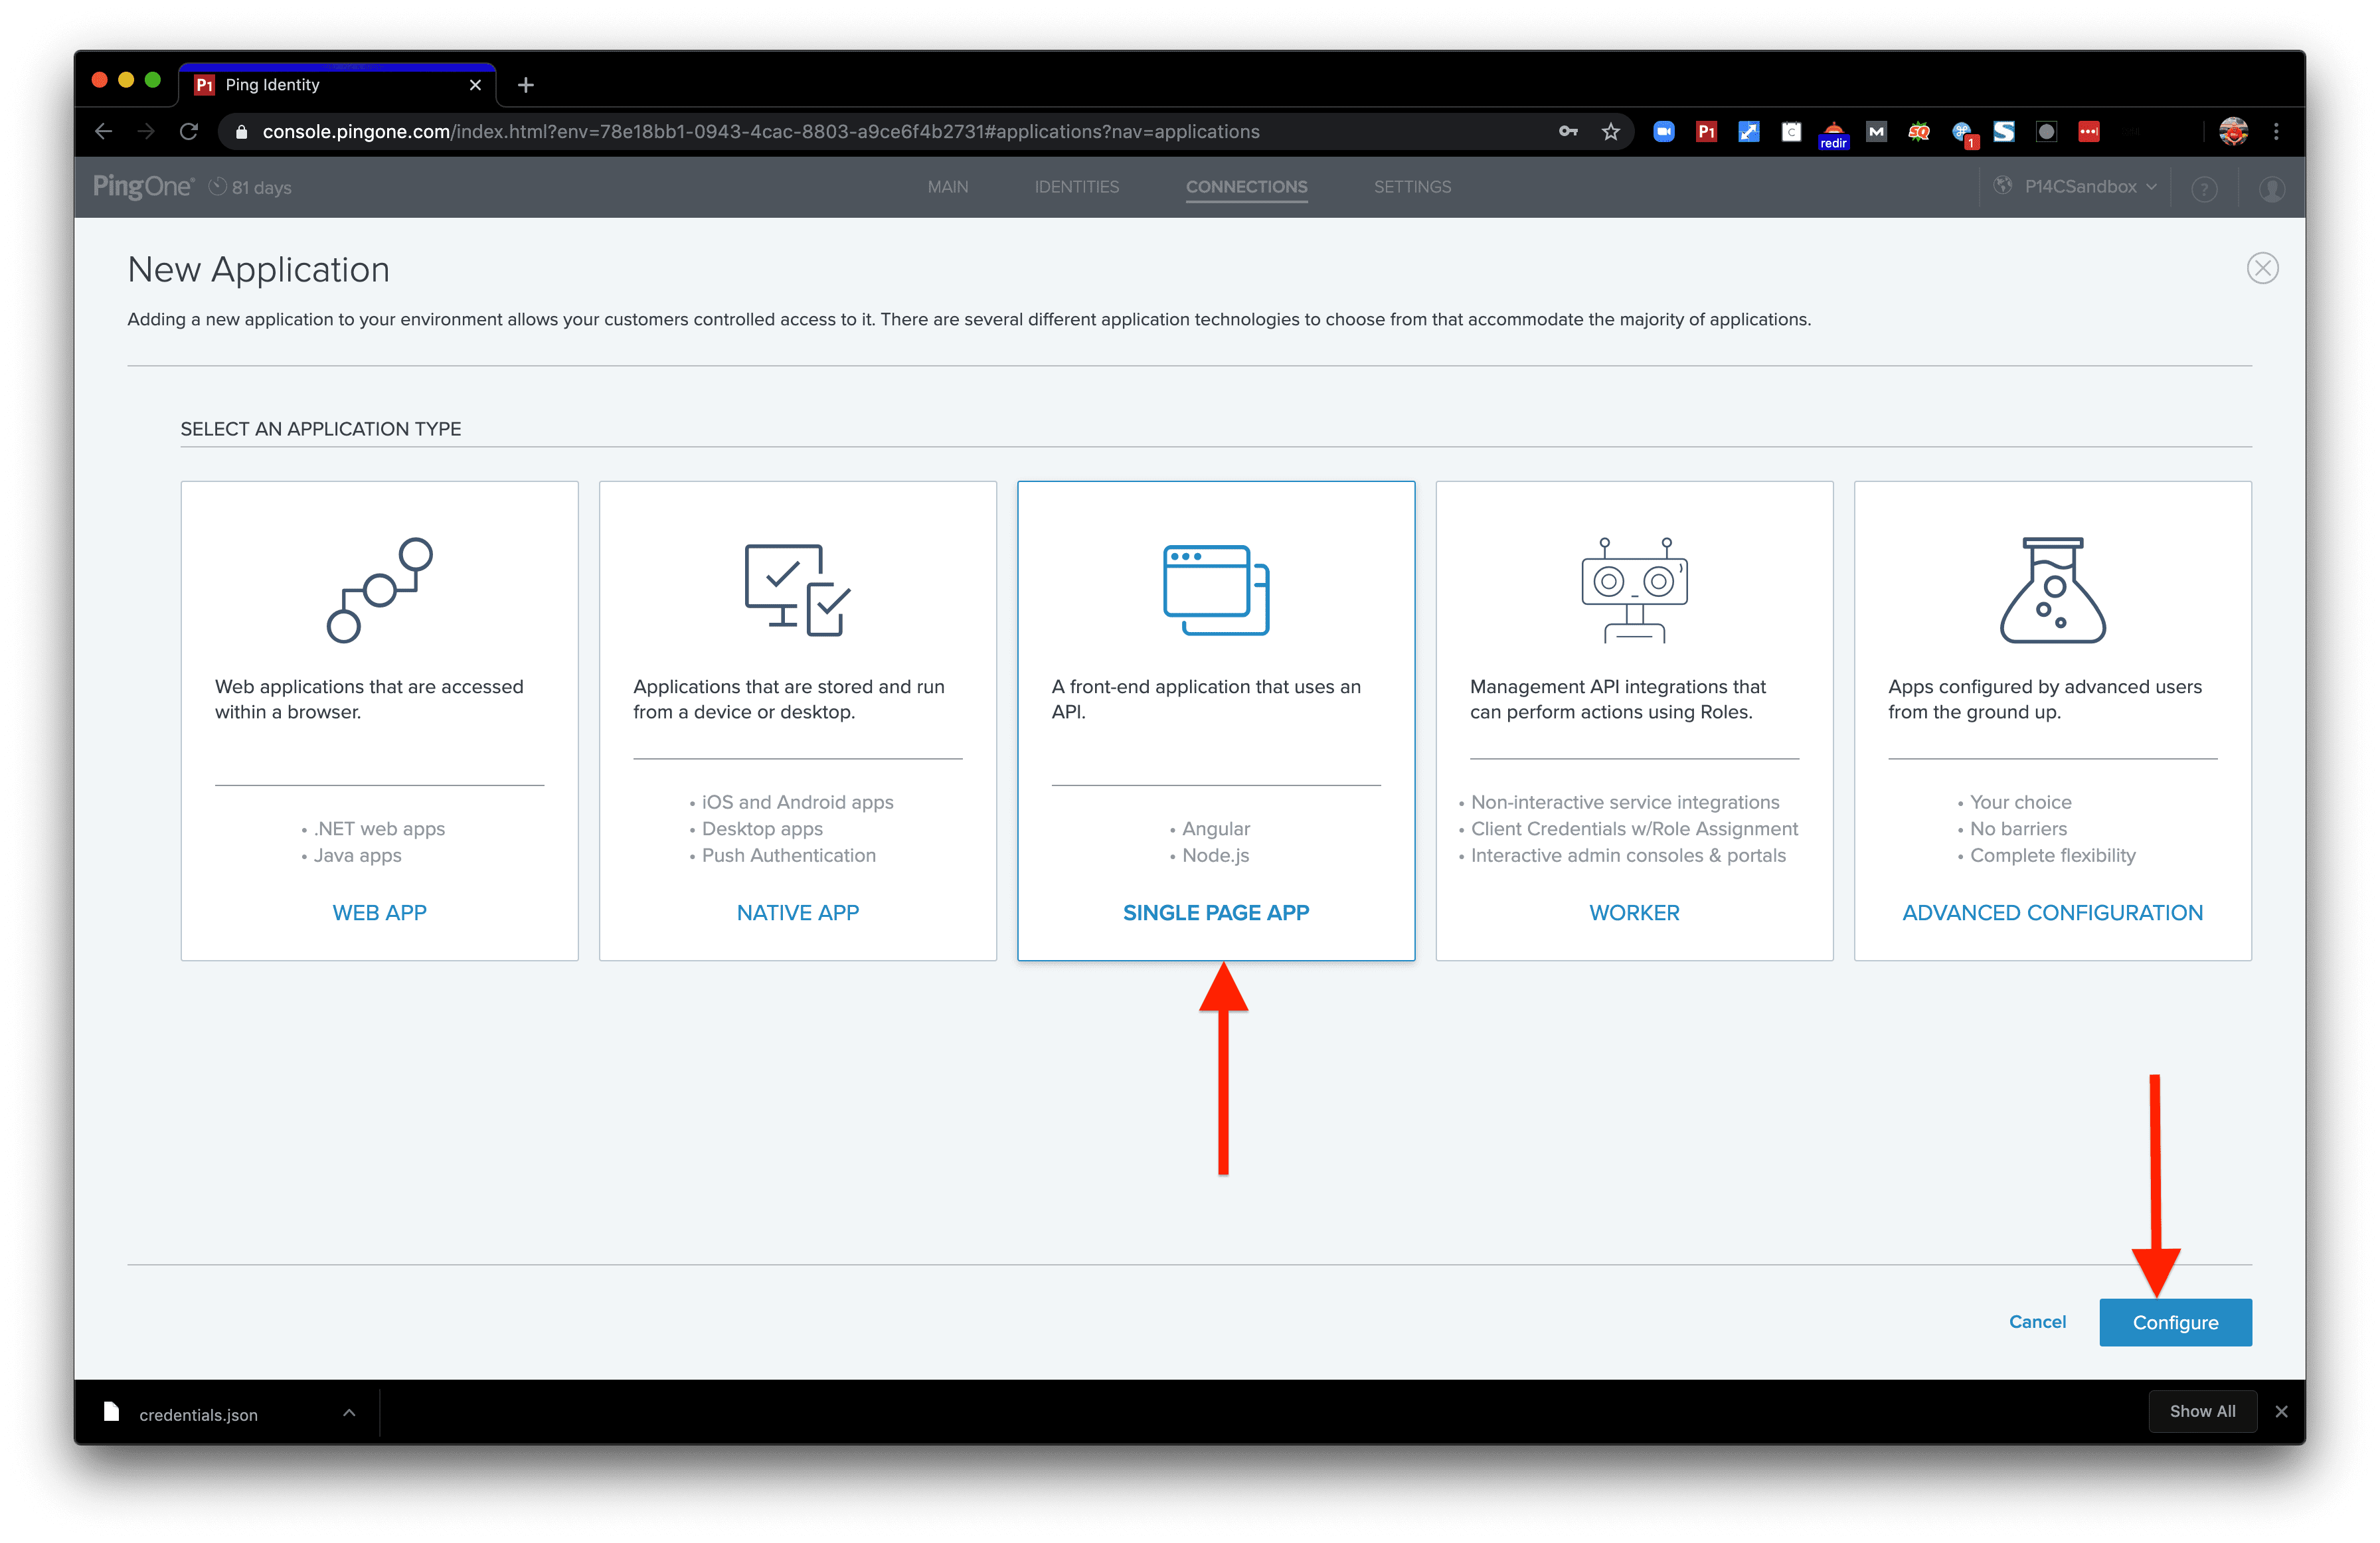
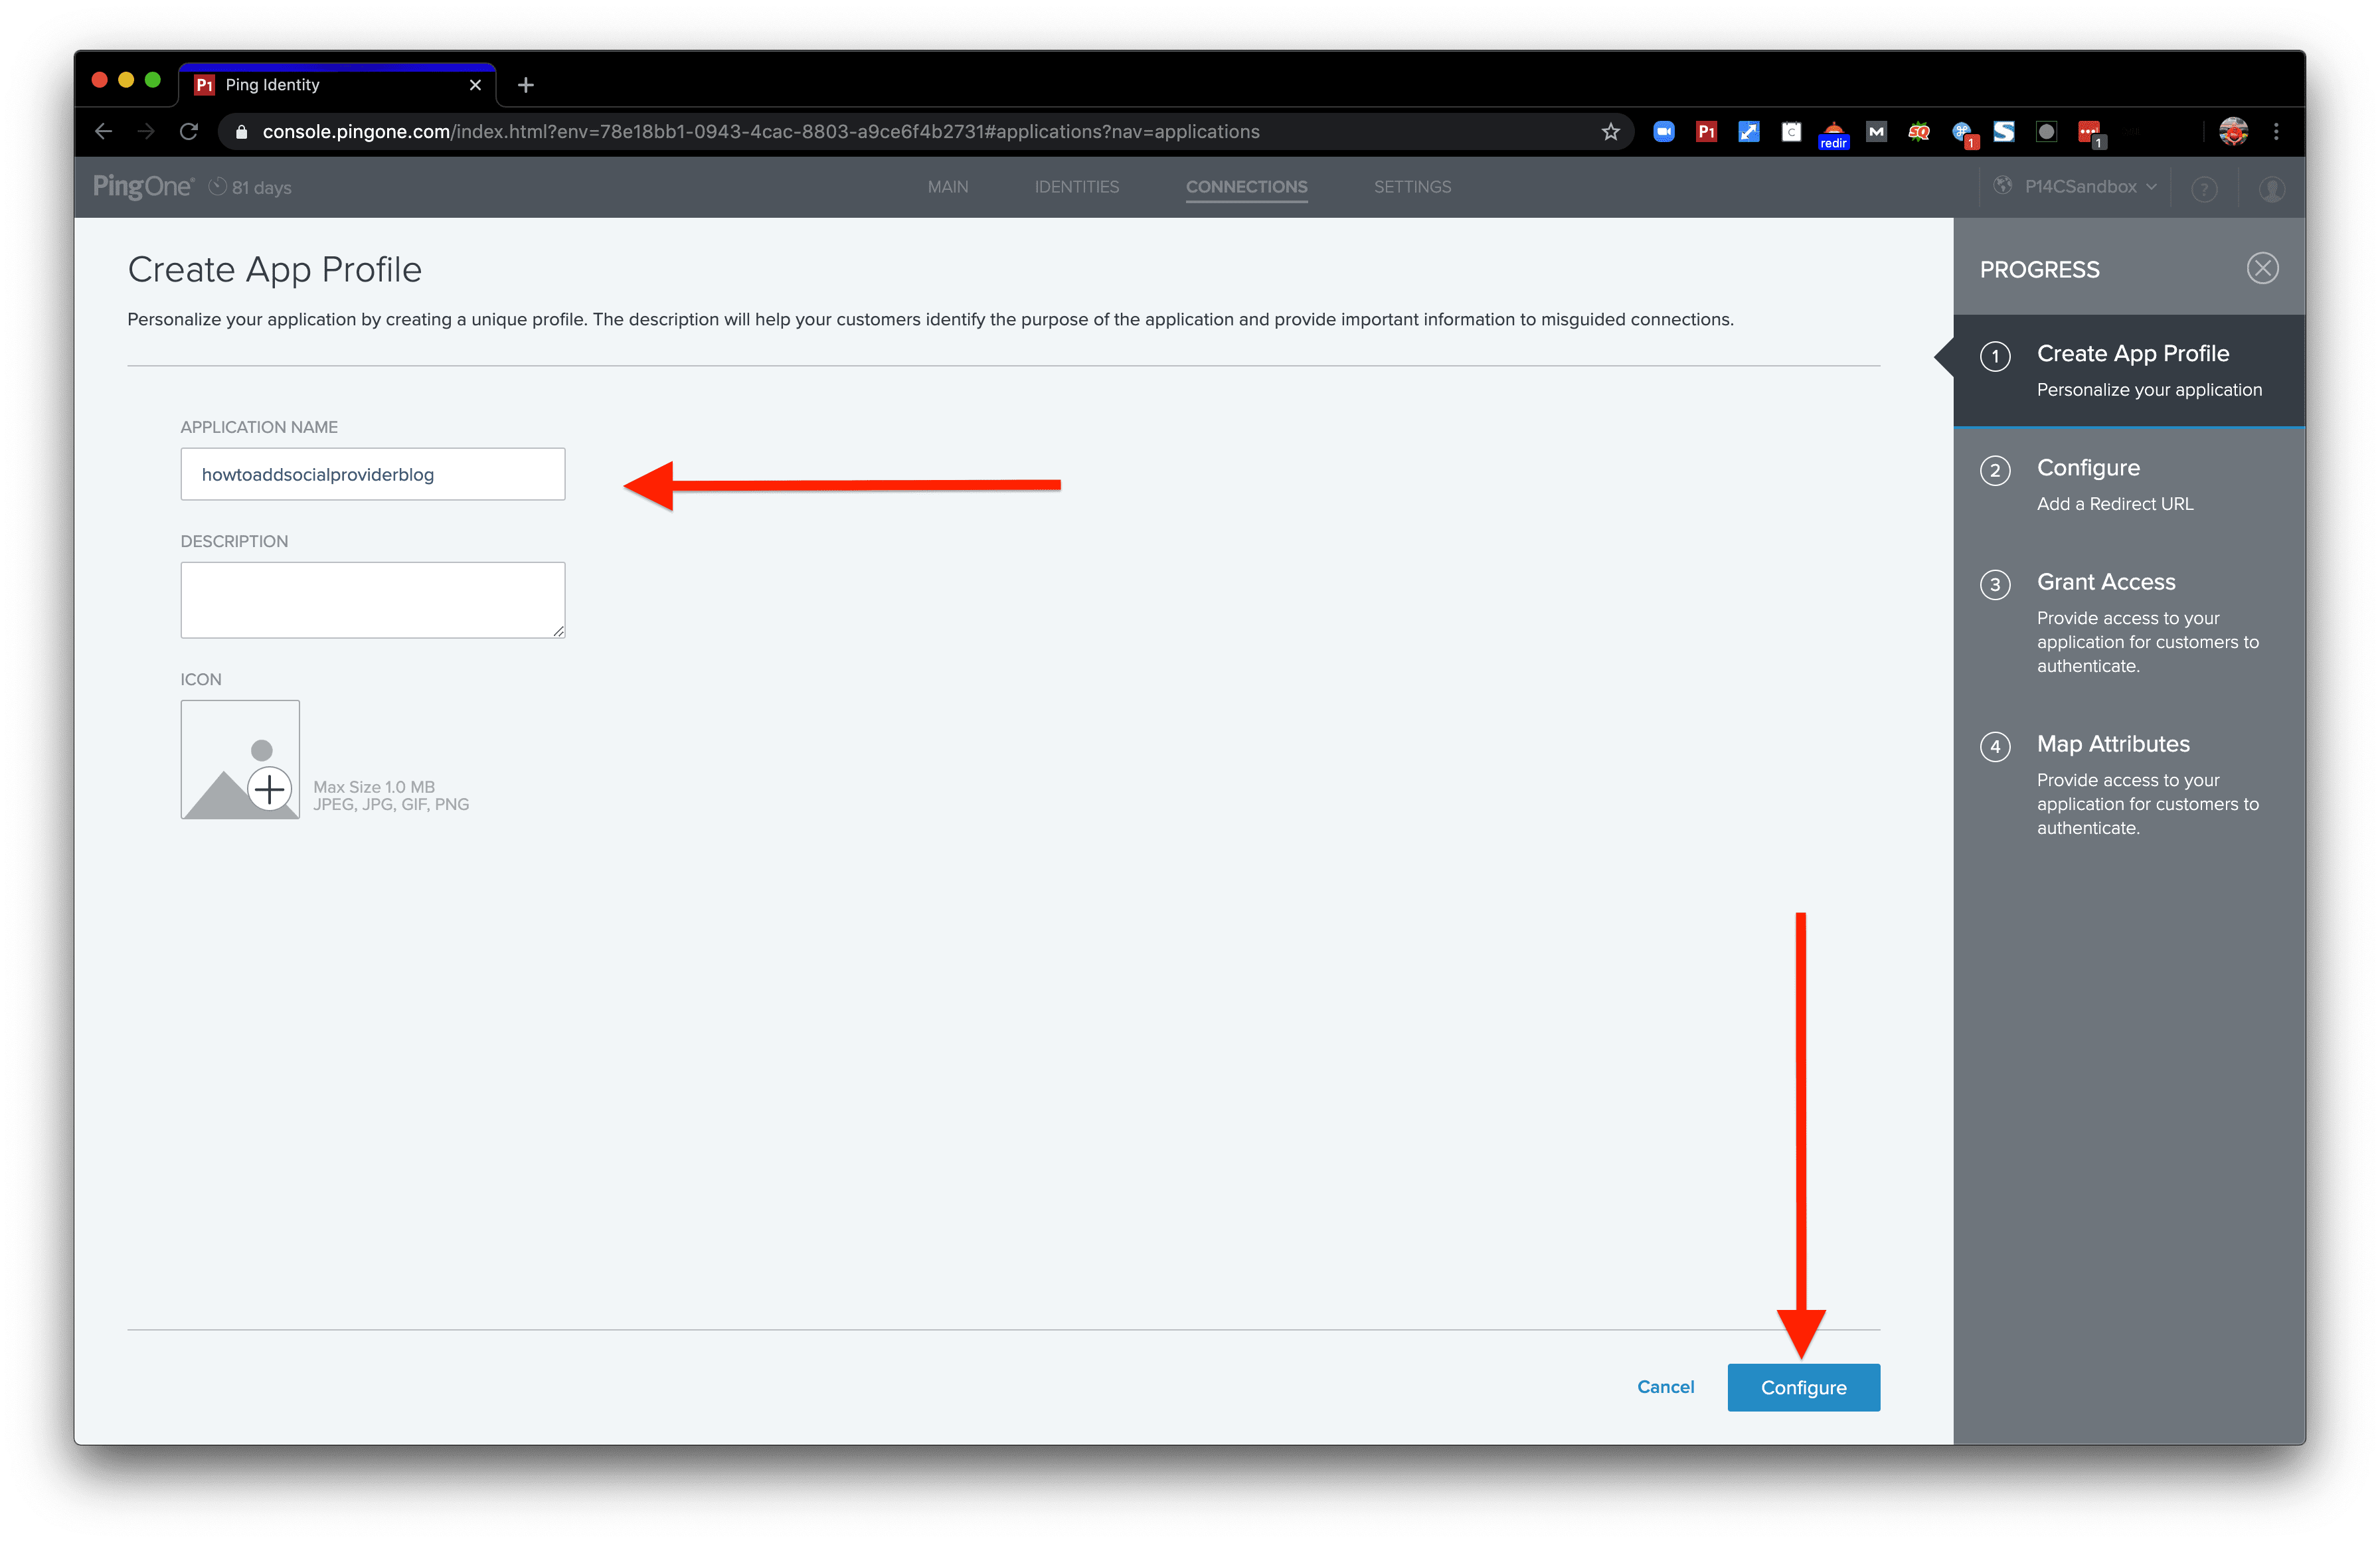
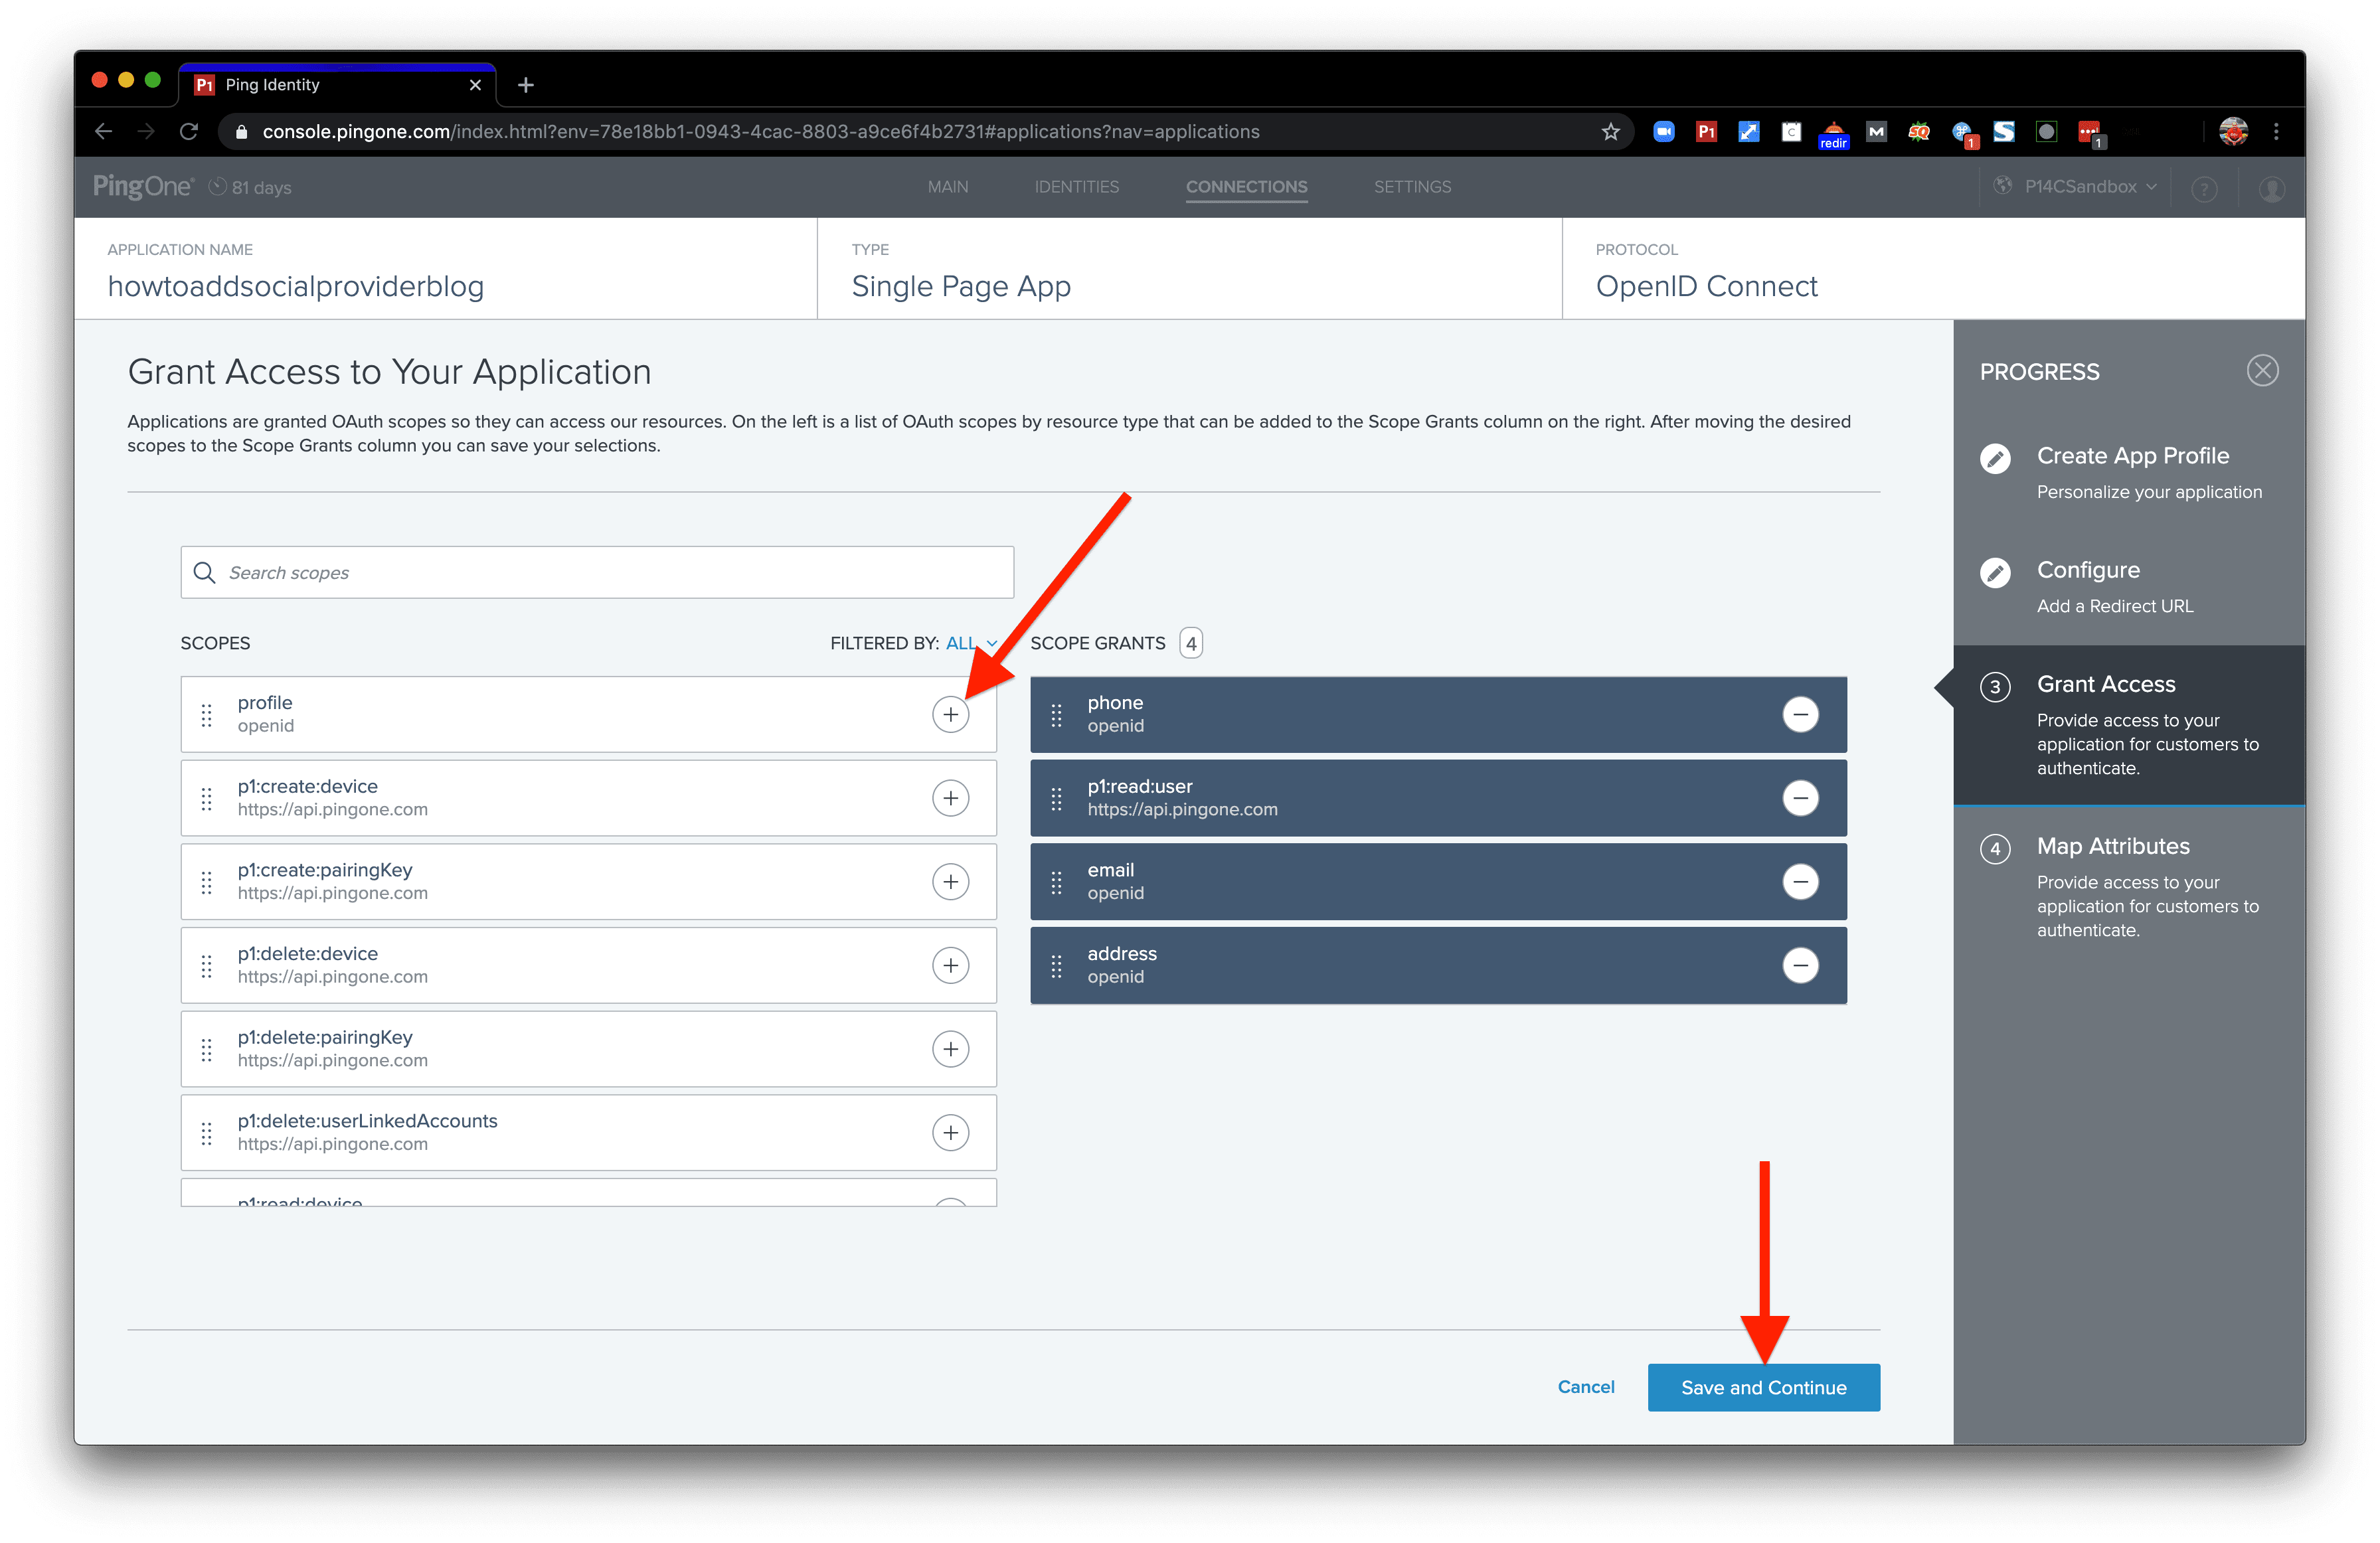
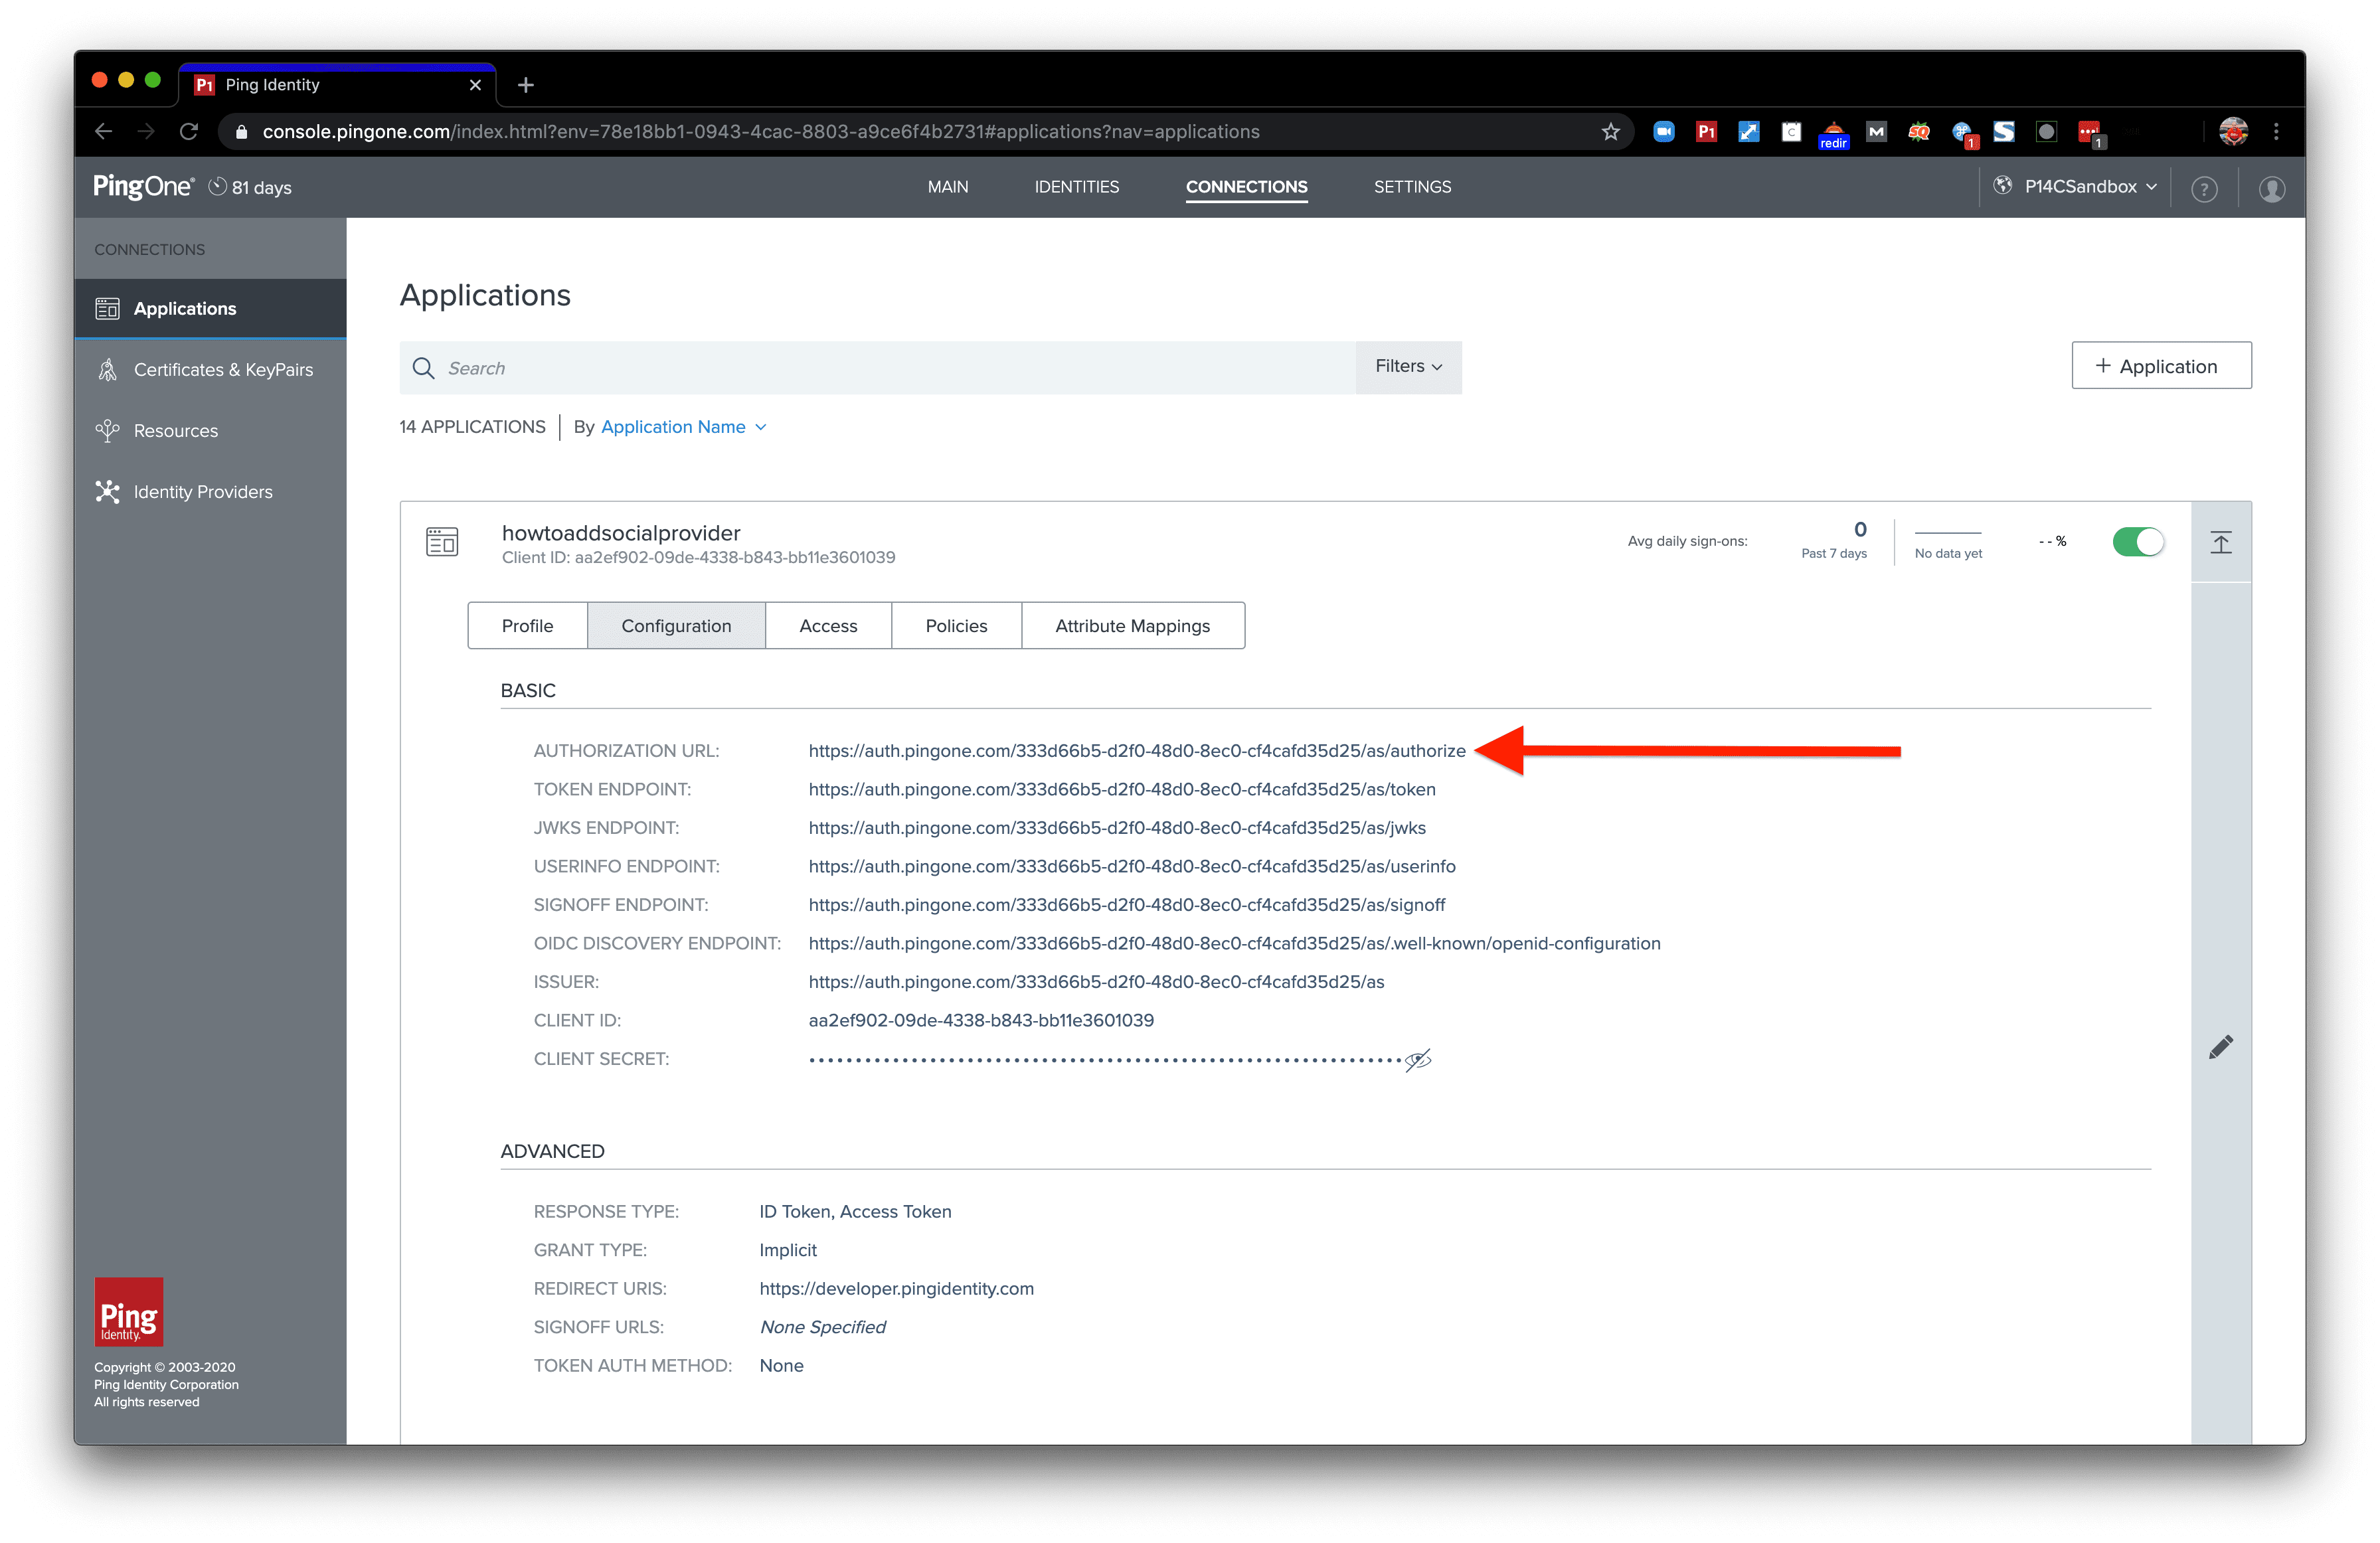
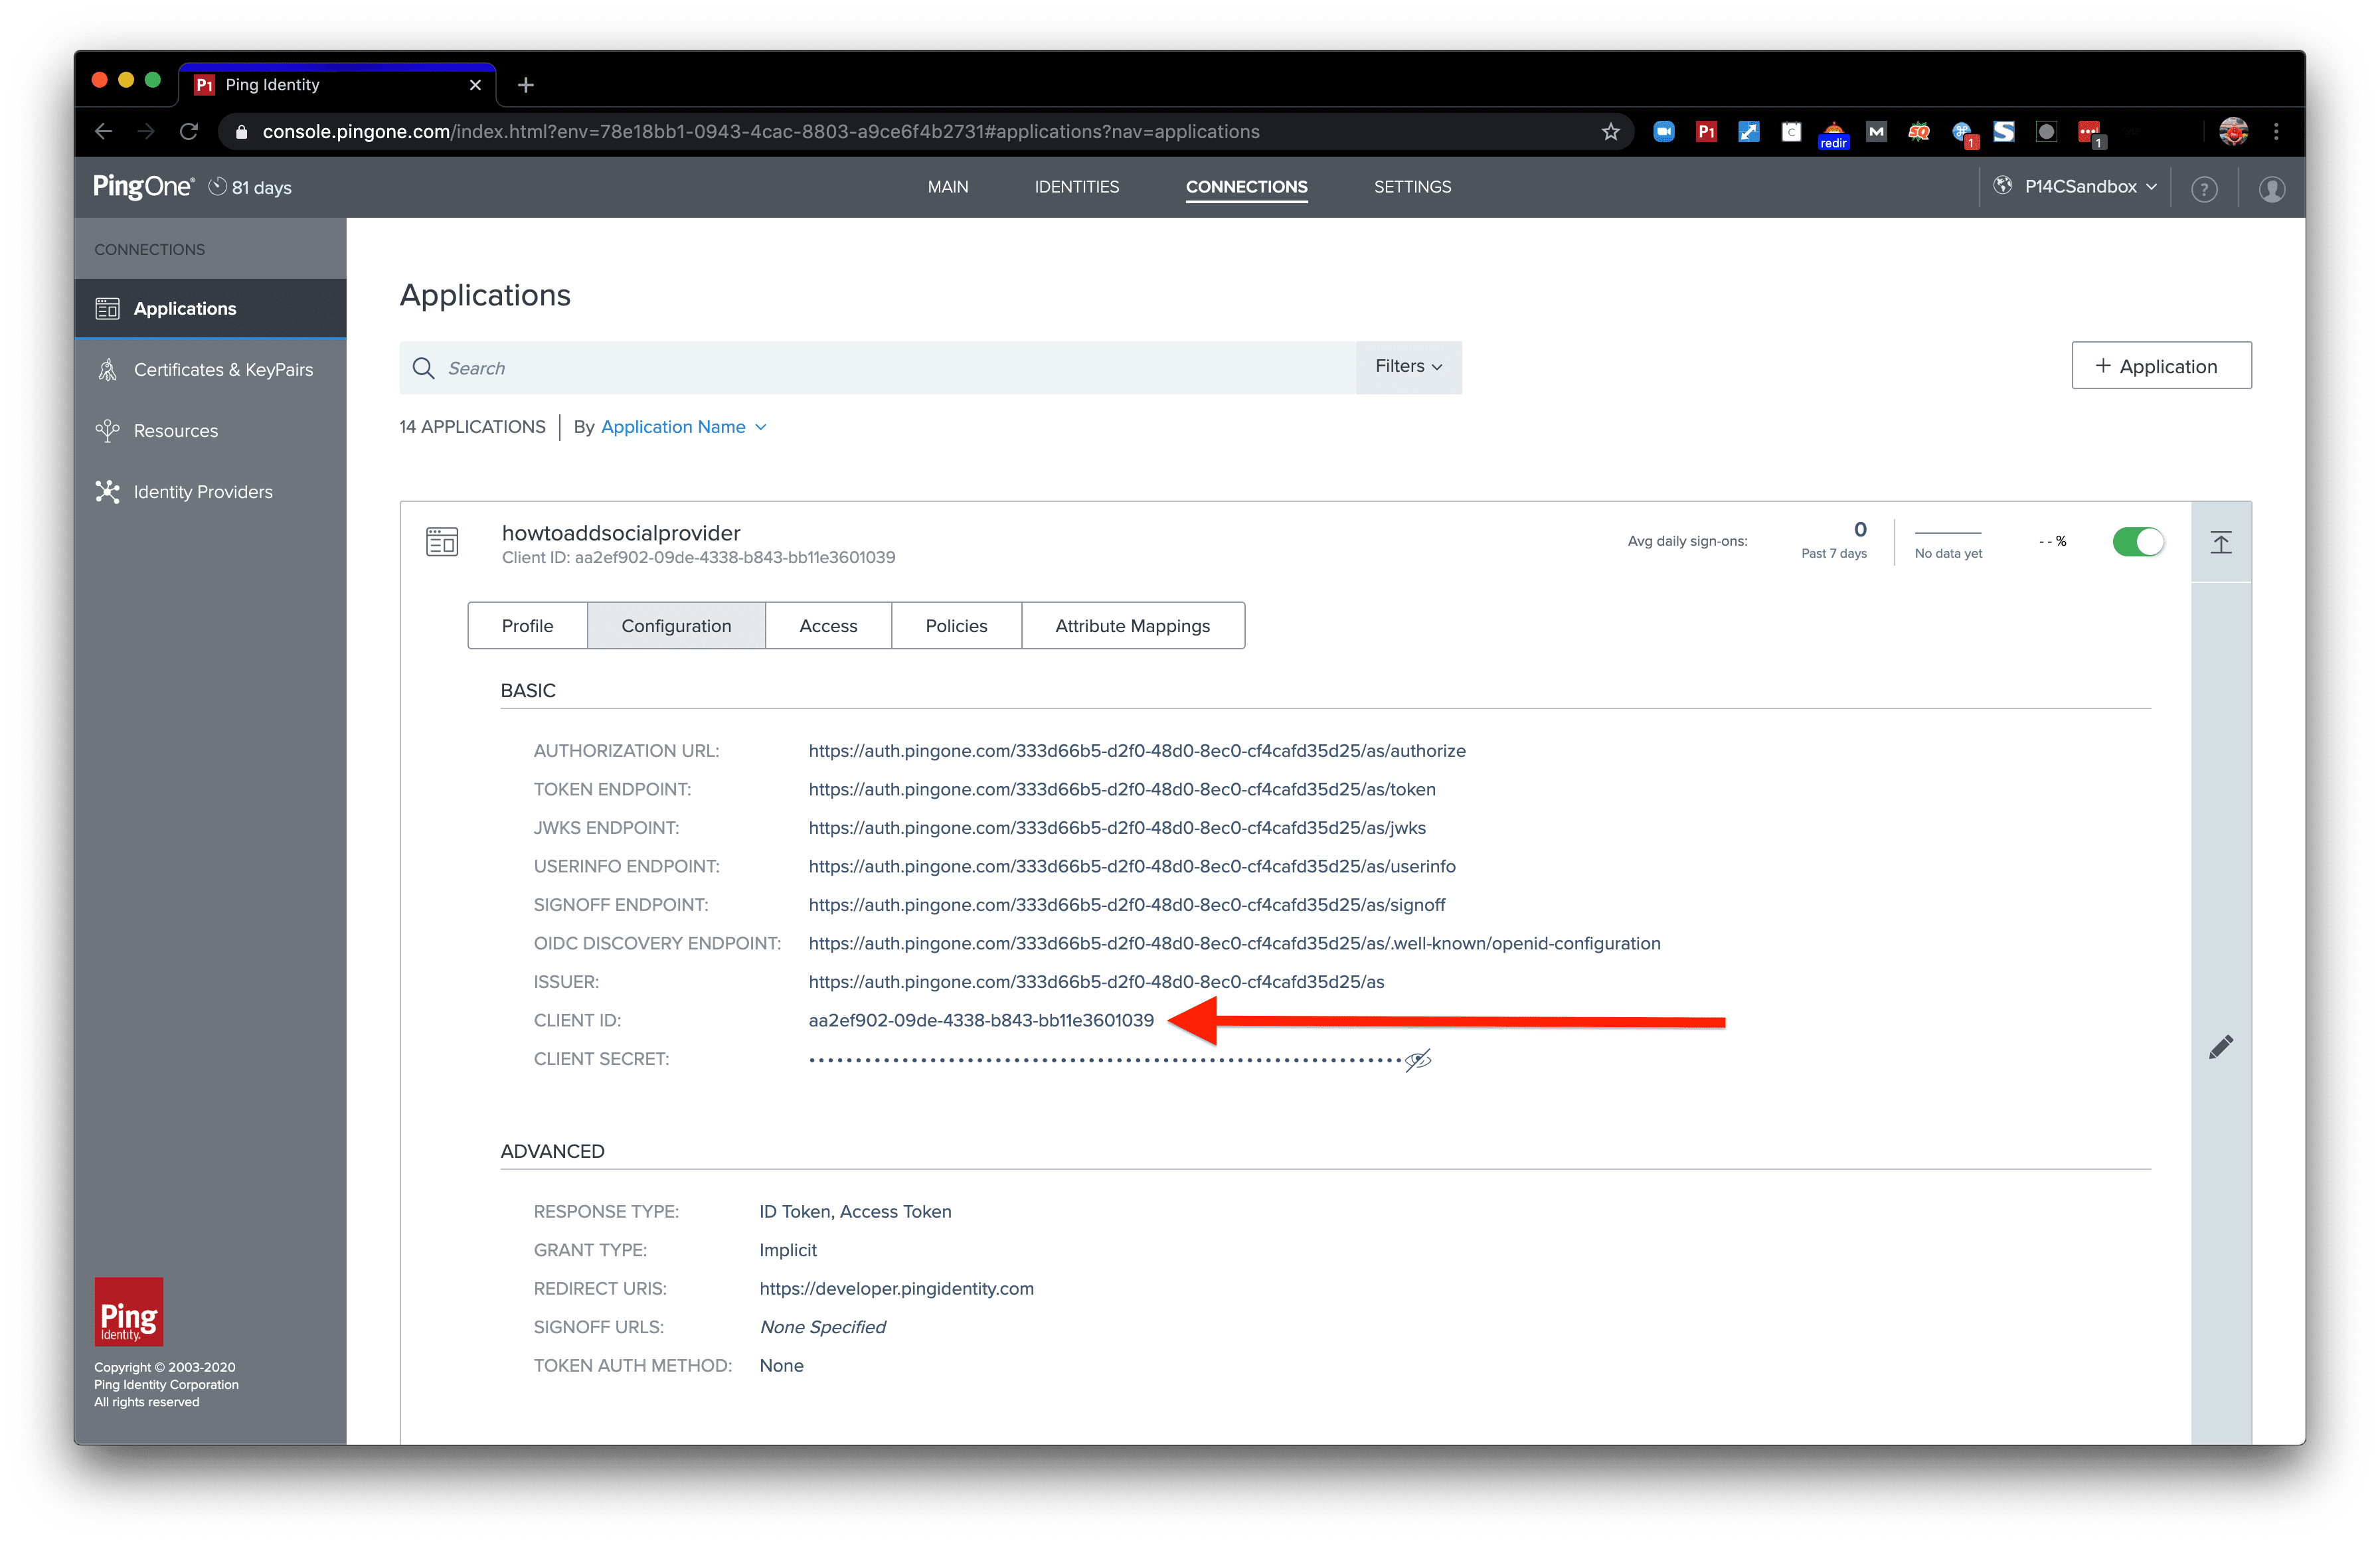
Step 2. How to Create an App Connection
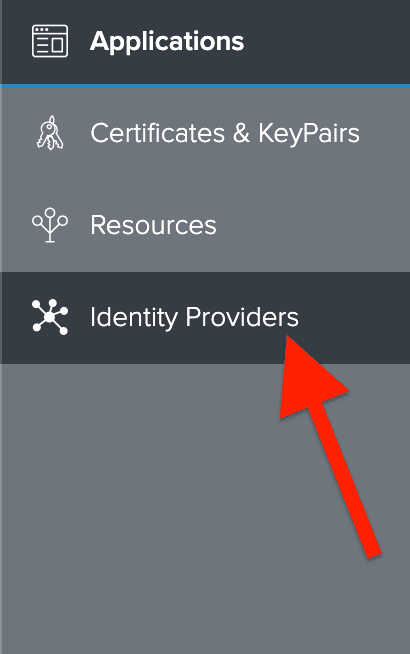
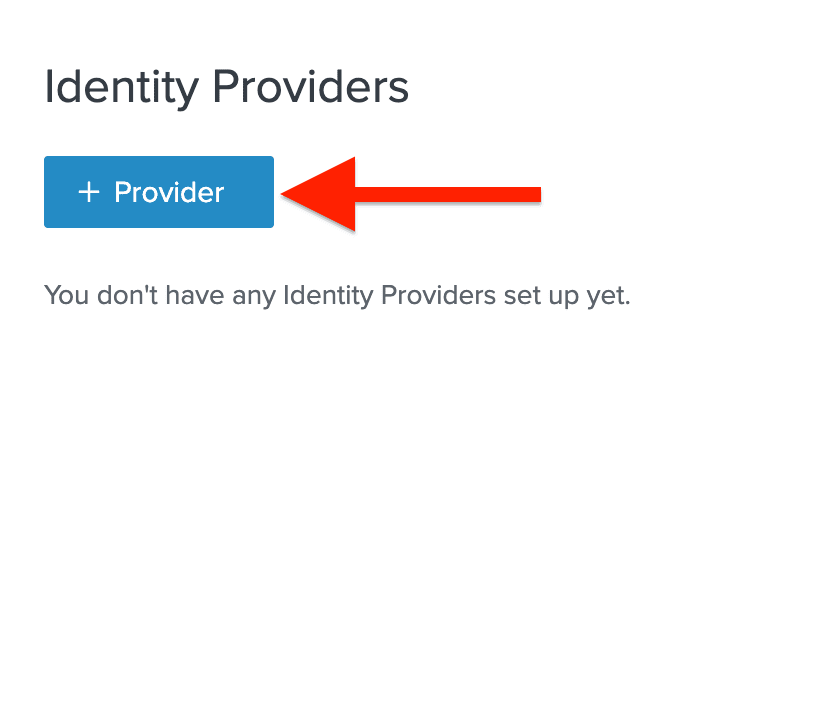
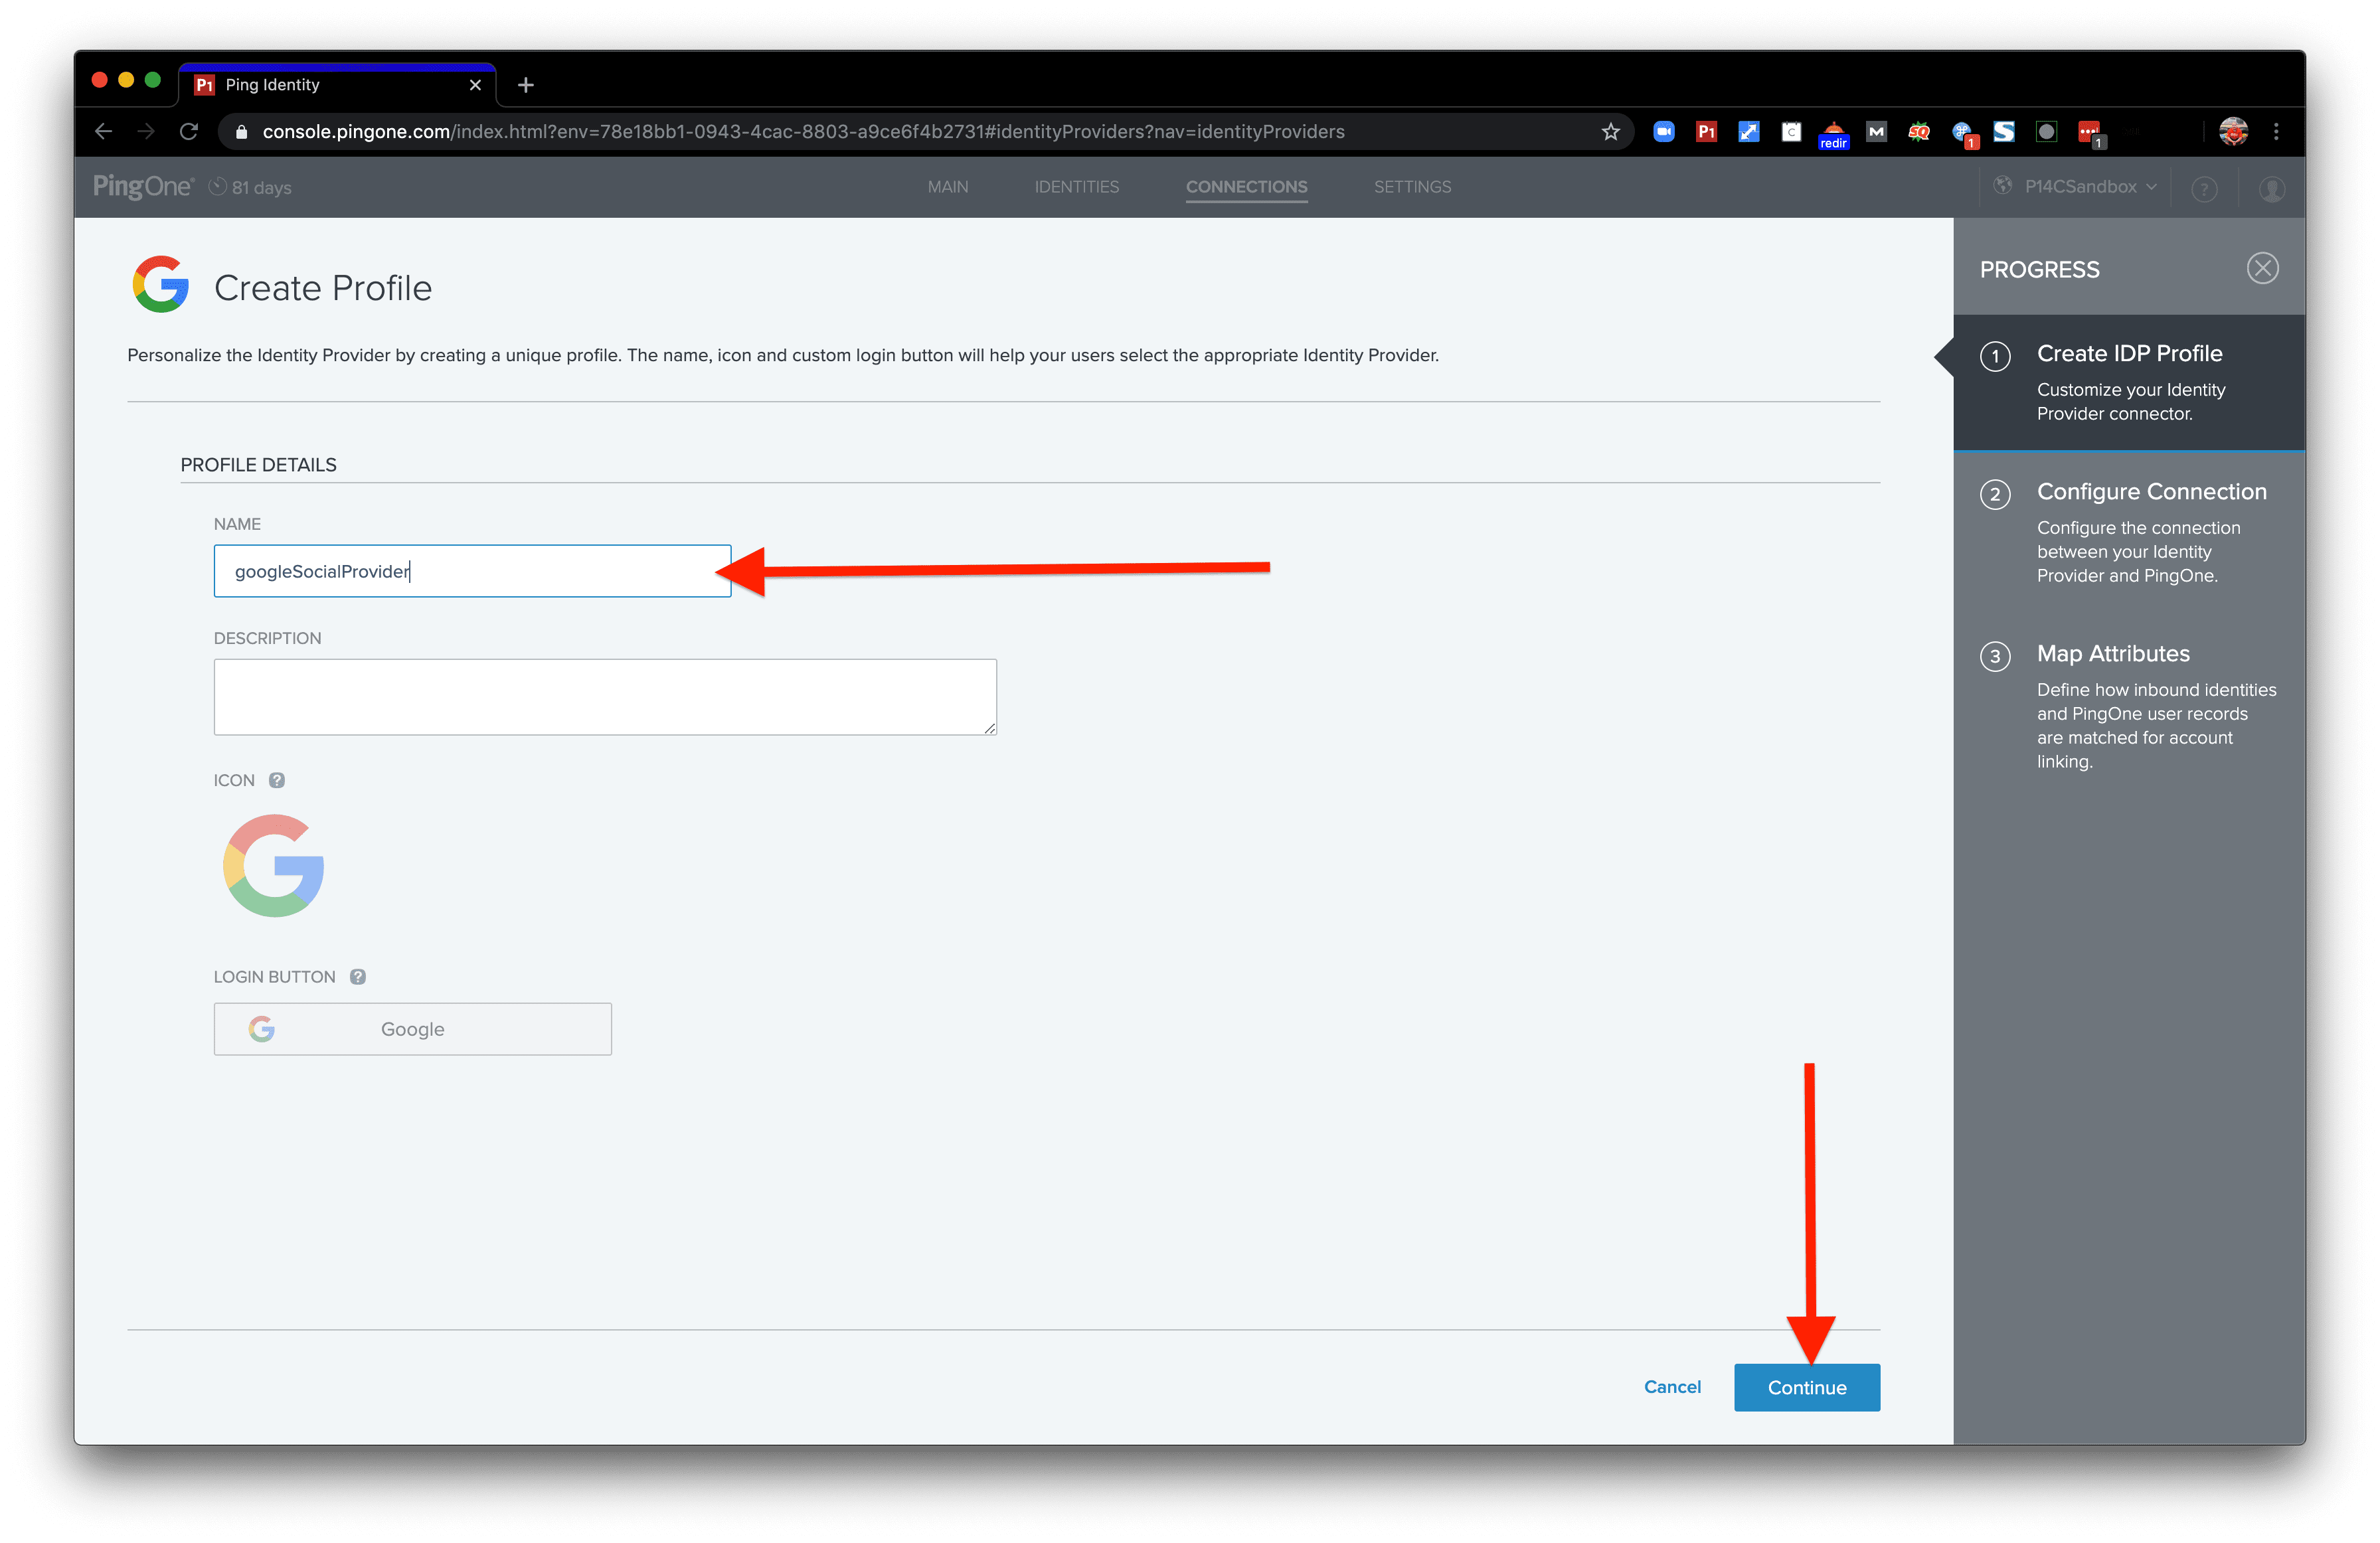
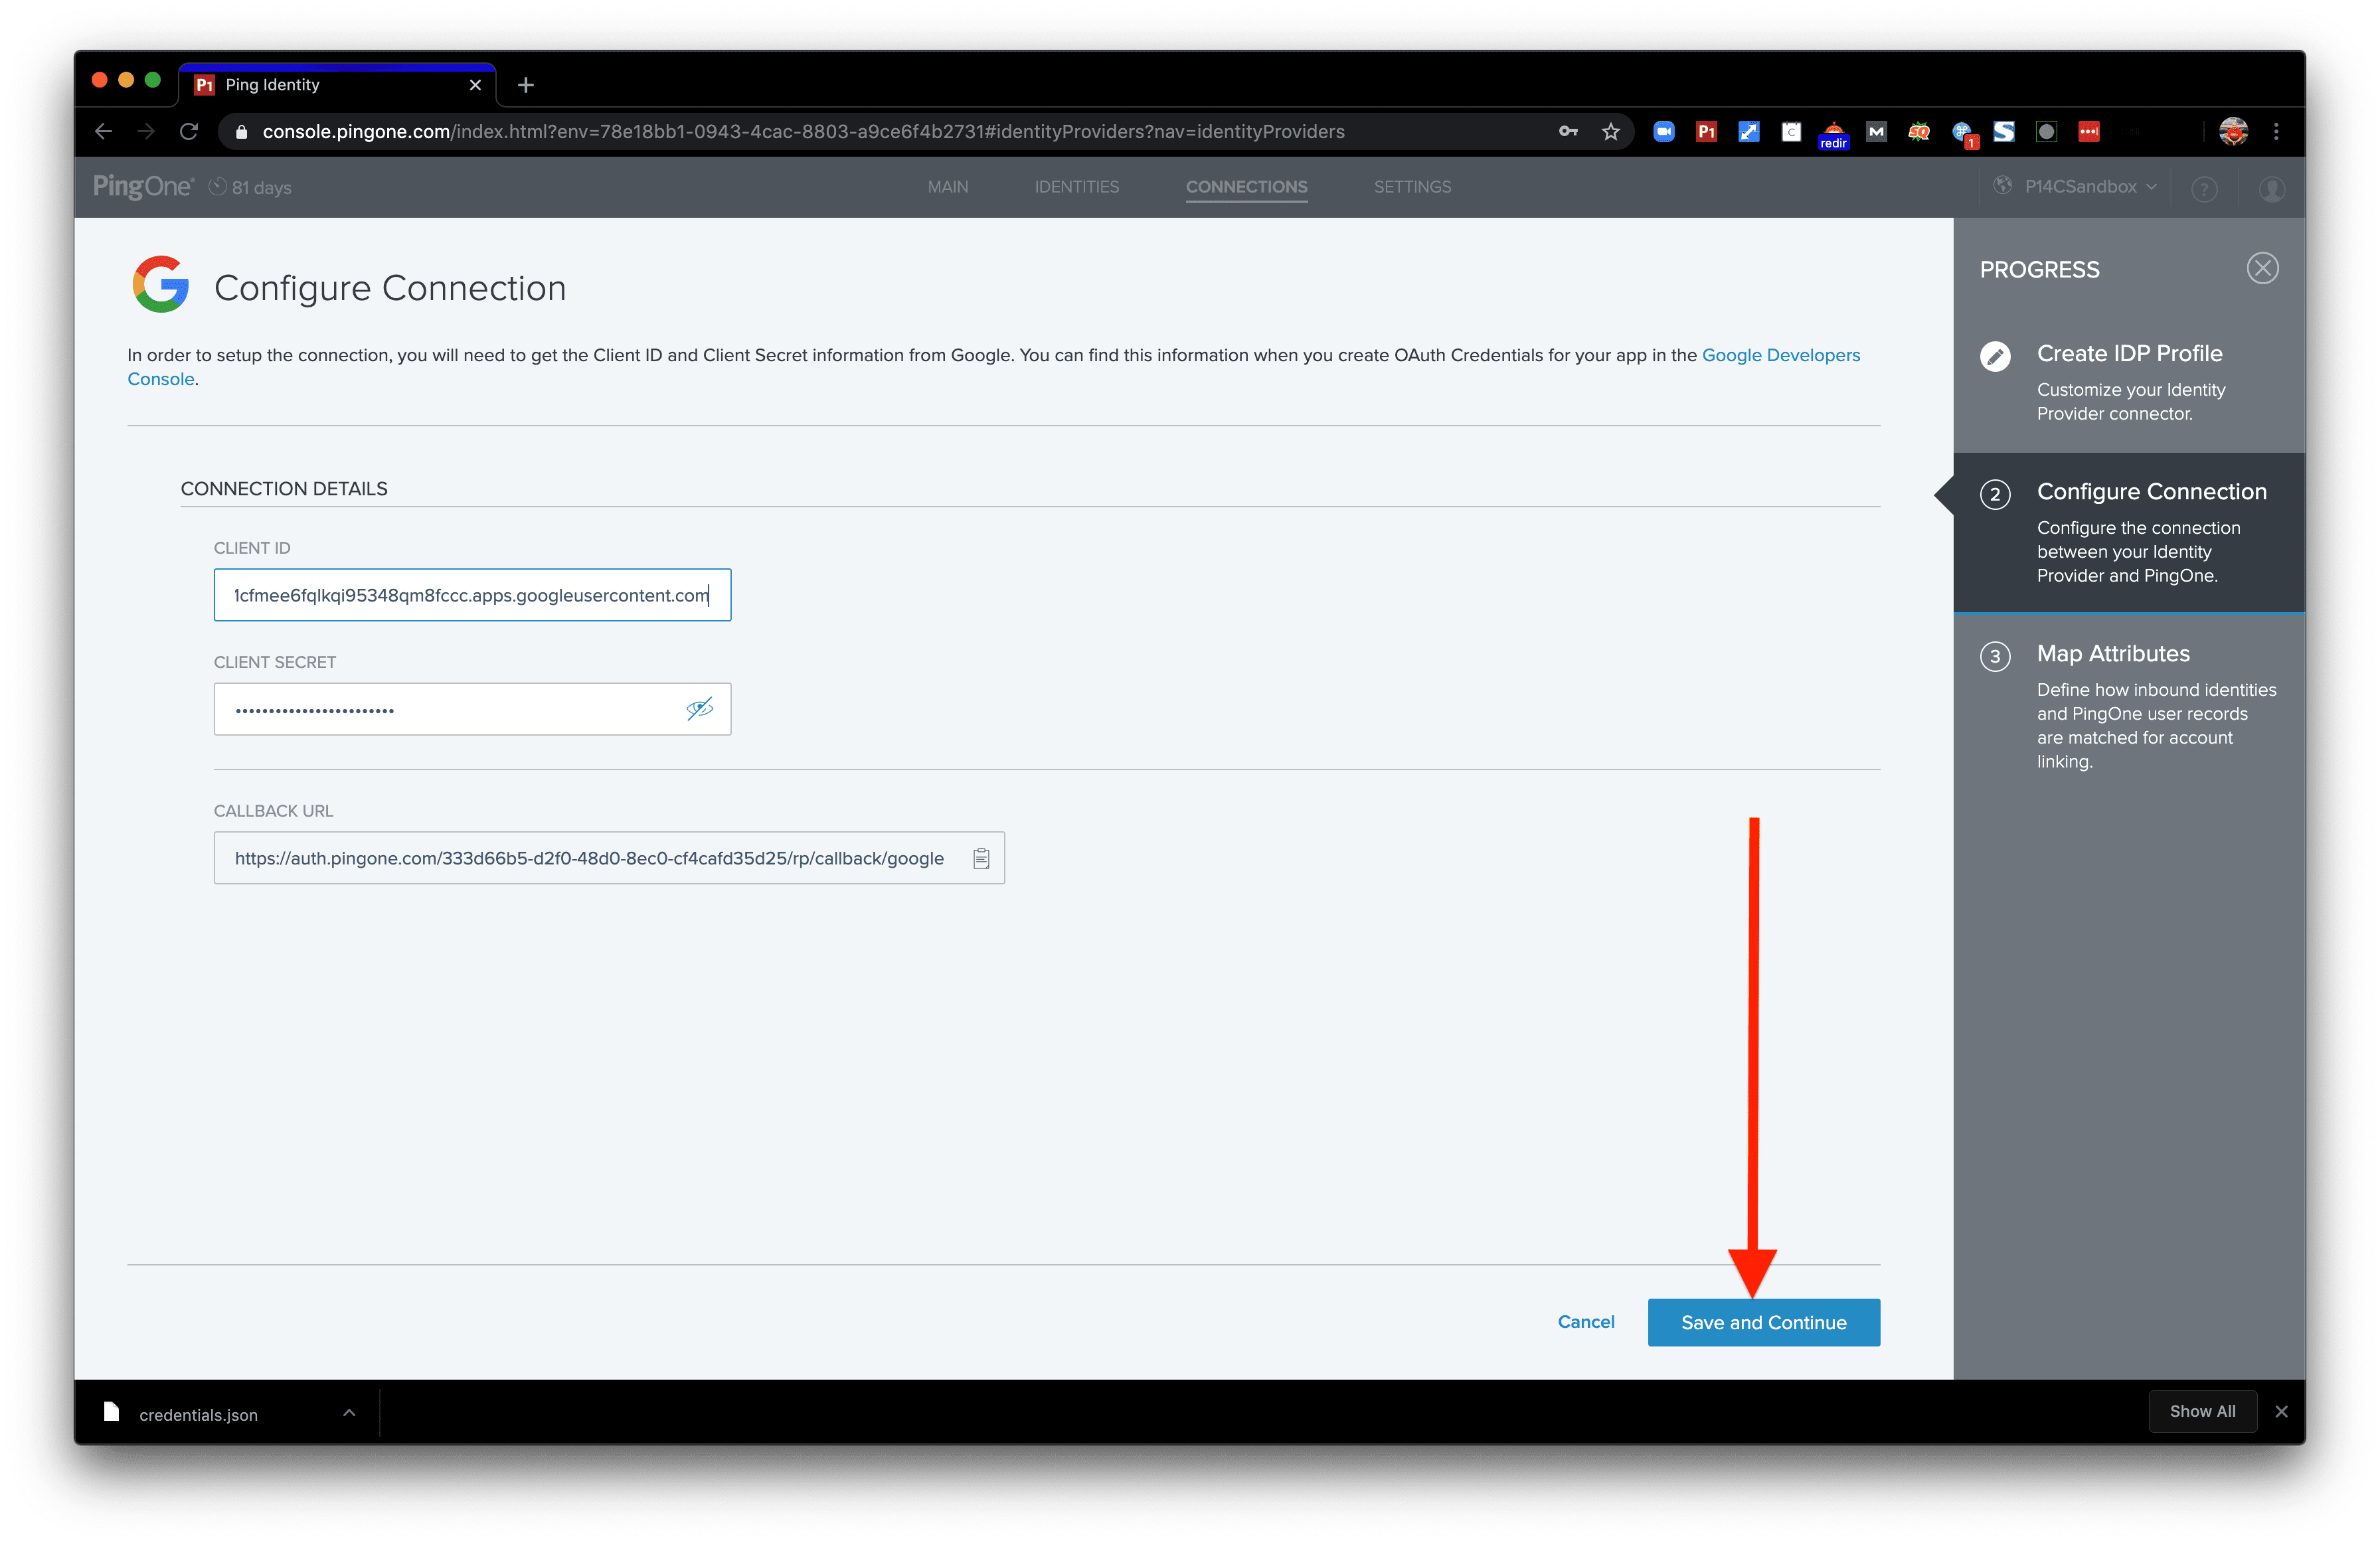
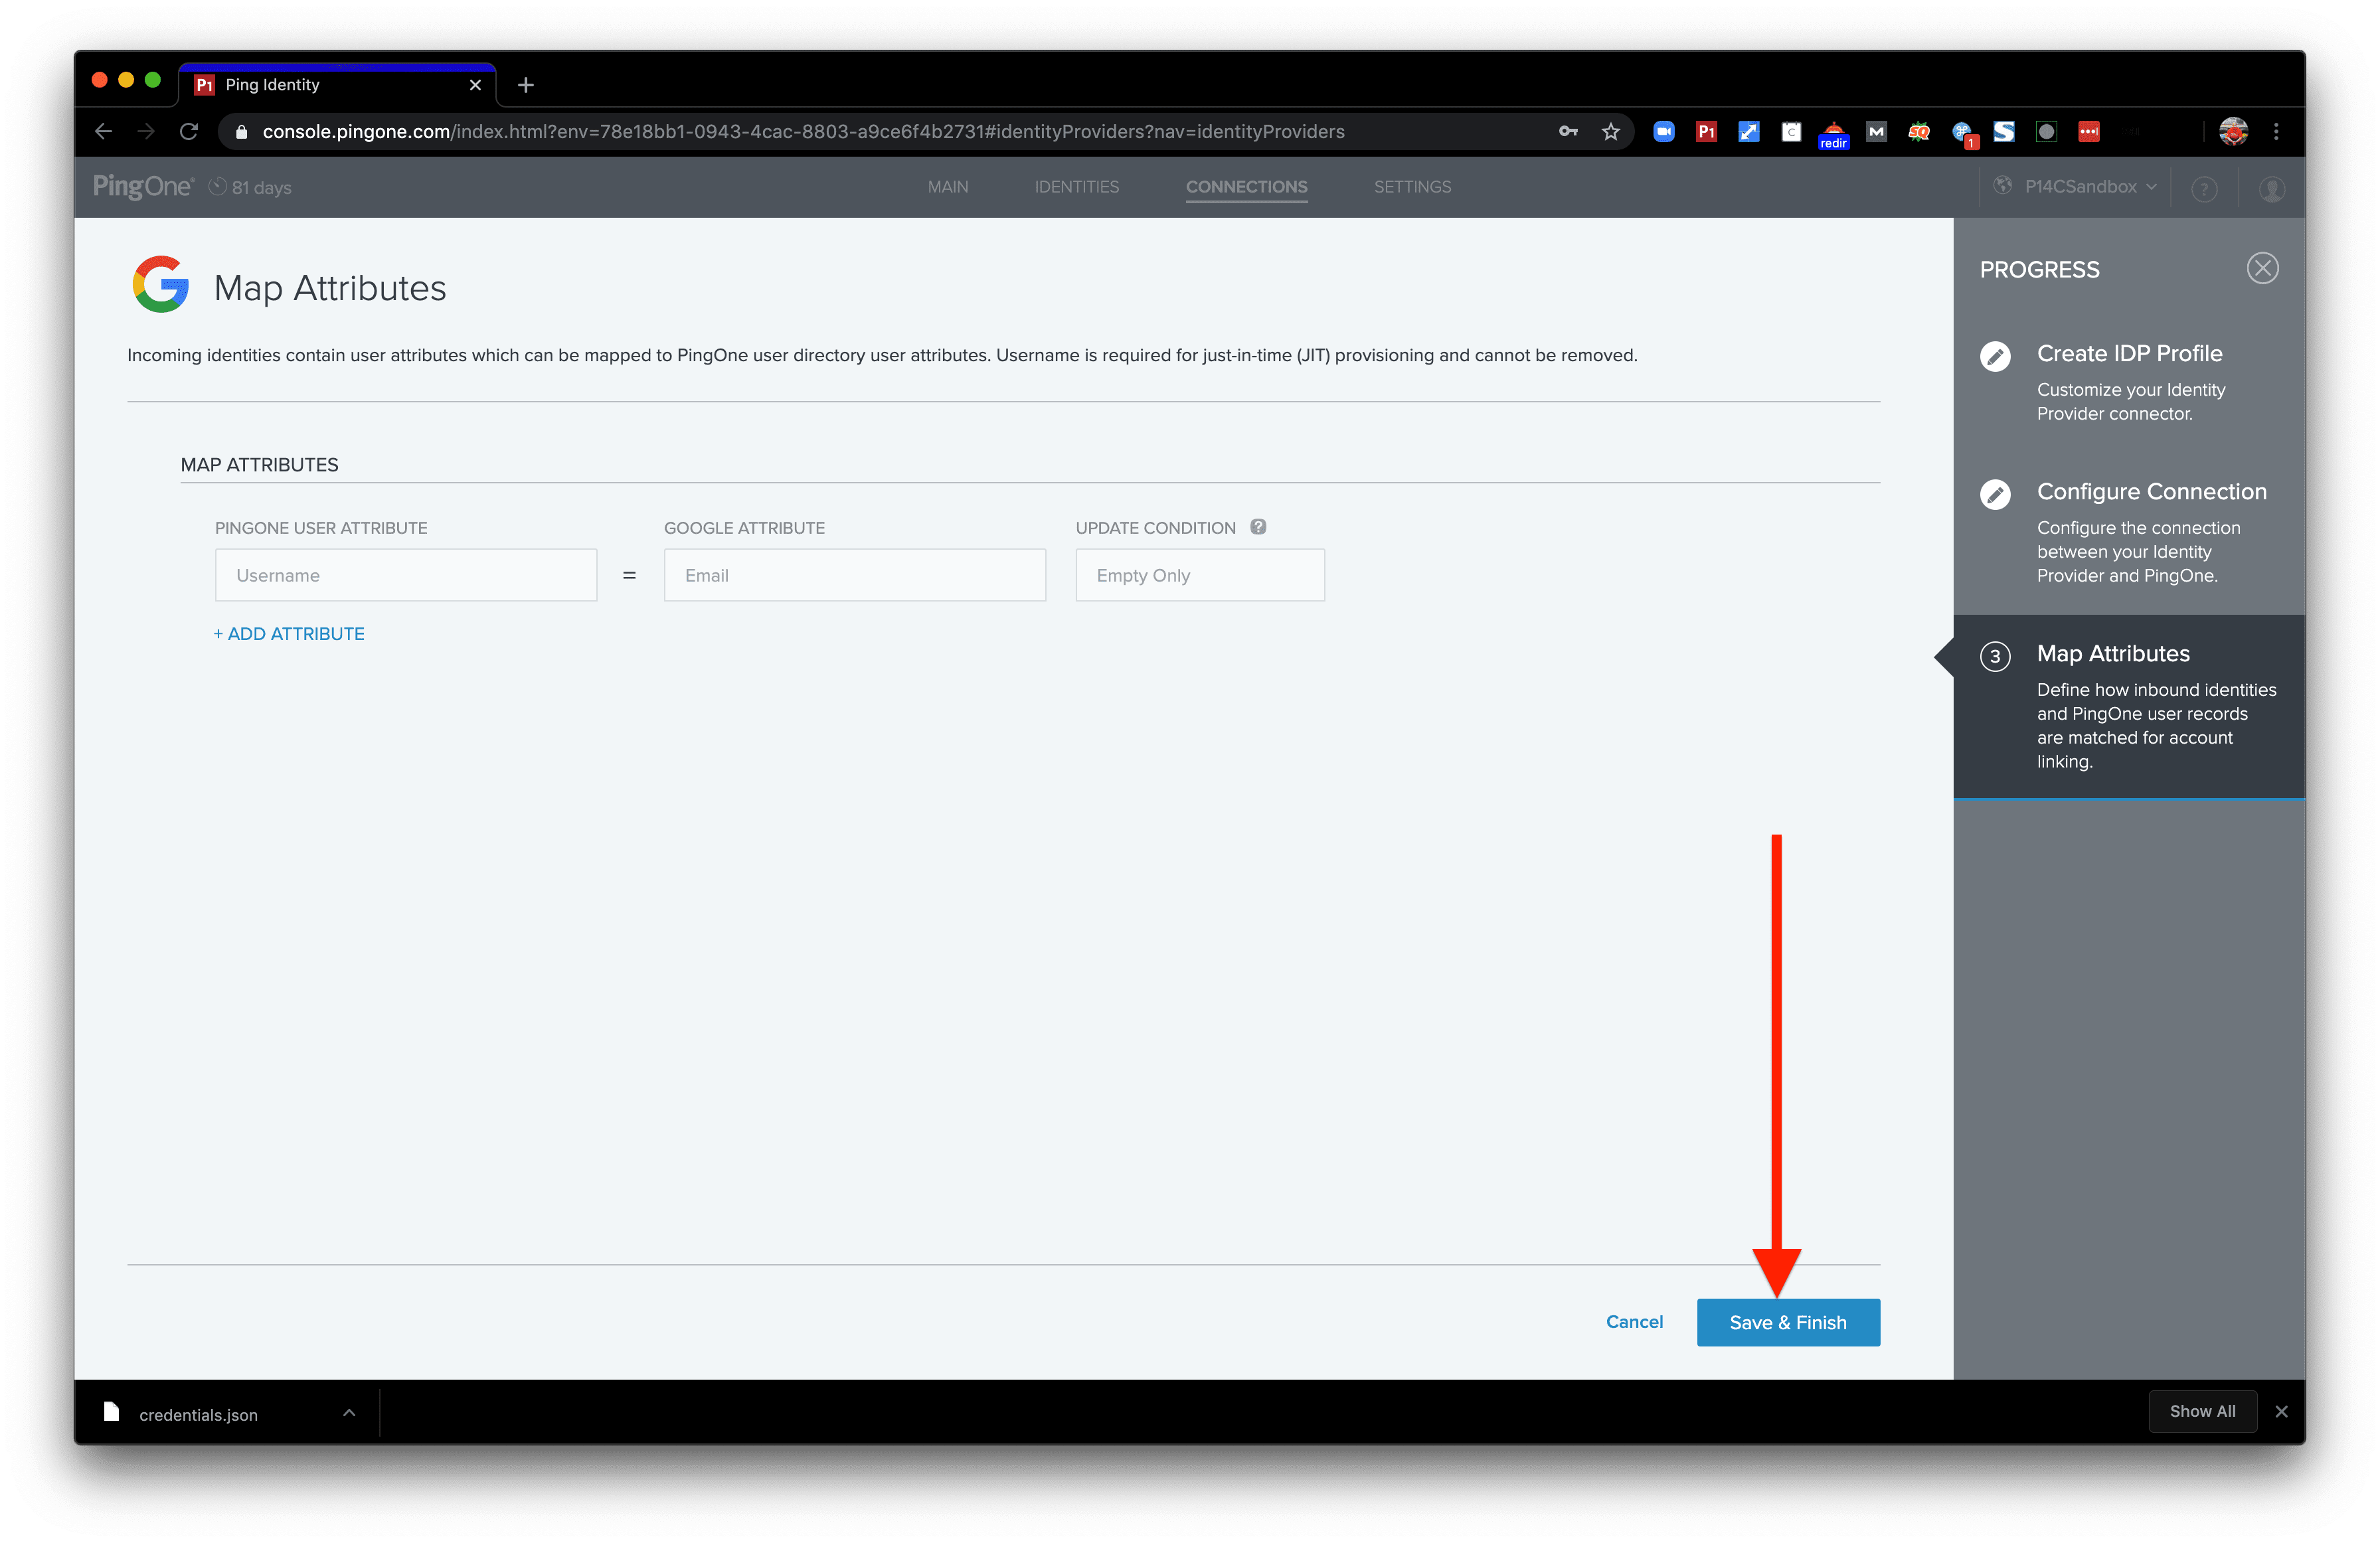
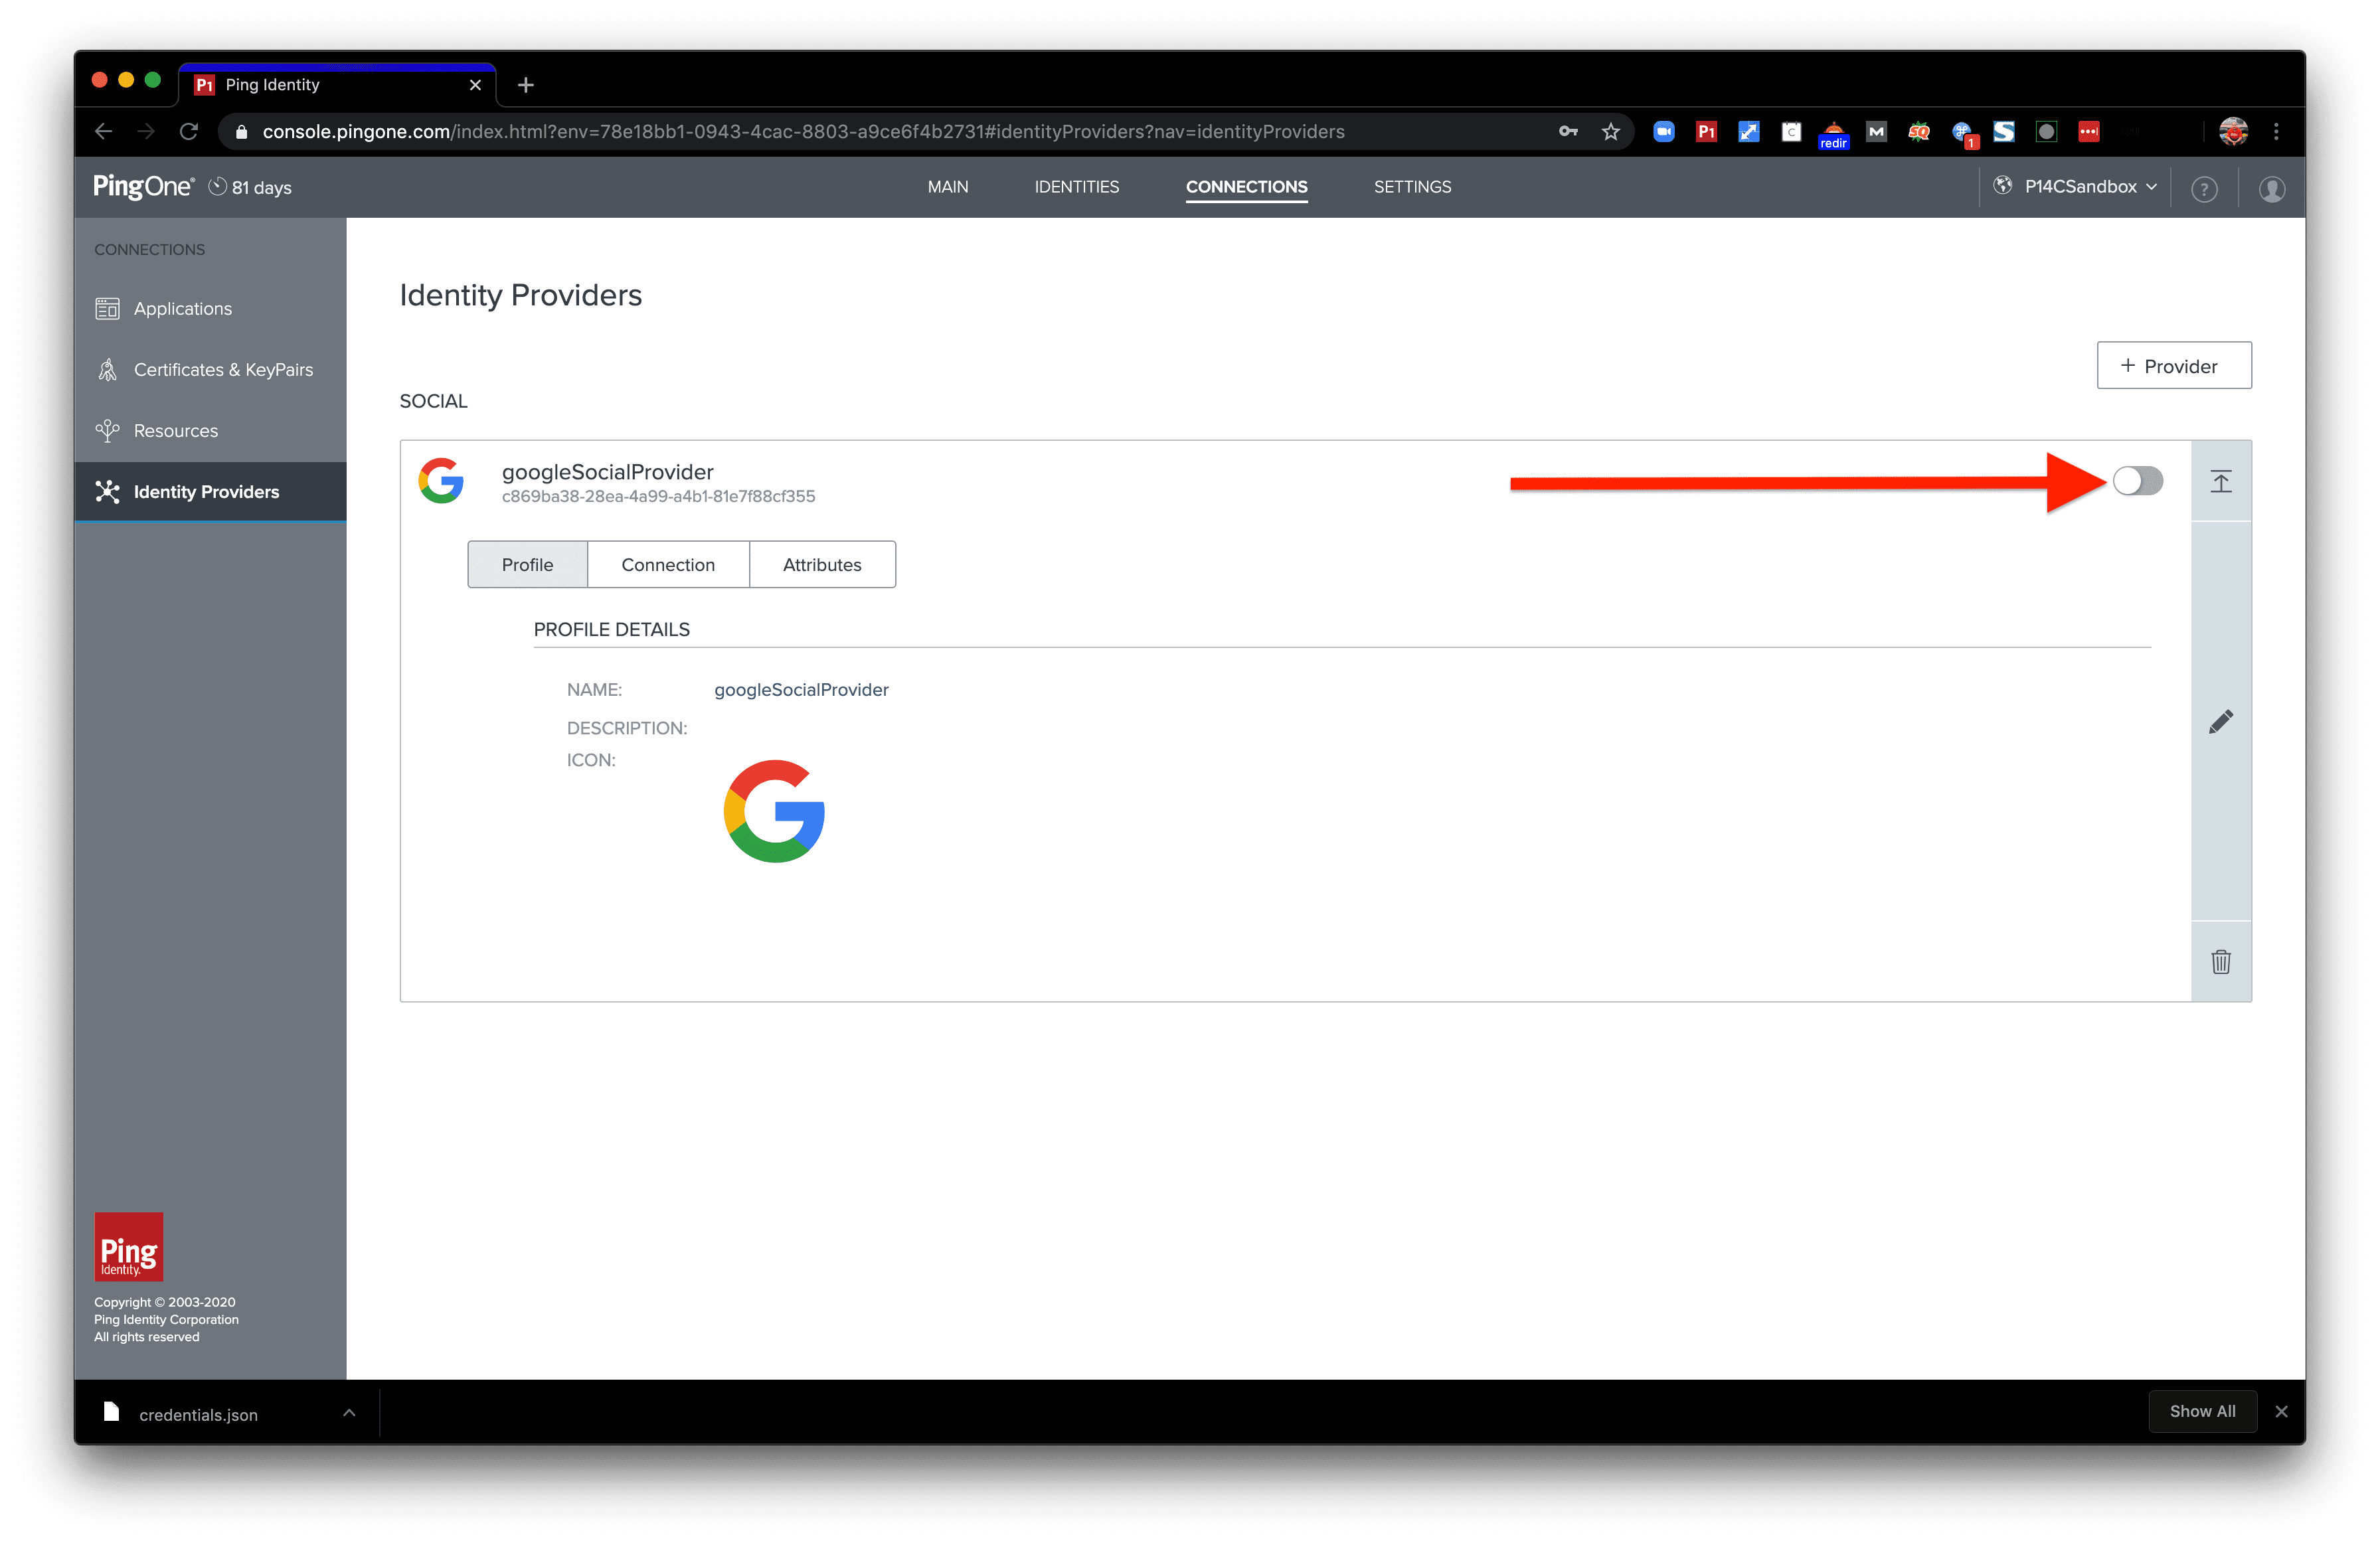
Step 3. How to Create a Social Identity Provider
Step 5. How to Form the Request URL to Initiate Authentication
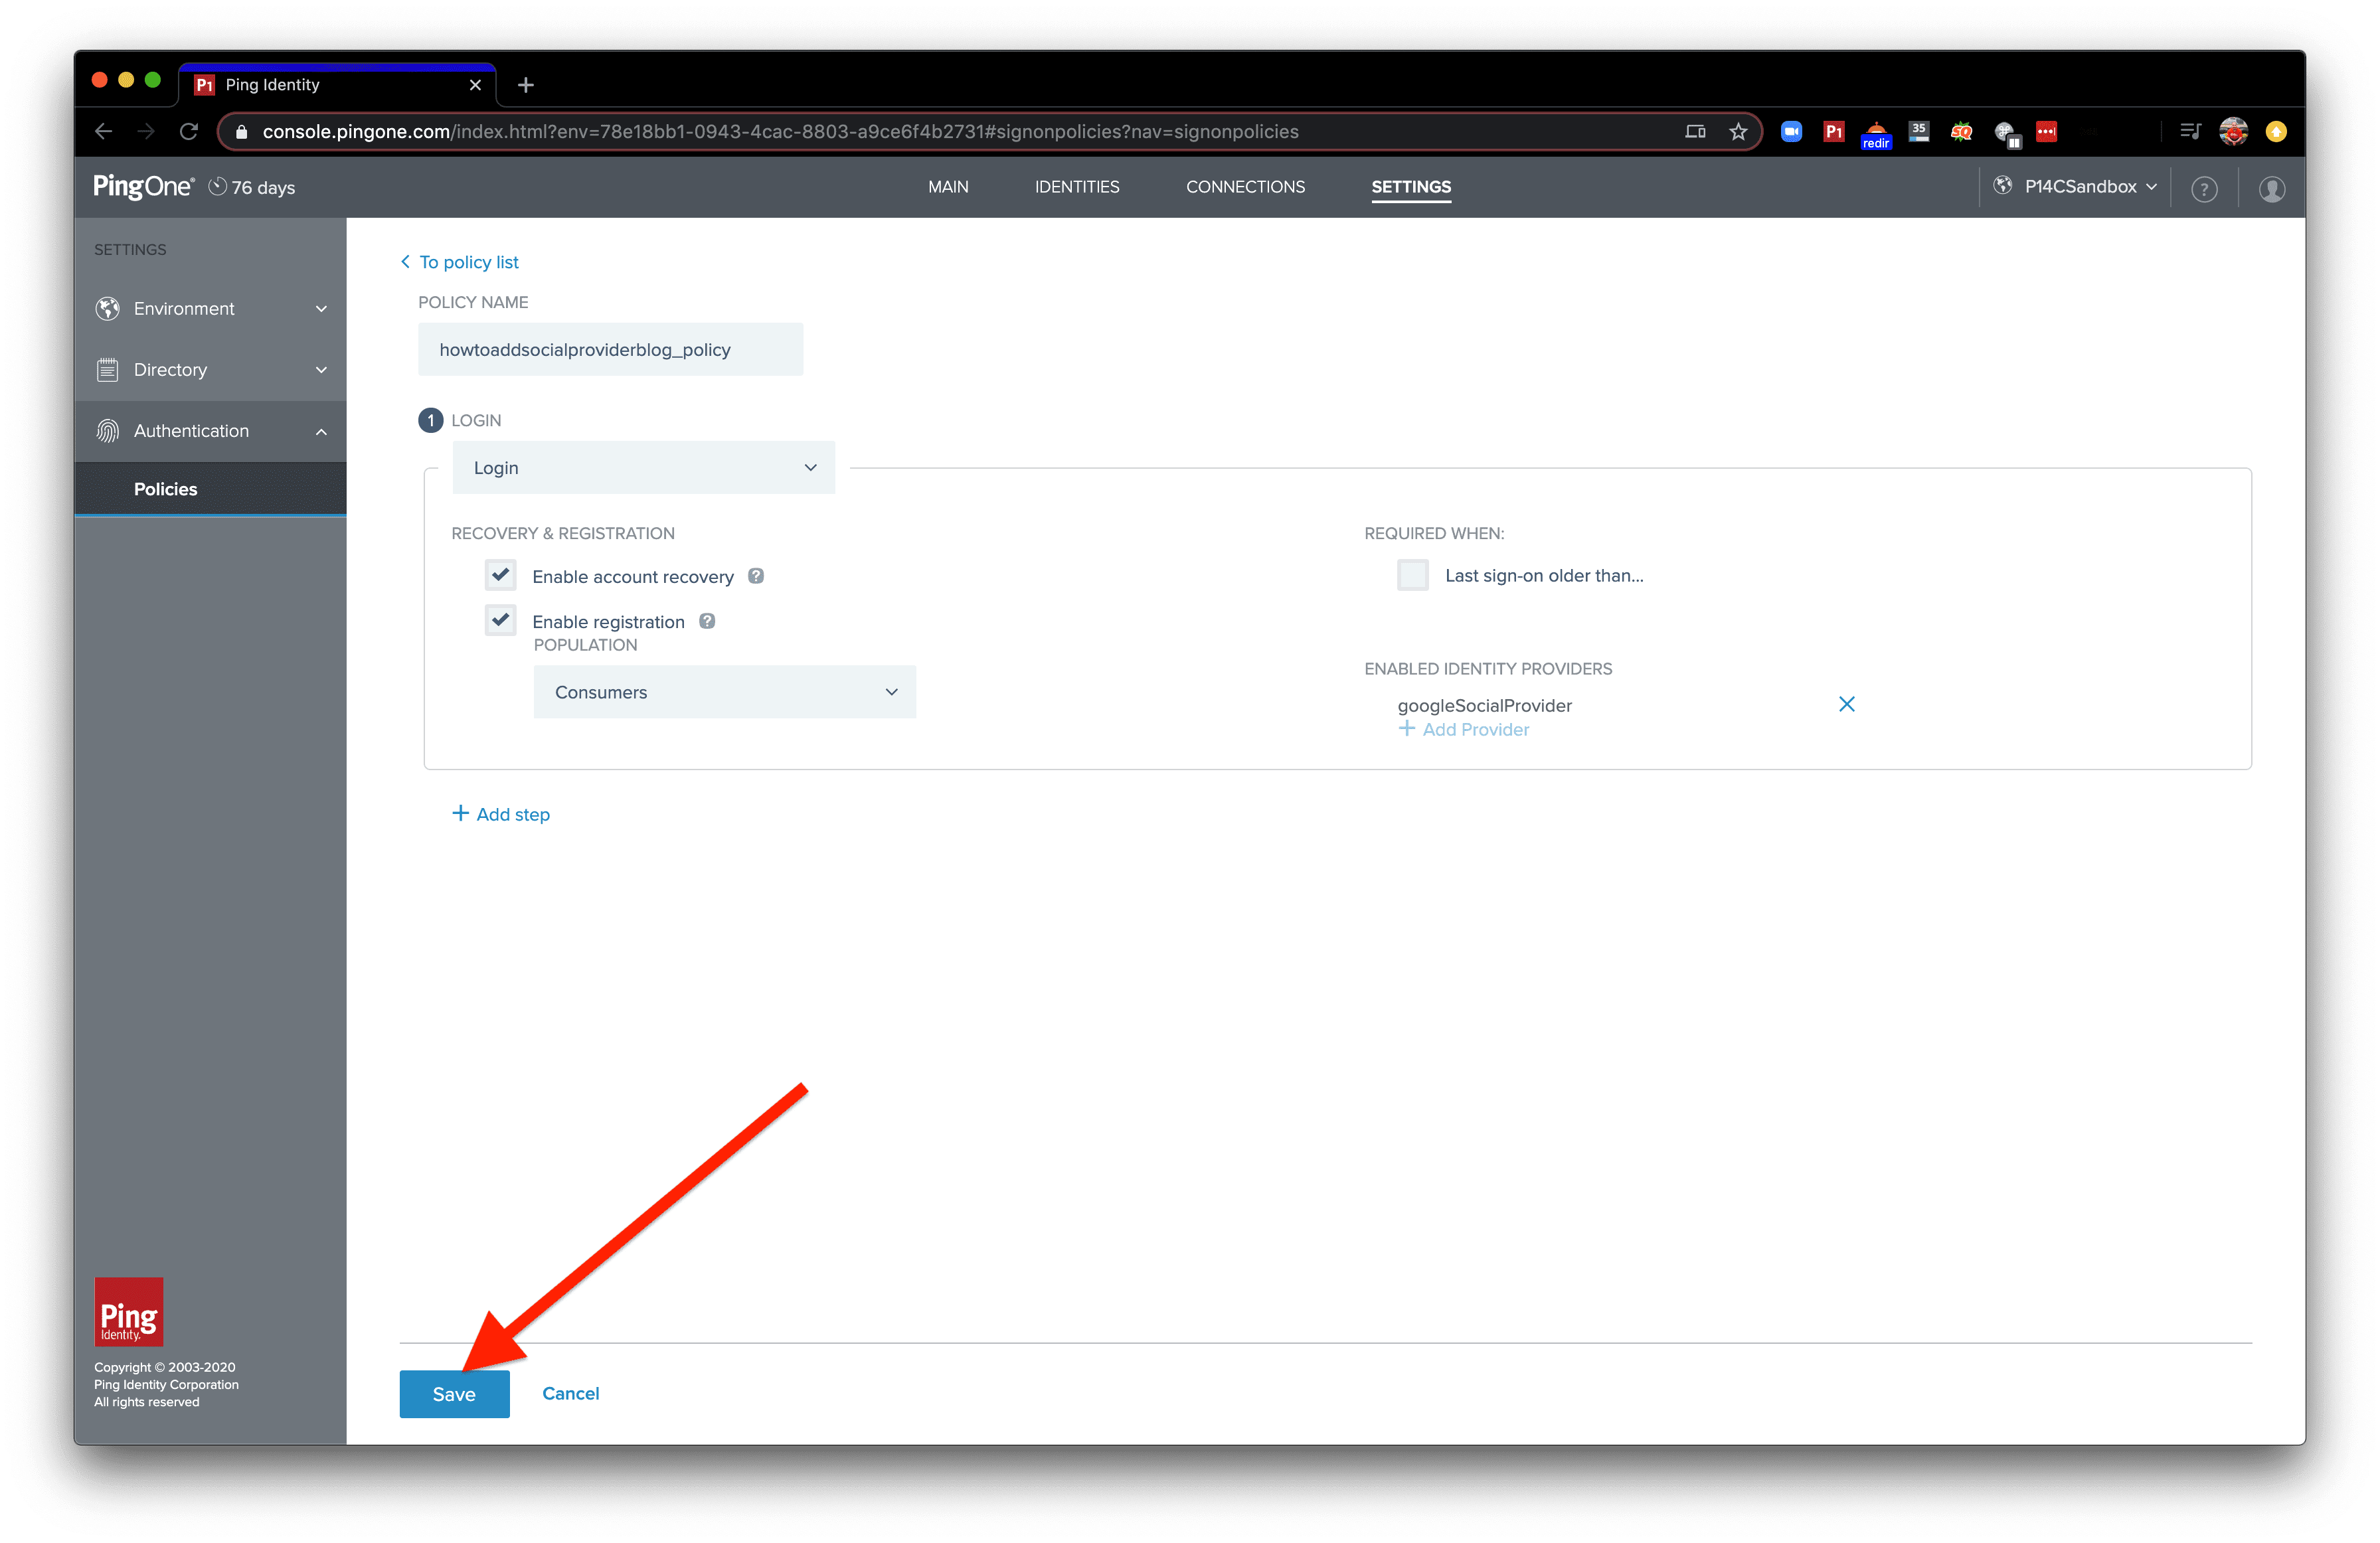
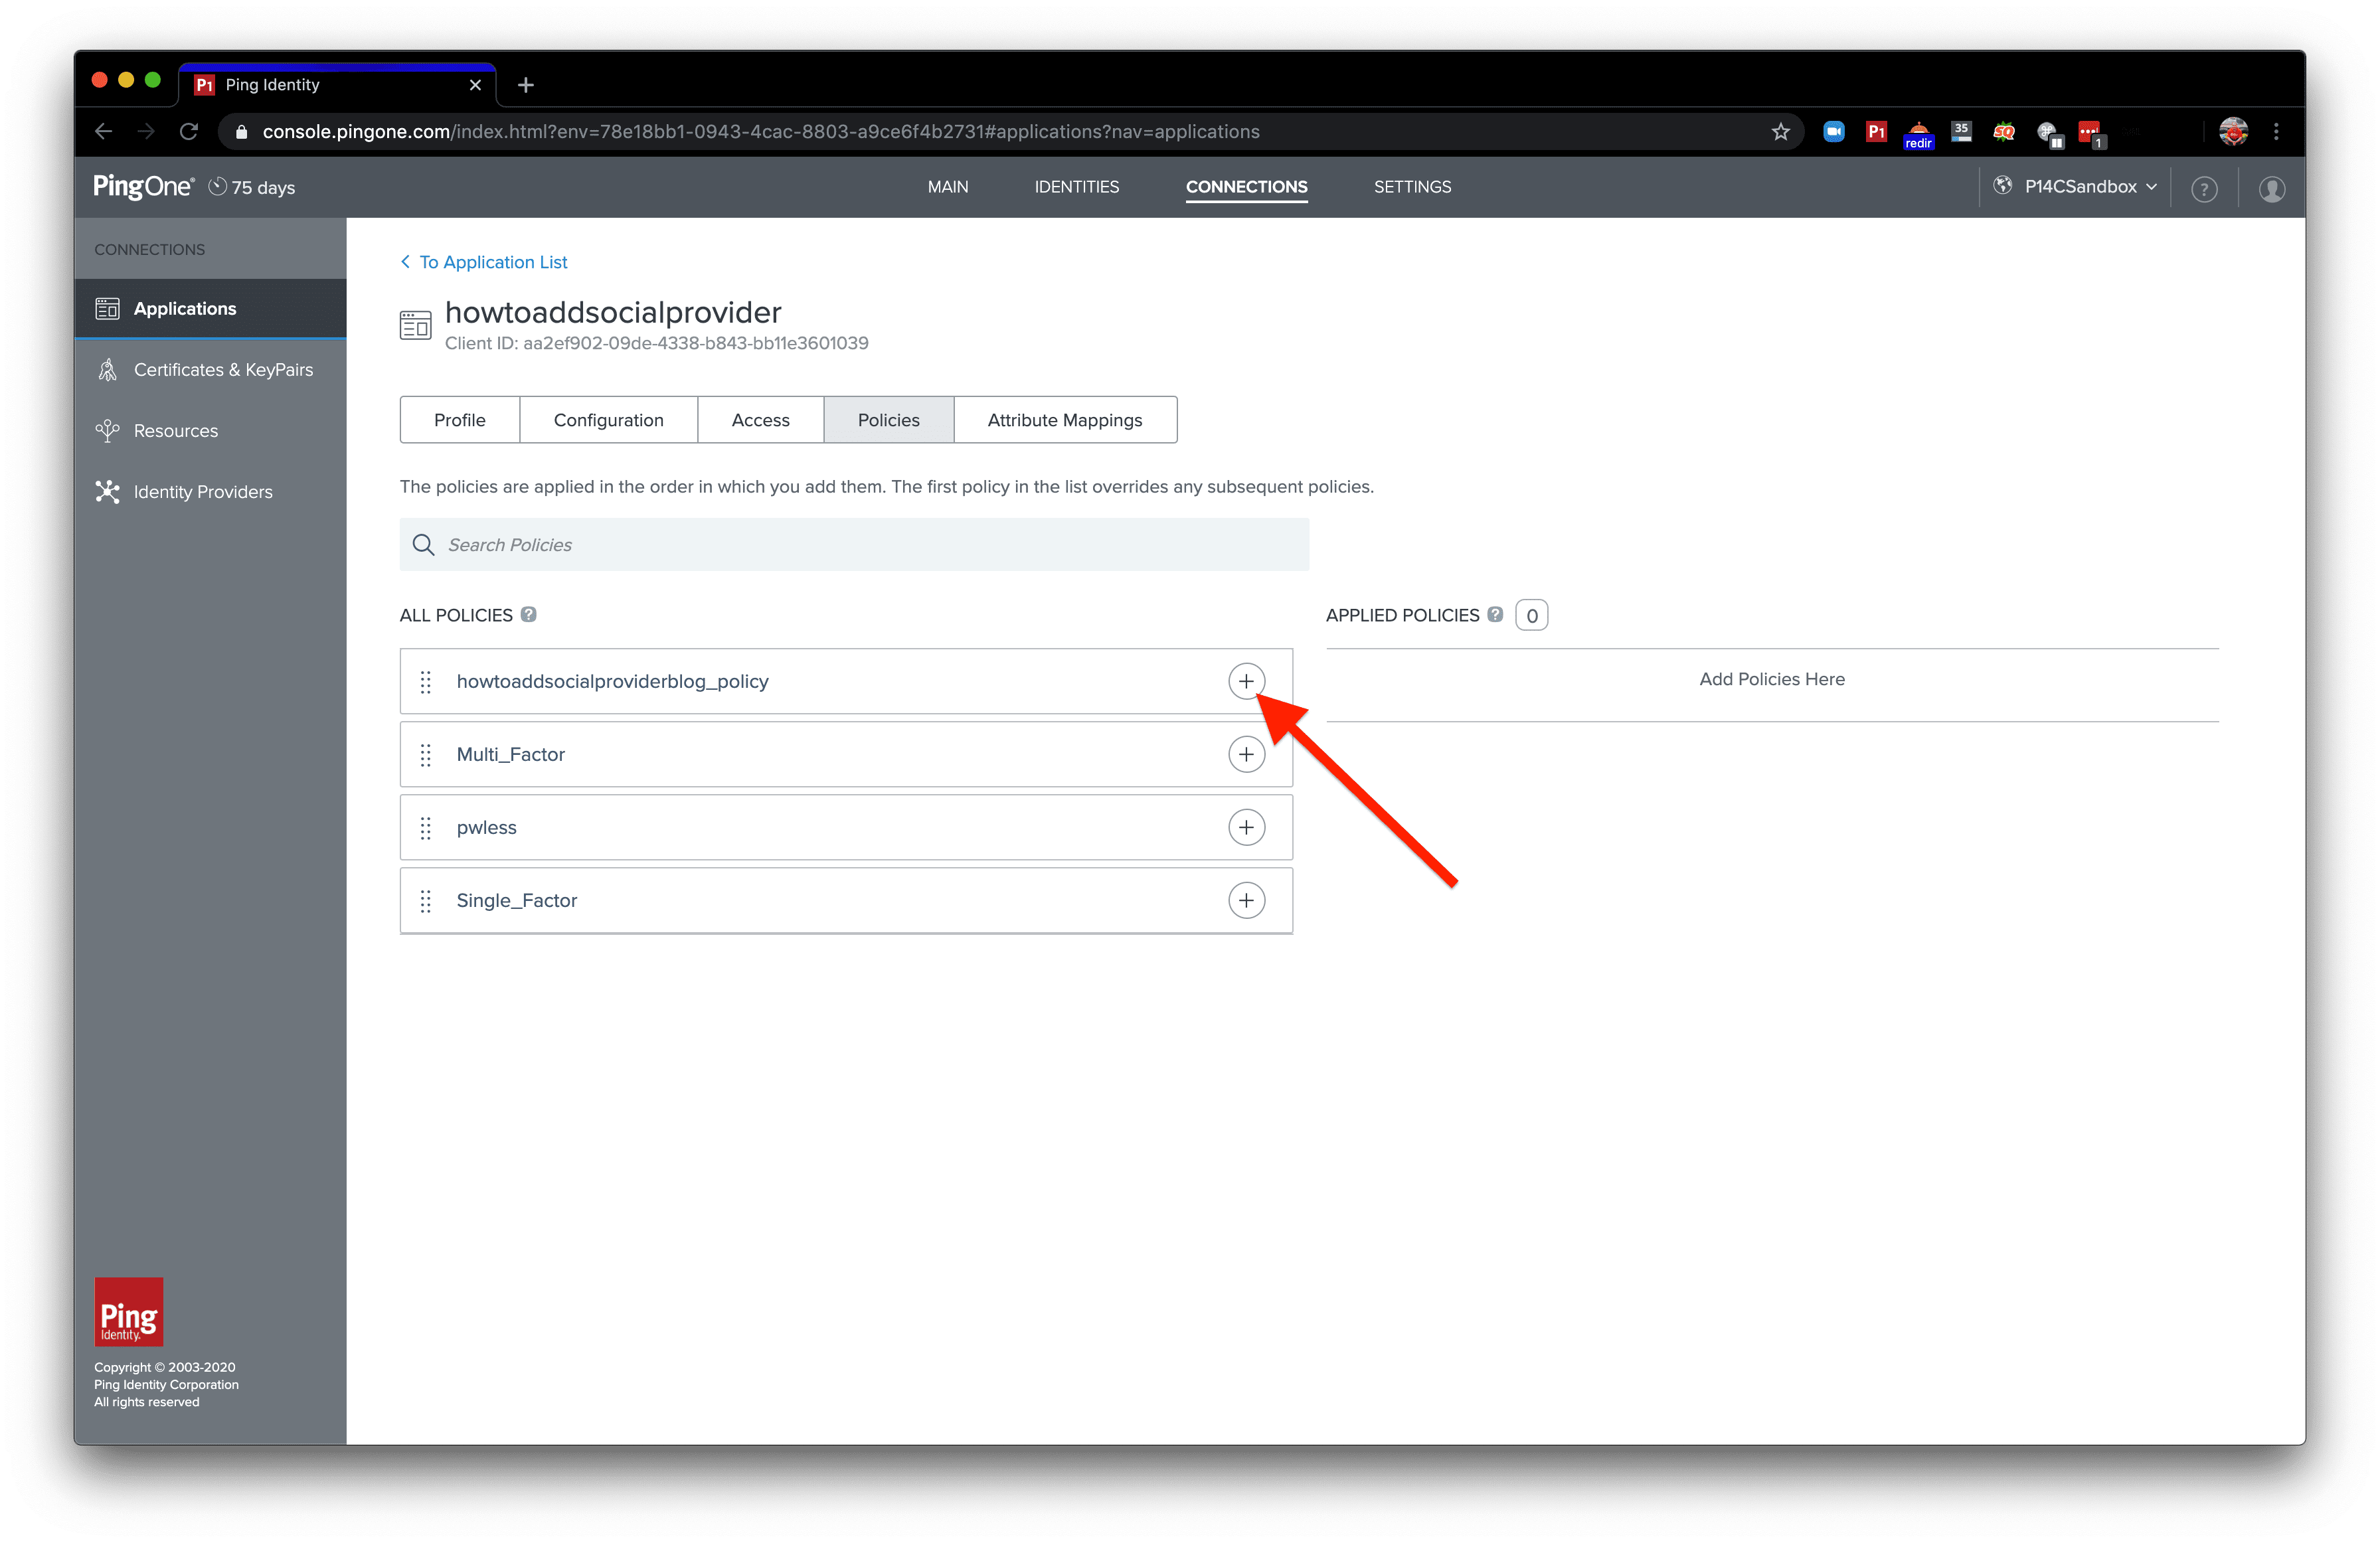
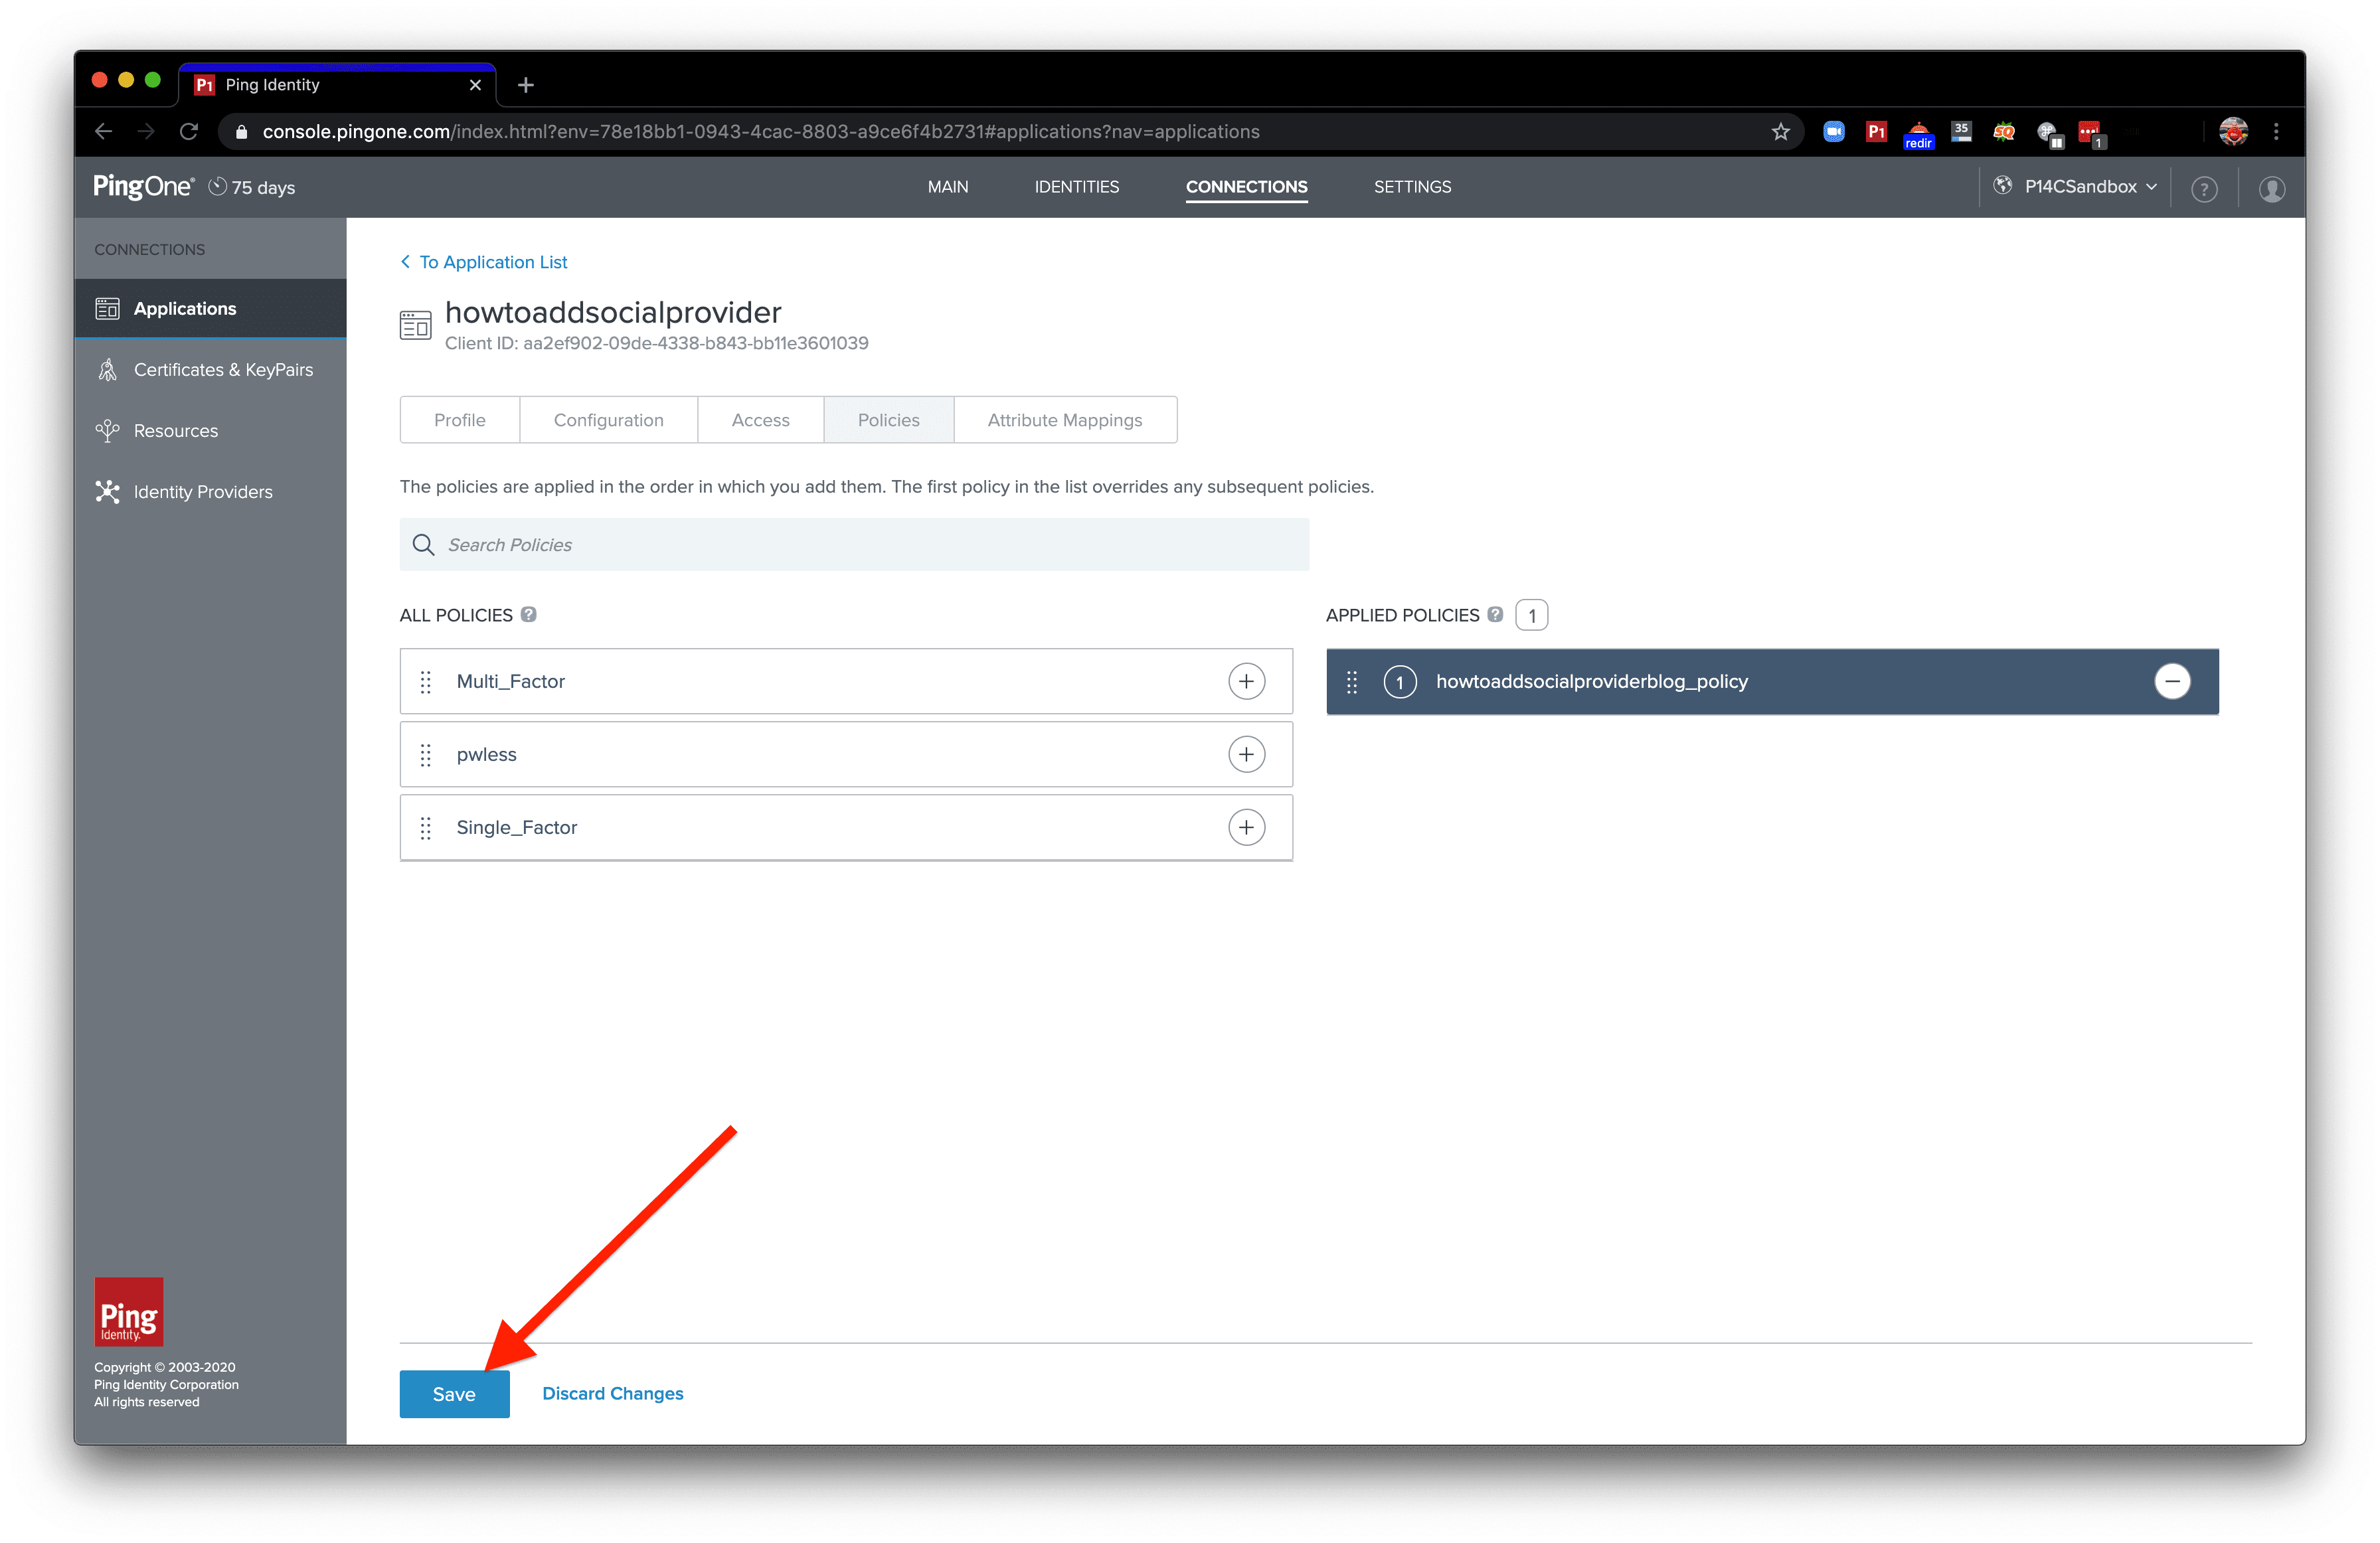
Step 6. How to Apply an Authentication Policy to an App Connection
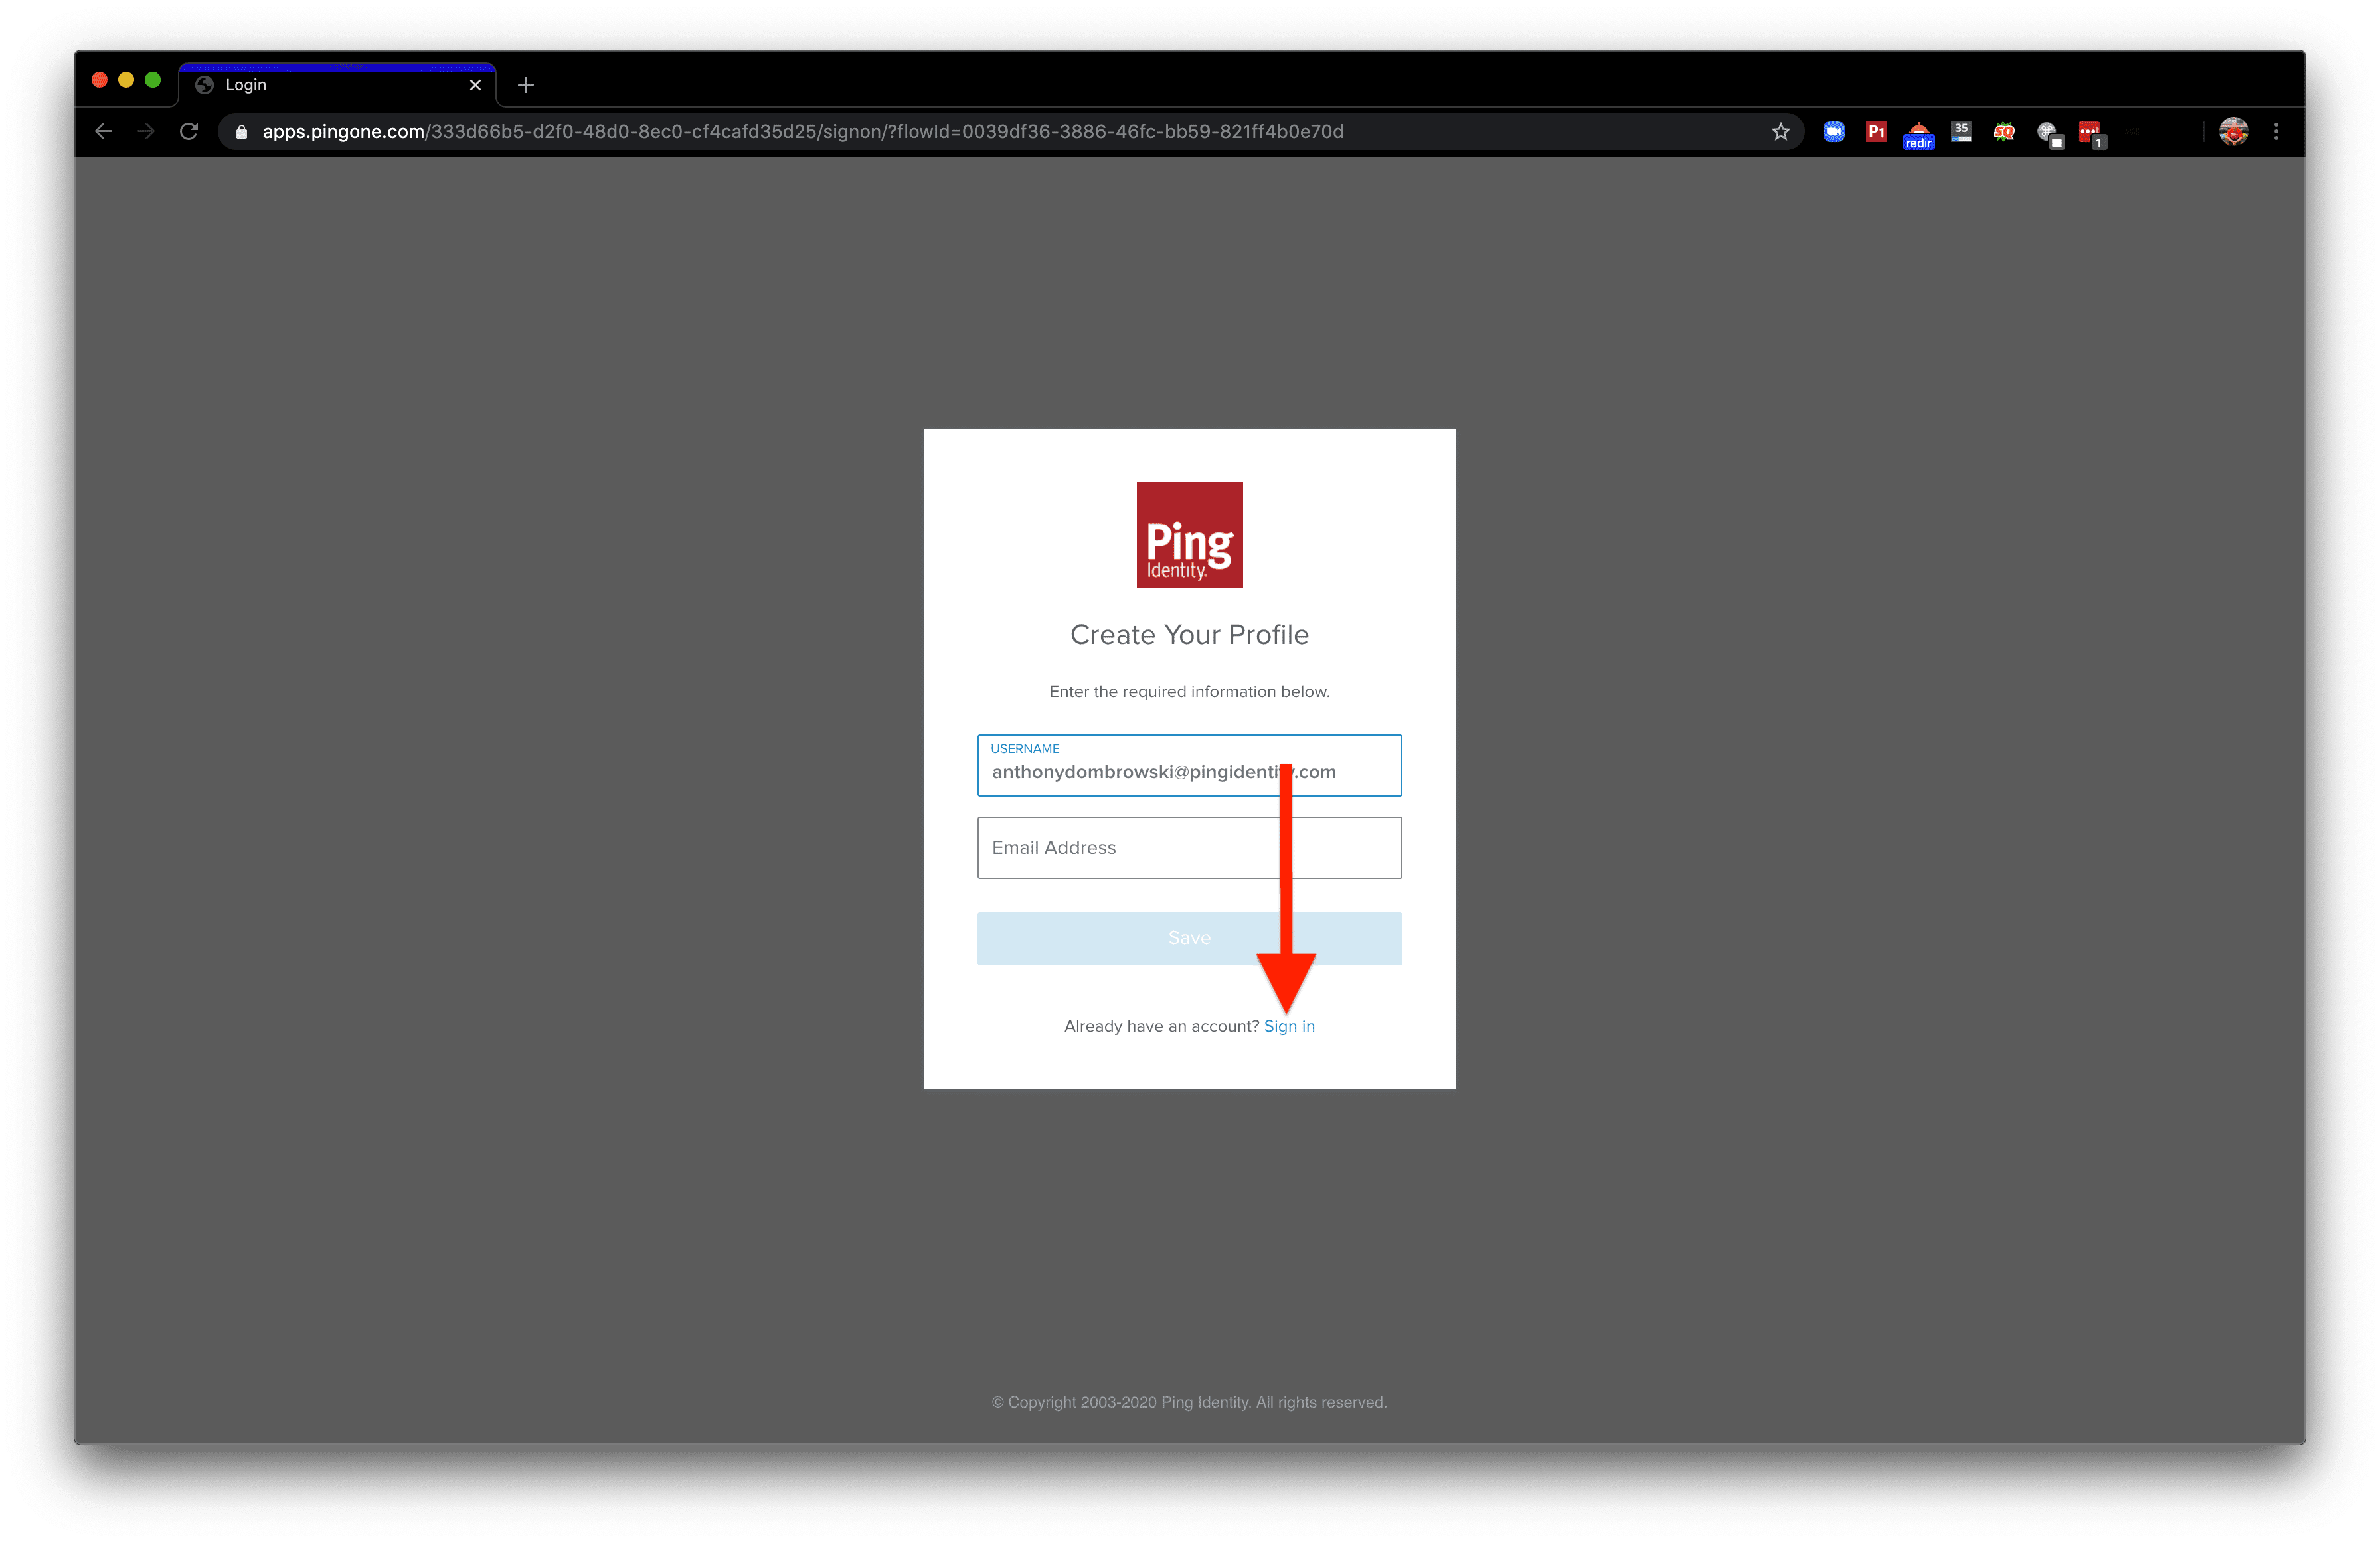
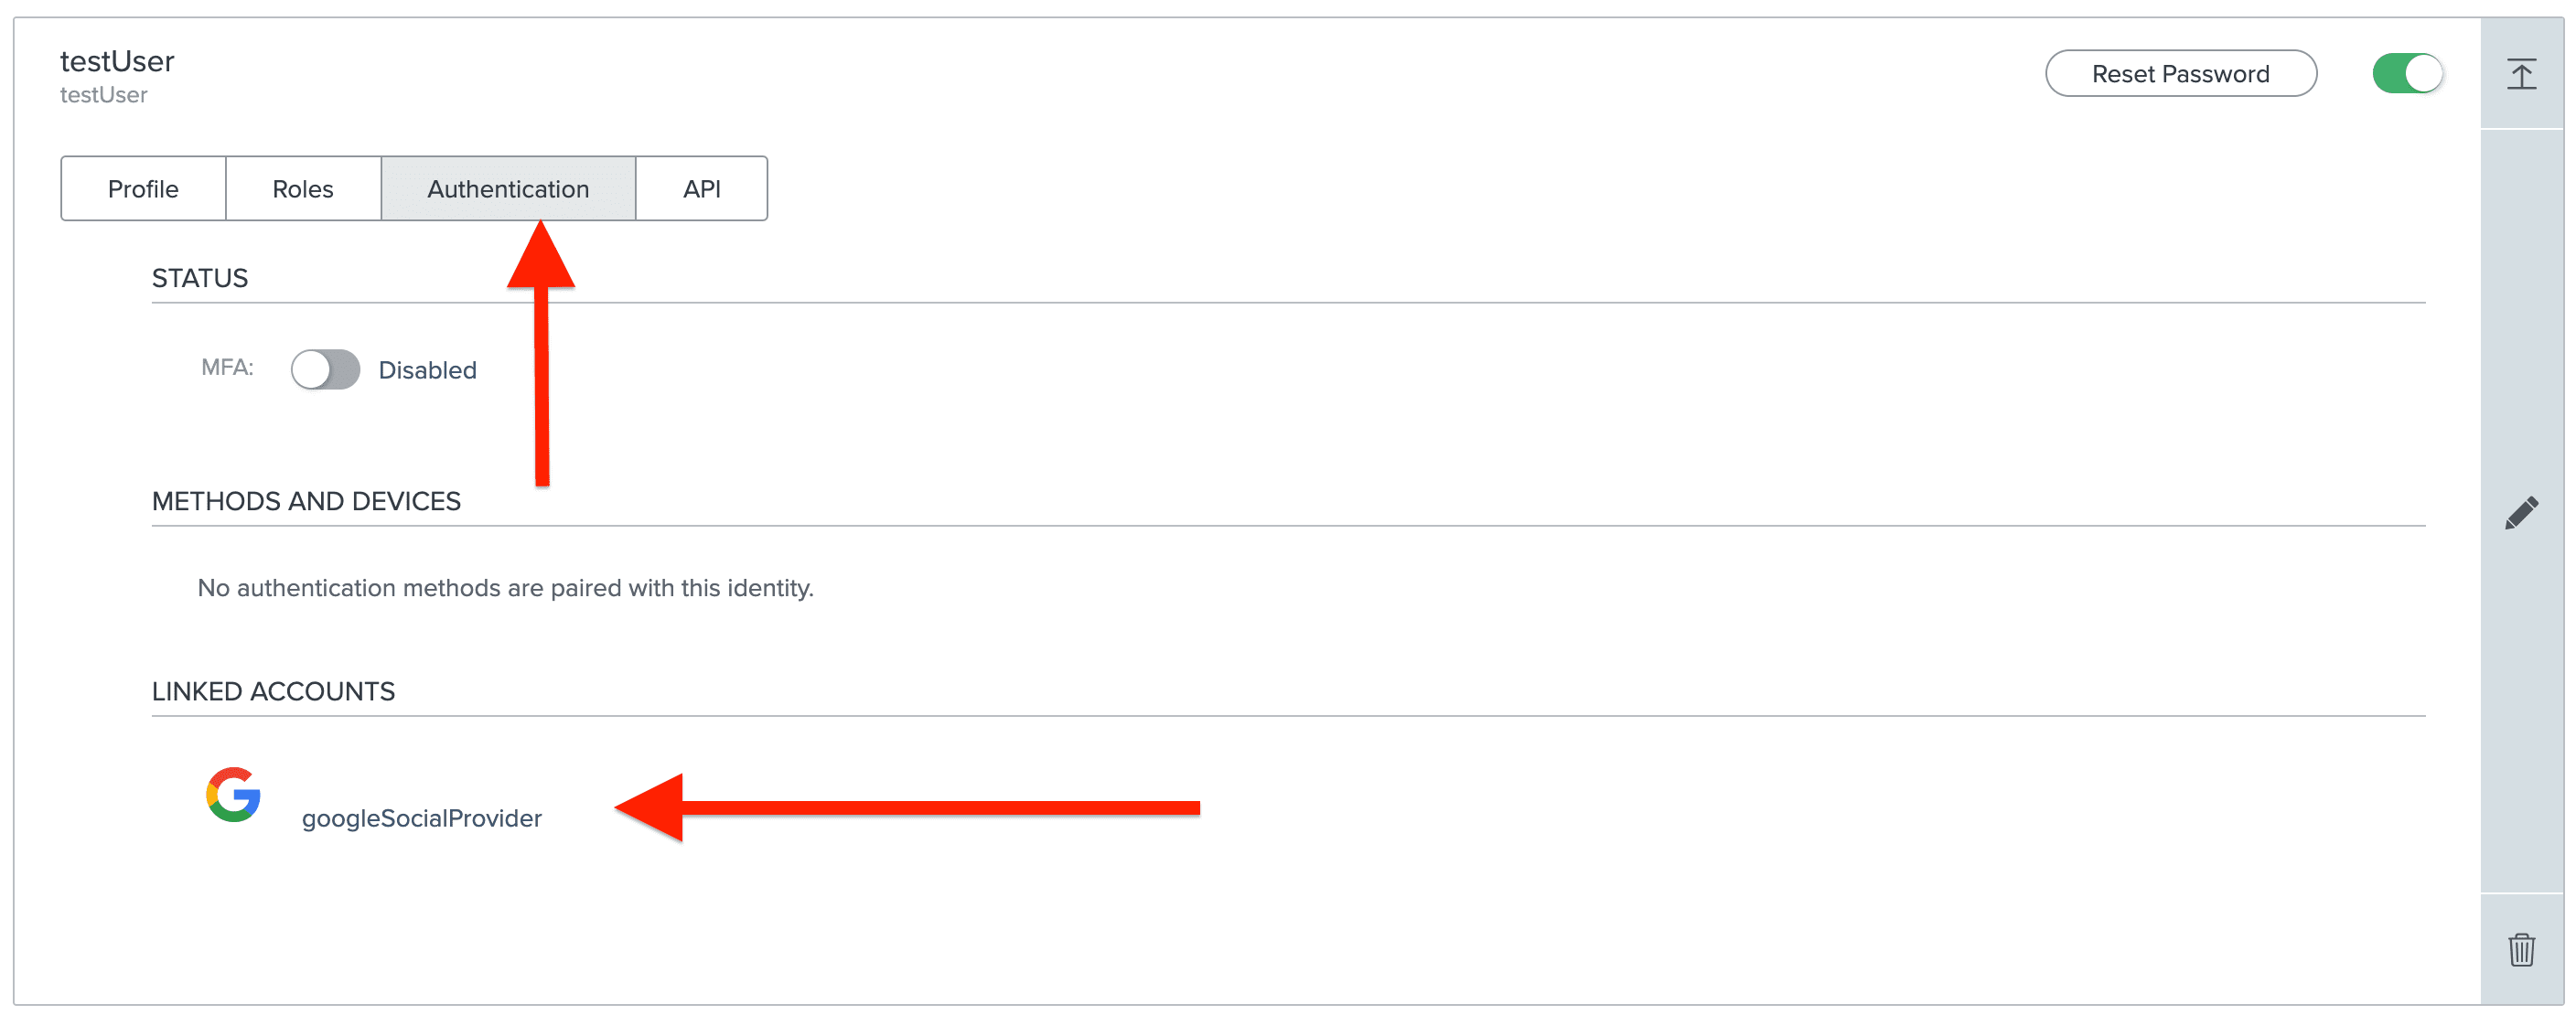
Step 7. How to Register a Social Provider with a User

