What this blog covers:
You can get underway with a live example. This article for getting a sample app up and running with PingOne for Customers will show you the quick and easy steps you could be doing to add customer identity and access management (CIAM) features to your app. You’ll see how to:
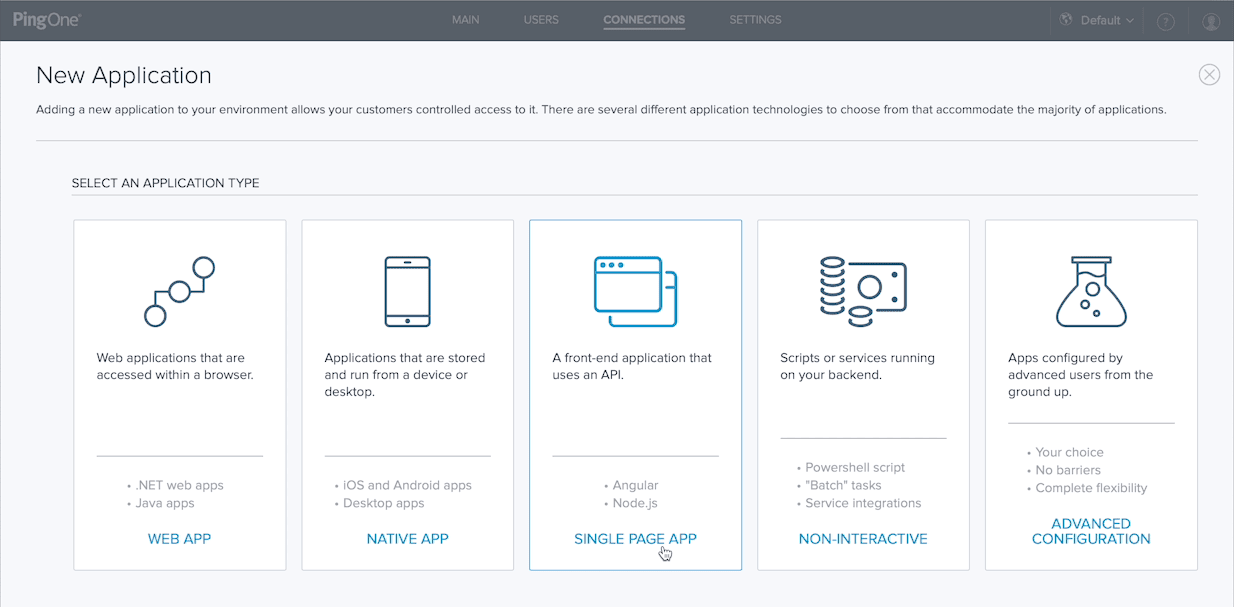
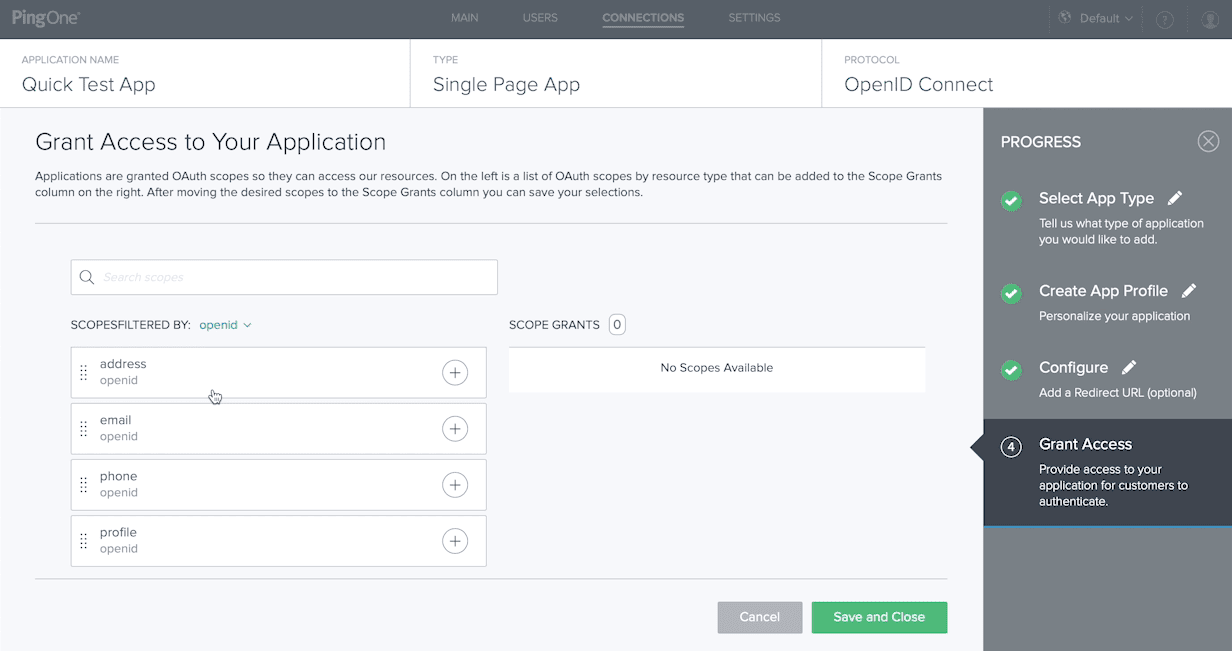
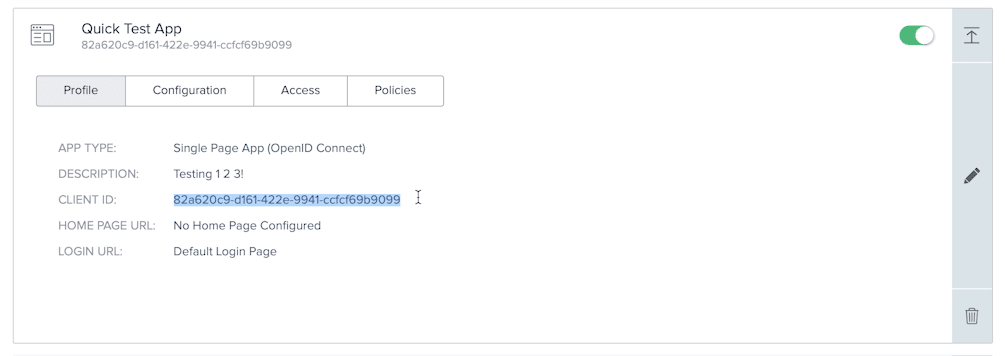
- Create an application in the PingOne for customers console
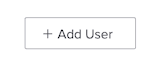
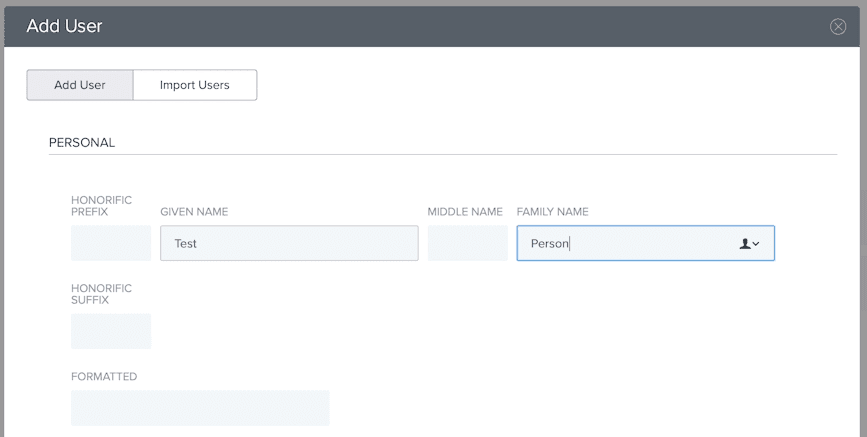
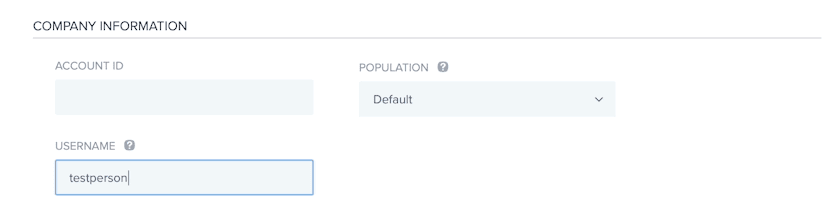
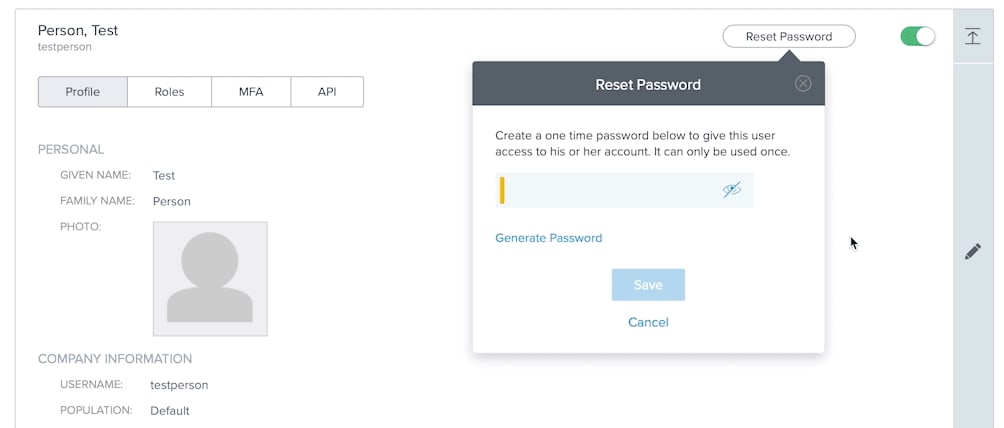
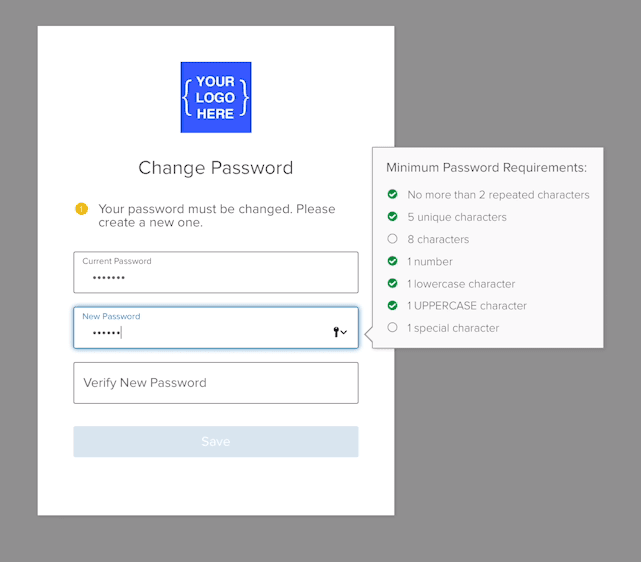
- Set up a user
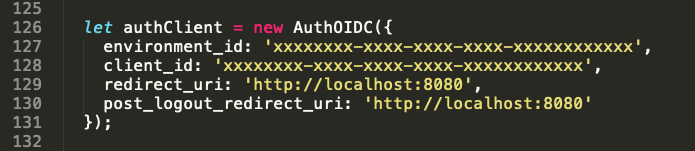
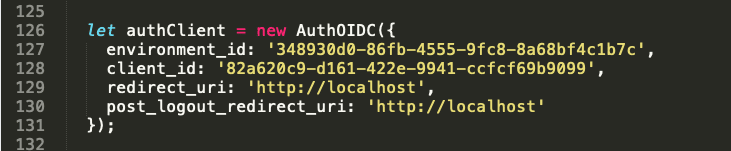
- Download the sample app
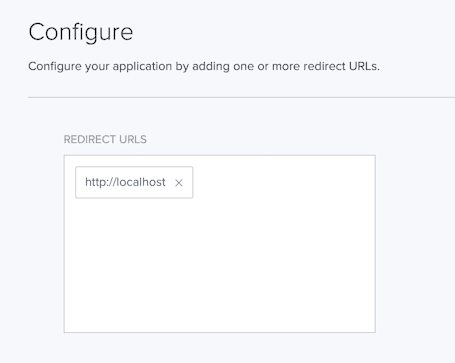
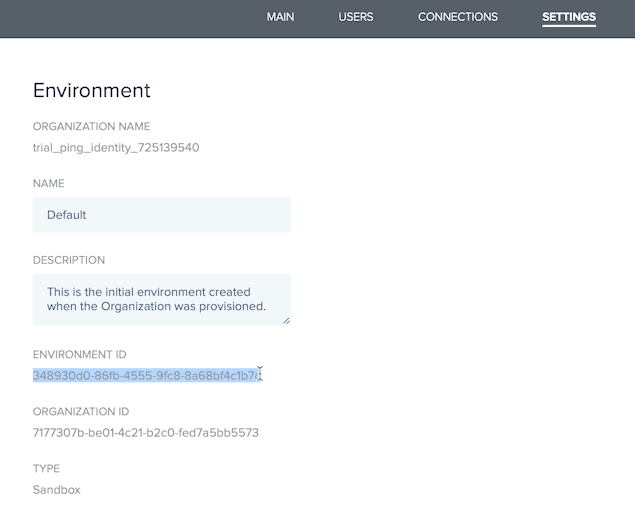
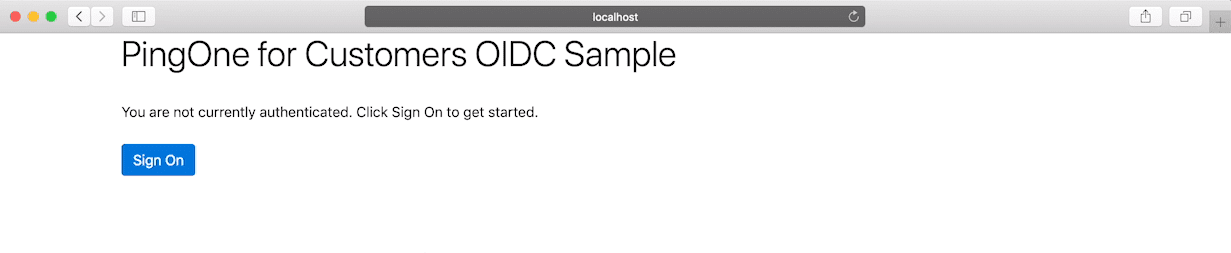
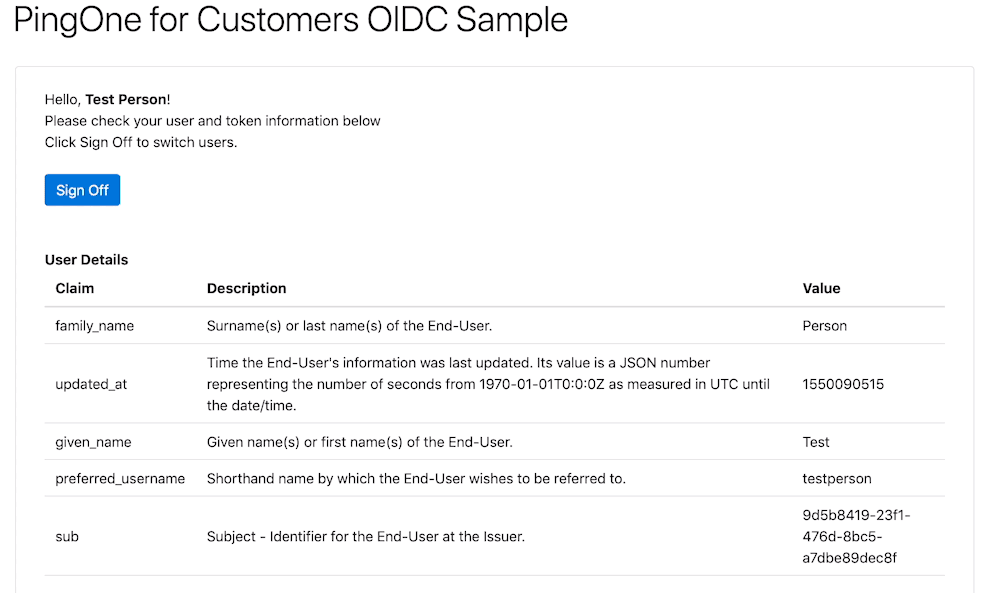
- Connect and customize the sample app
You can skip to the part that’s relevant to your situation (just click the links above) or run through the whole process.